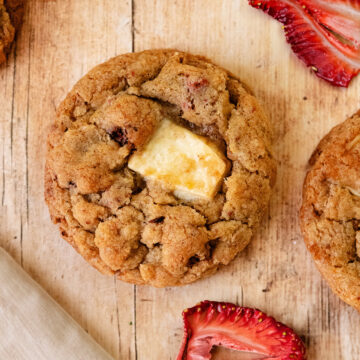
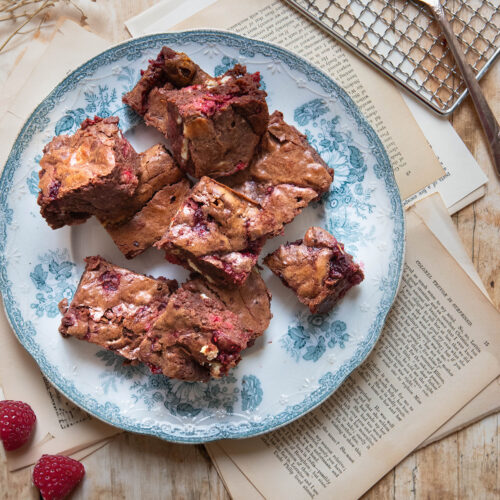
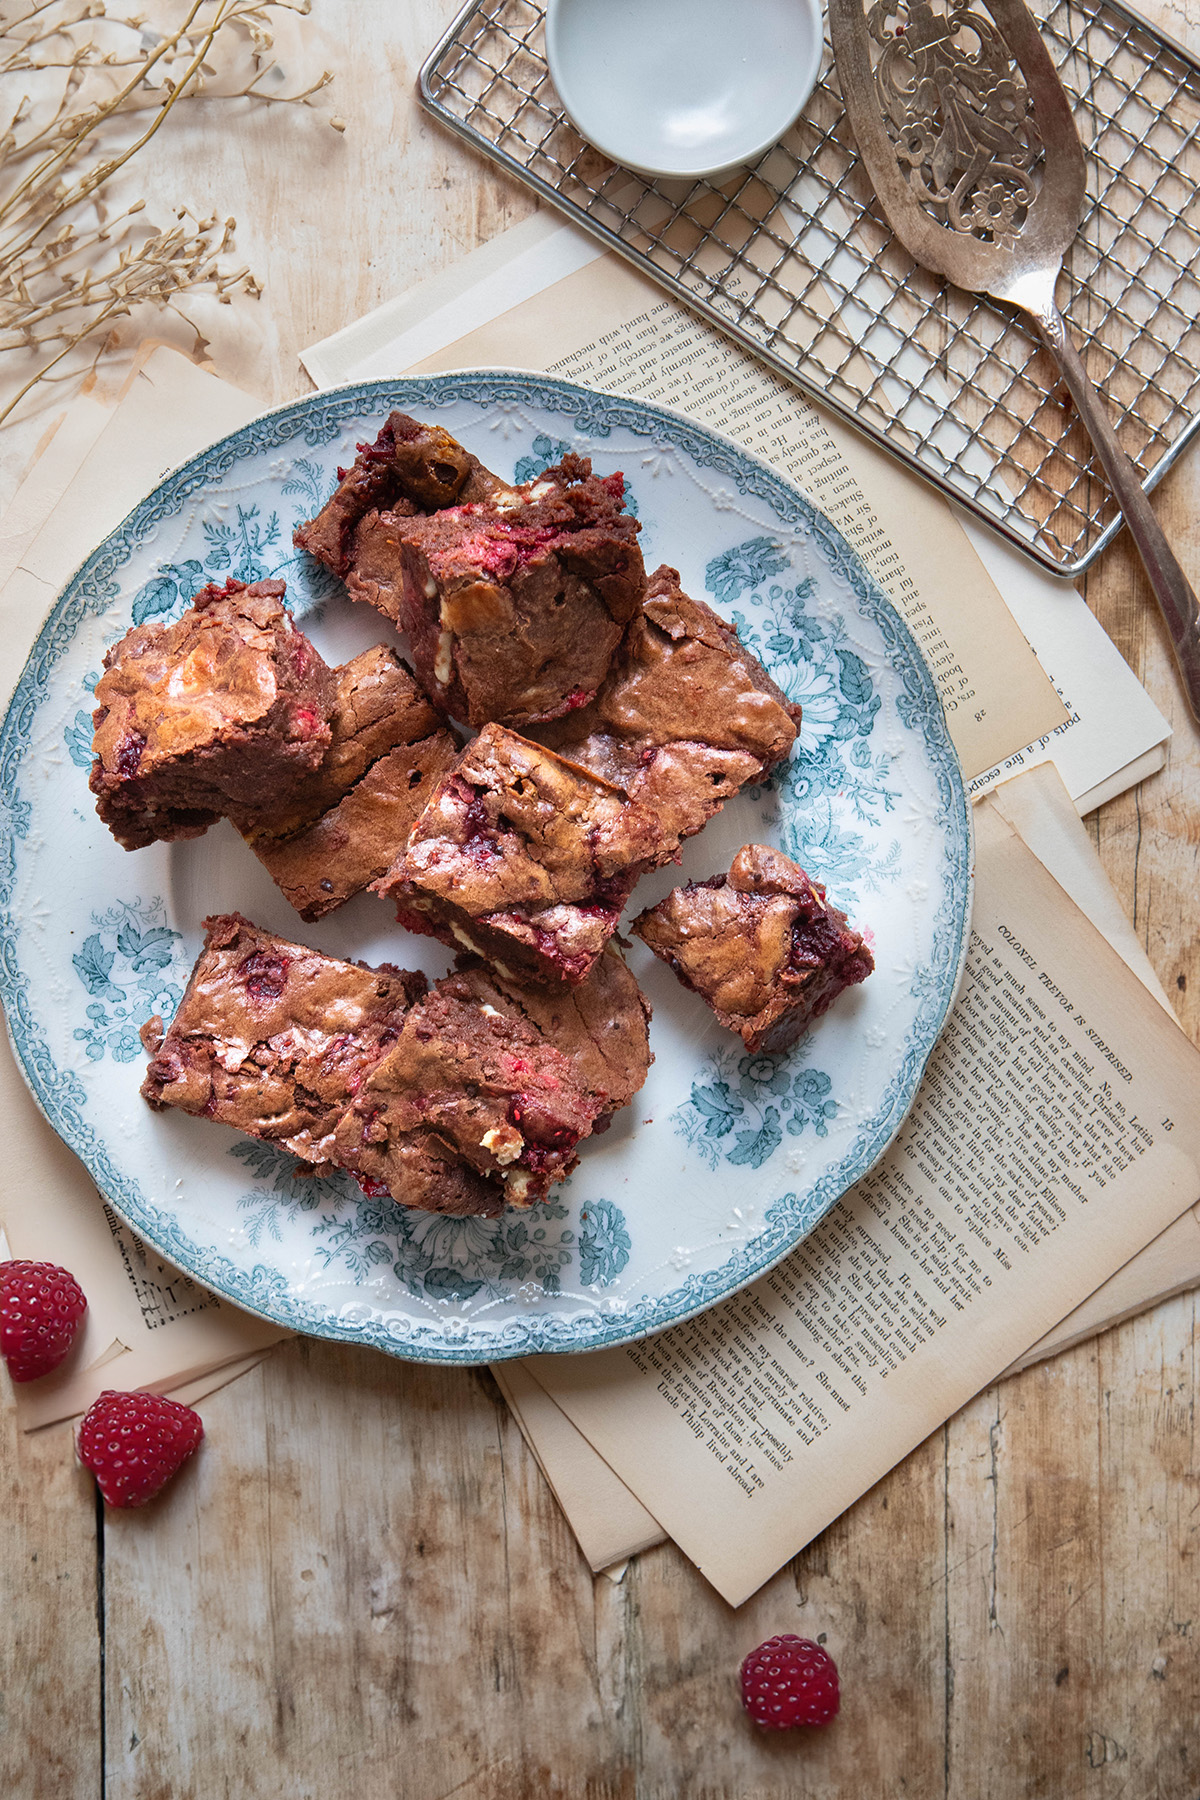
This recipe for raspberry white chocolate brownies is the perfect recipe for gooey chocolate brownies. Packed full of fresh raspberries and white chocolate, it is the easiest way to get your chocolate raspberry fix and will become on of your favorite dessert recipes in no time.
These are my new favorite brownies. It was previously a tie between my espresso brownies and smores brownies, and my miso brownies. However, I am in a raspberry mood and these have taken first place! You do not need a separate bowl to make them, this is a one bowl recipe. The brownies themselves so fudgy and delicious. This is so much better than a boxed brownie mix and will be one of your favorite brownie recipes in no time. They do not take a long time to prepare and
[feast_advanced_jump_to]⭐️ Tips, Tricks, and Alterations:
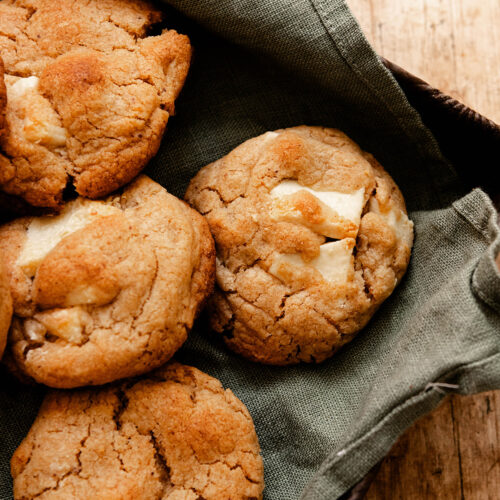
I like to use white chocolate bar that I break up into pieces for this white chocolate brownie recipe. However, you can also use white chocolate chips! It is always a good idea to use a good quality chocolate.
Can I use frozen raspberries? Yes! They are fresh when they are frozen so you are good to go.
Can I use raspberry jam instead? I have not tried it instead of the fresh berries but I don’t see why it would not work.
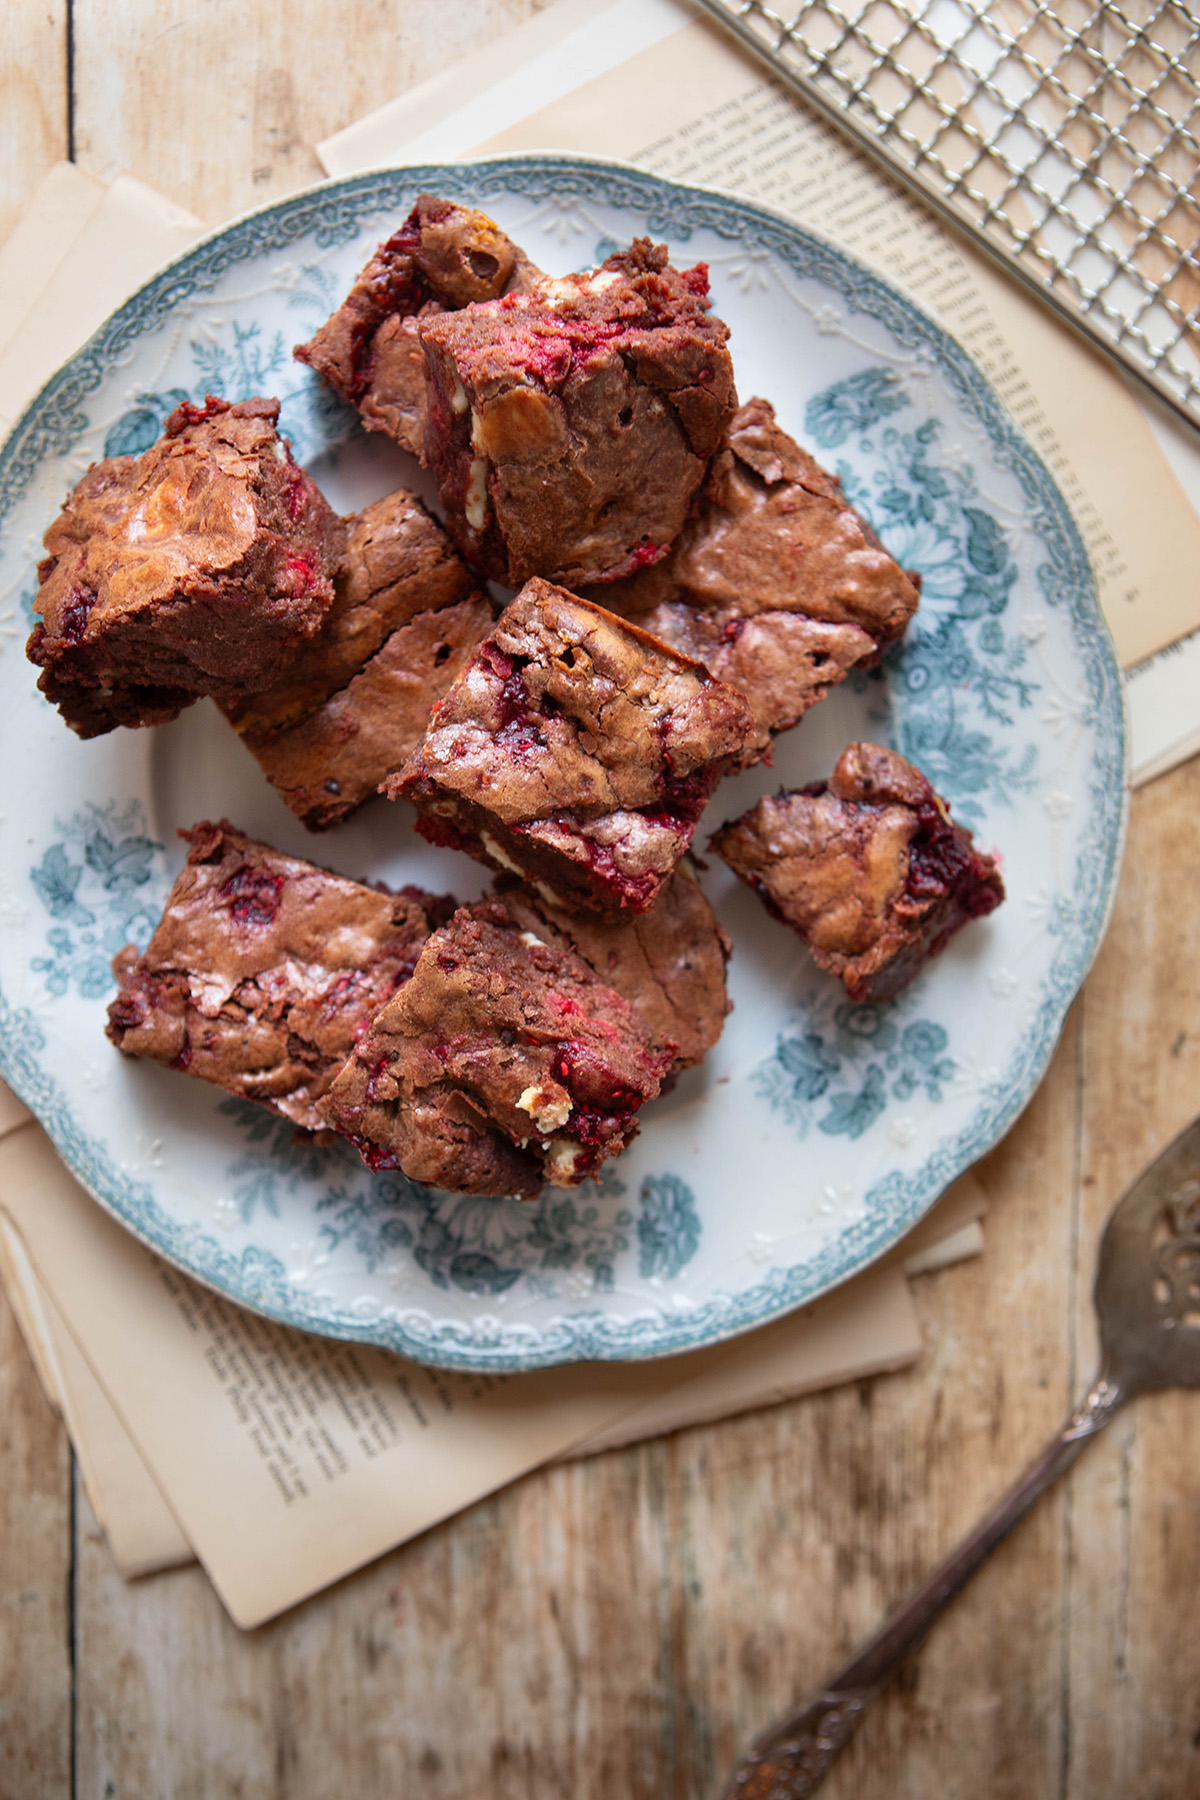
I use fresh juicy raspberries in this recipe which does give it a longer bake time because the raspberries release so much liquid into the batter (the top of your fudgy brownies will almost look like it has raspberry jam in the recipe). I support you using fresh raspberries but if you want to use freeze dried raspberries instead, you can. The bake time would be 30-35 minutes instead.
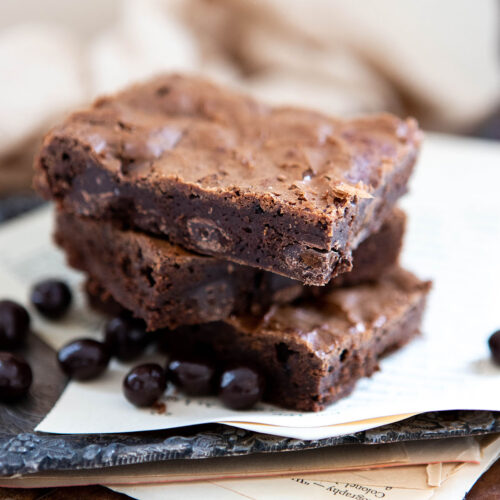
Coffee can enrich flavor so if you want to add coffee powder to this recipe, be sure to use an instant coffee or instant espresso powder
You do not need to use an electric mixer for this recipe, I like to mix everything by hand.
For best results, always follow the recipe card.
I use milk chocolate chips mixed with melted butter as the base for my recipe. However, if you want a darker brownie, then you can use dark chocolate instead.
For clean slices, wipe your knife after each slice.
❤️ Why you will love these raspberry white chocolate brownies:
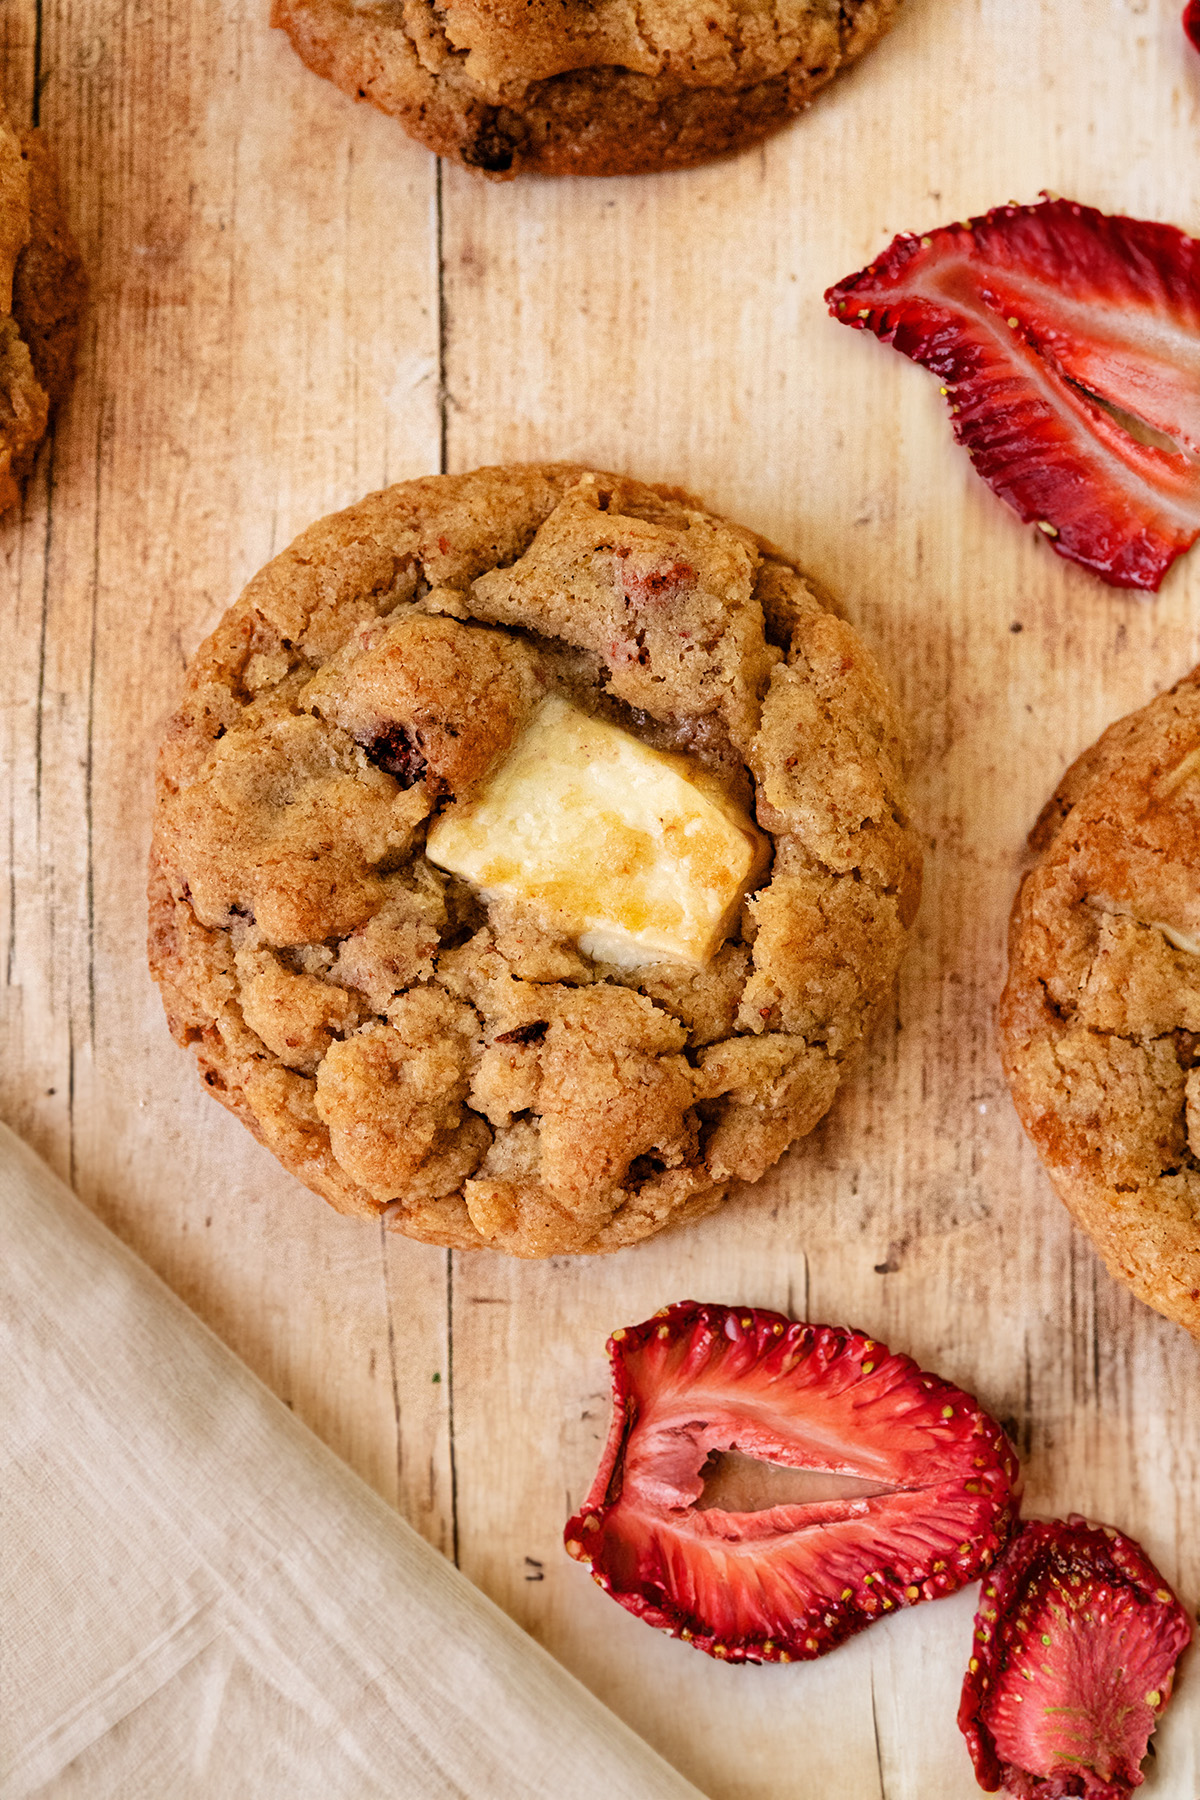
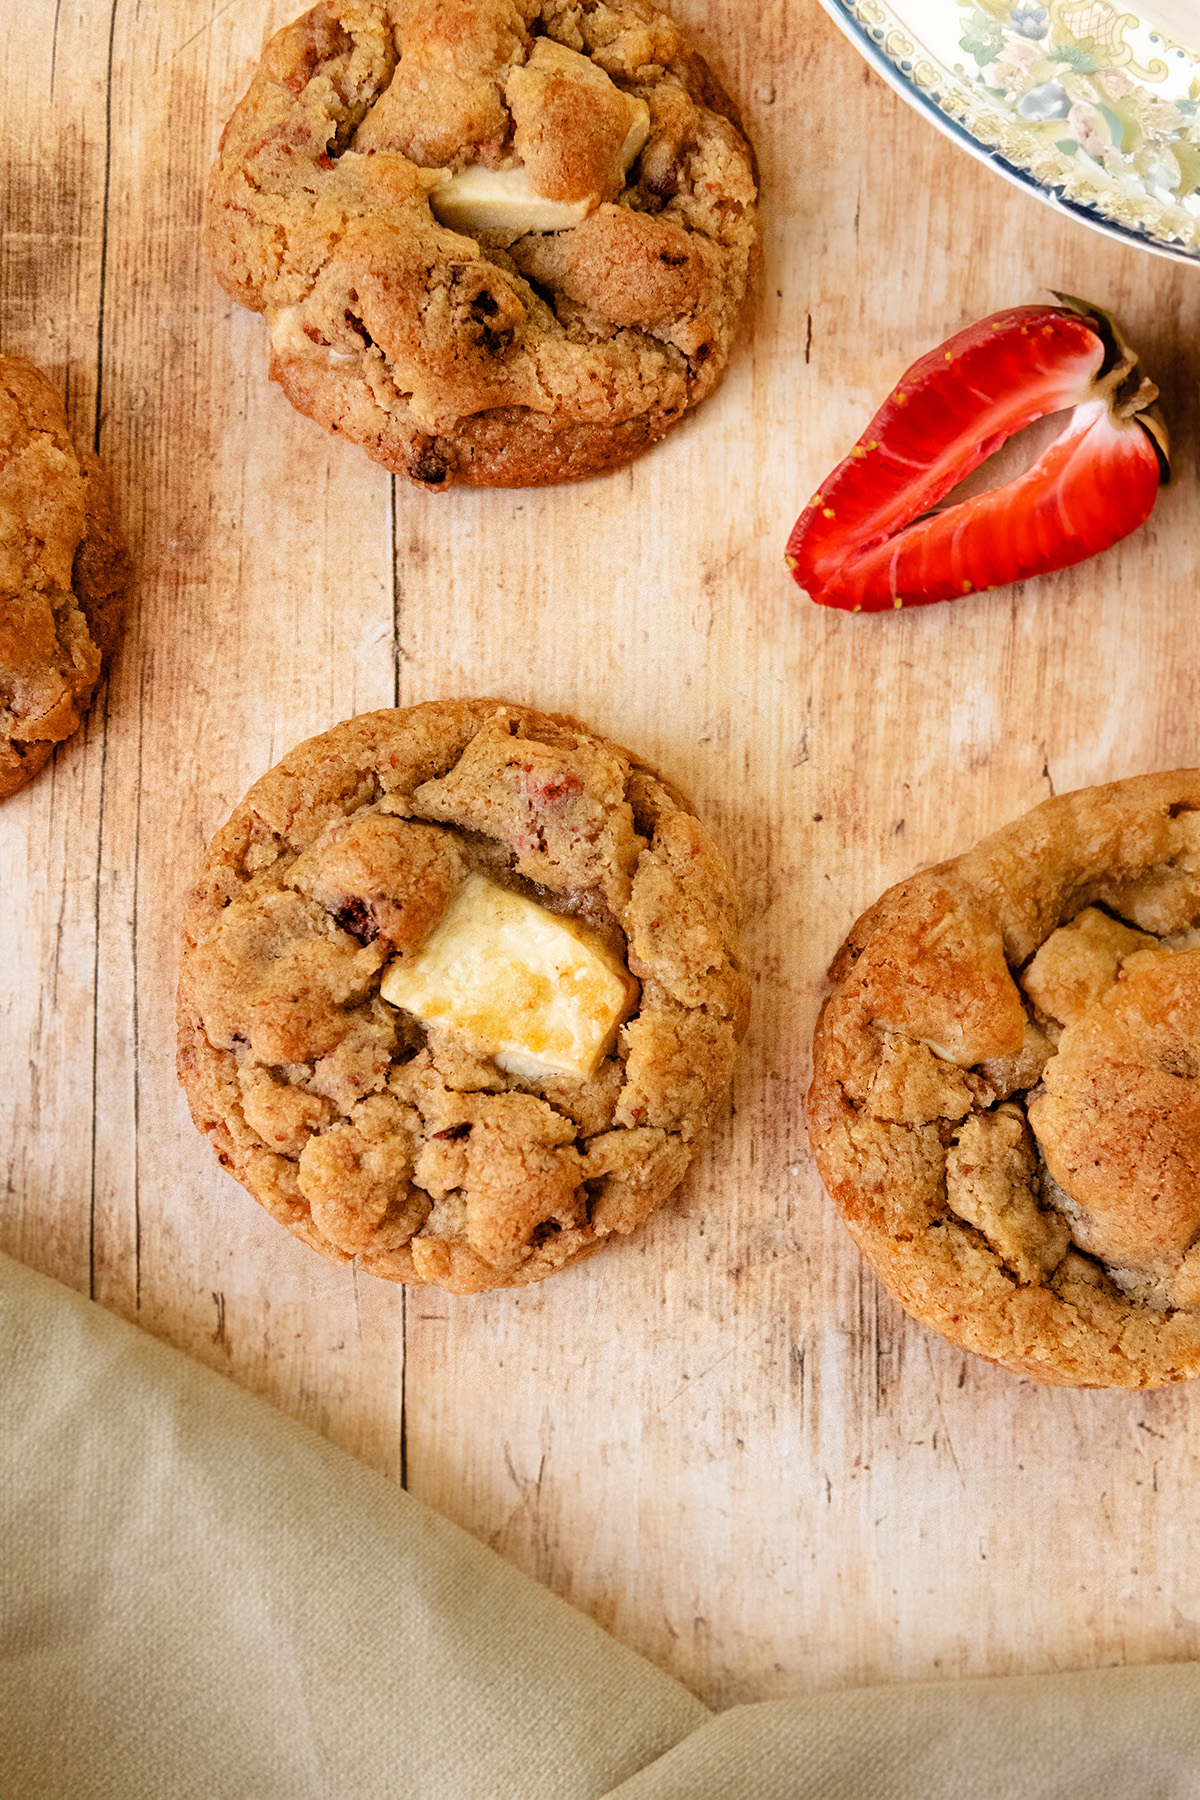
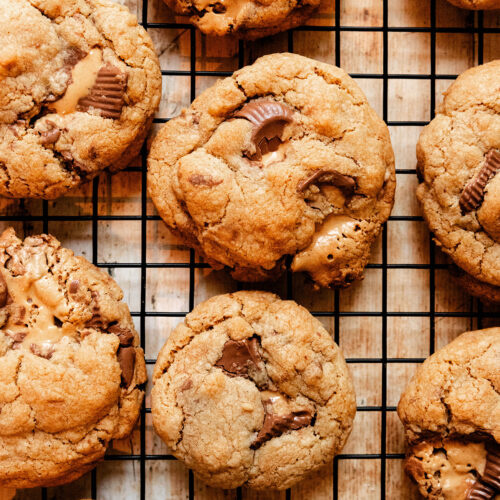
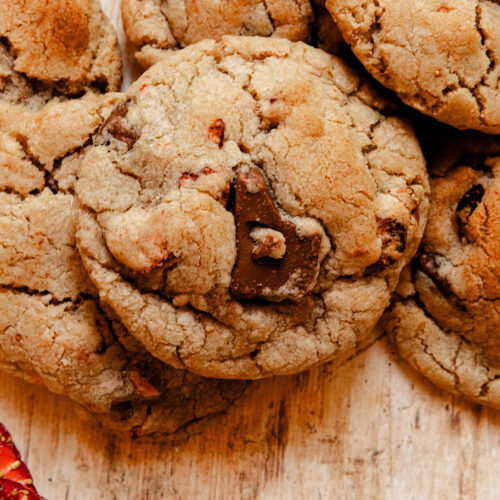
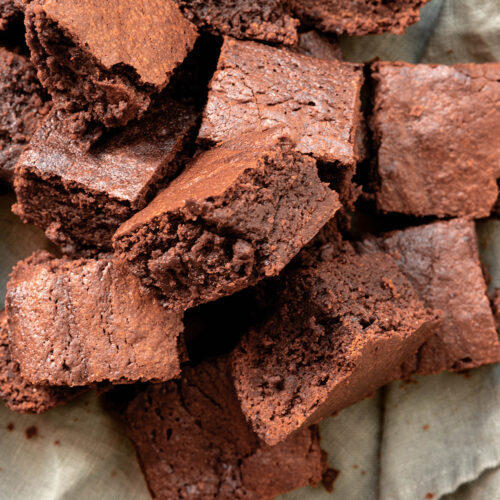
It is hard not to eat the whole pan of these homemade brownies when they come out of the oven! It is a really easy recipe, it is all done in one bowl, and then you just pour the batter into a baking dish! They have the best texture, it is a super fudgy texture that is packed full of raspberries, and delicious sweet white chocolate chunks! These delicious brownies are definitely a crowd pleaser. The sharp raspberries plus the sweetness of the chocolate come together to make a really good brownie.
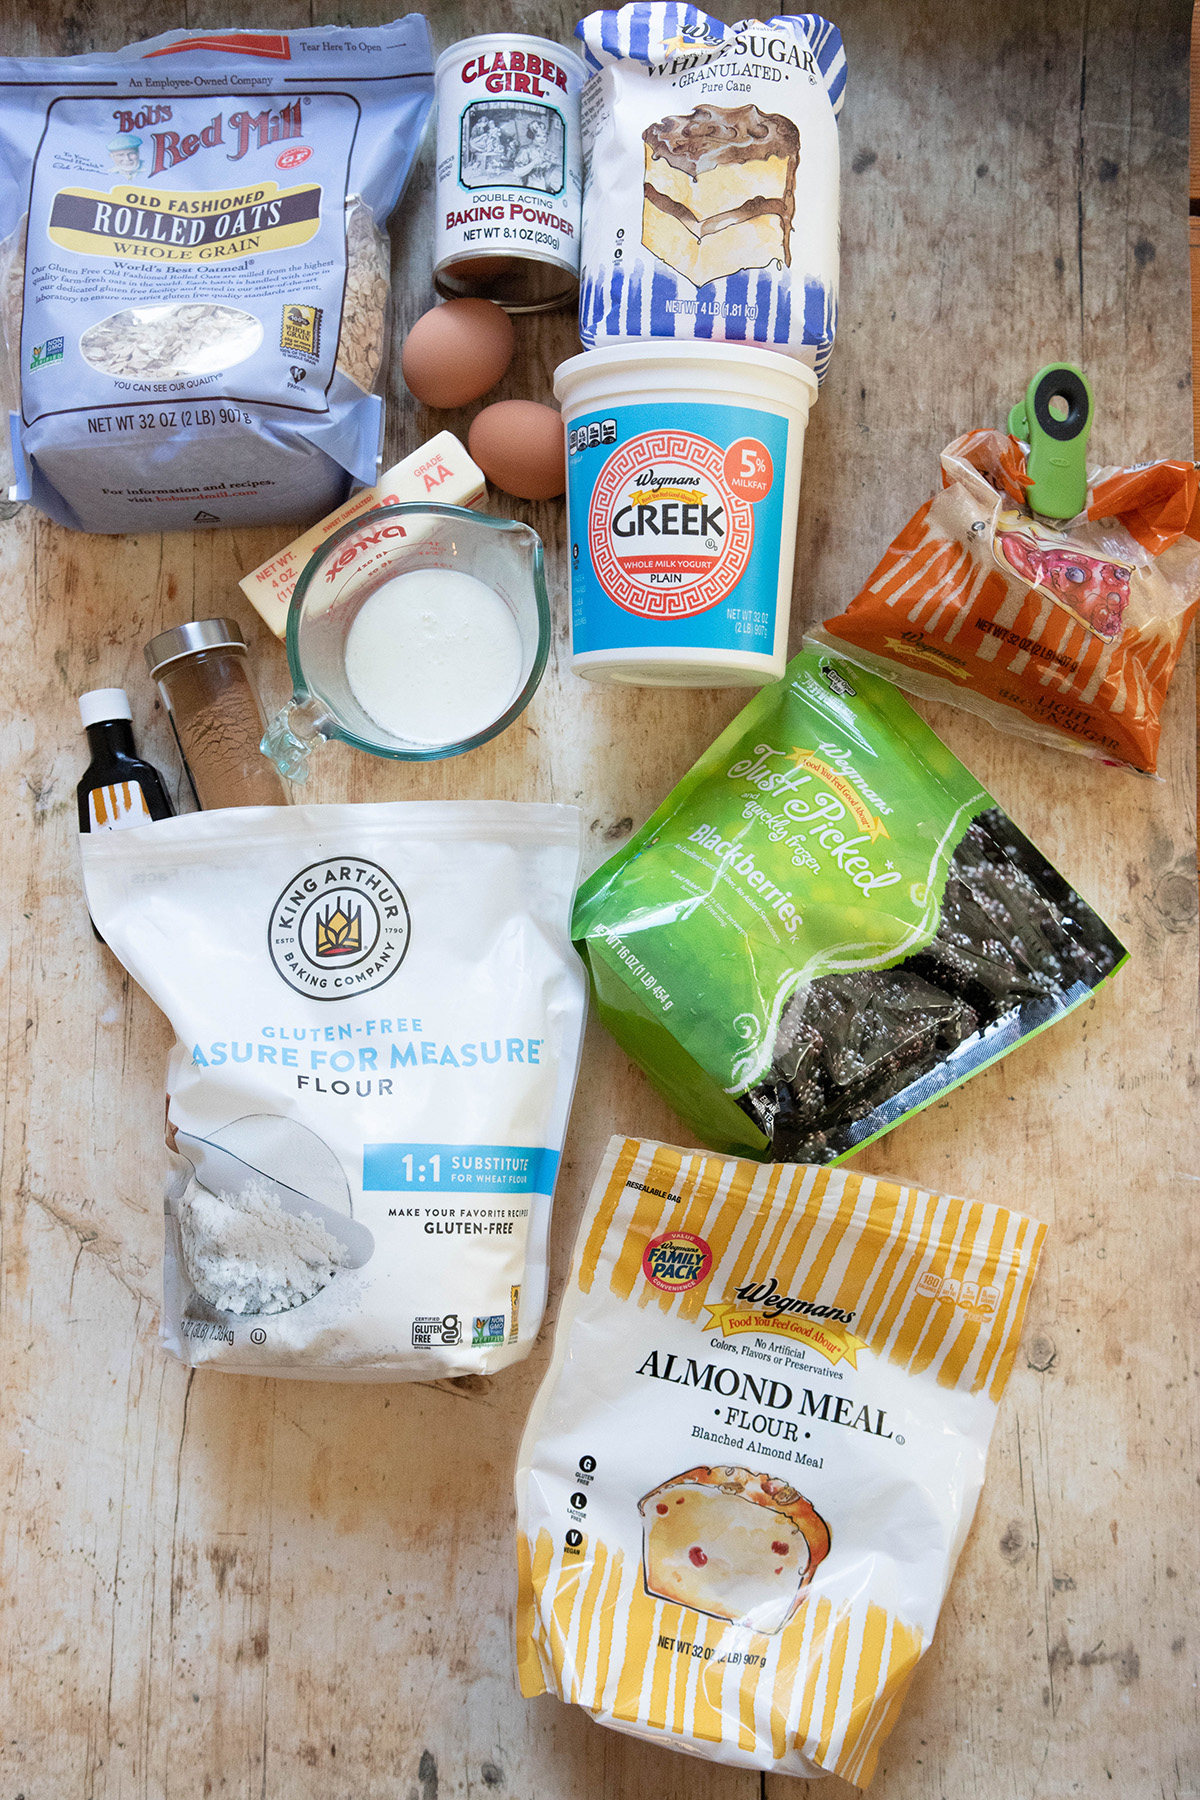
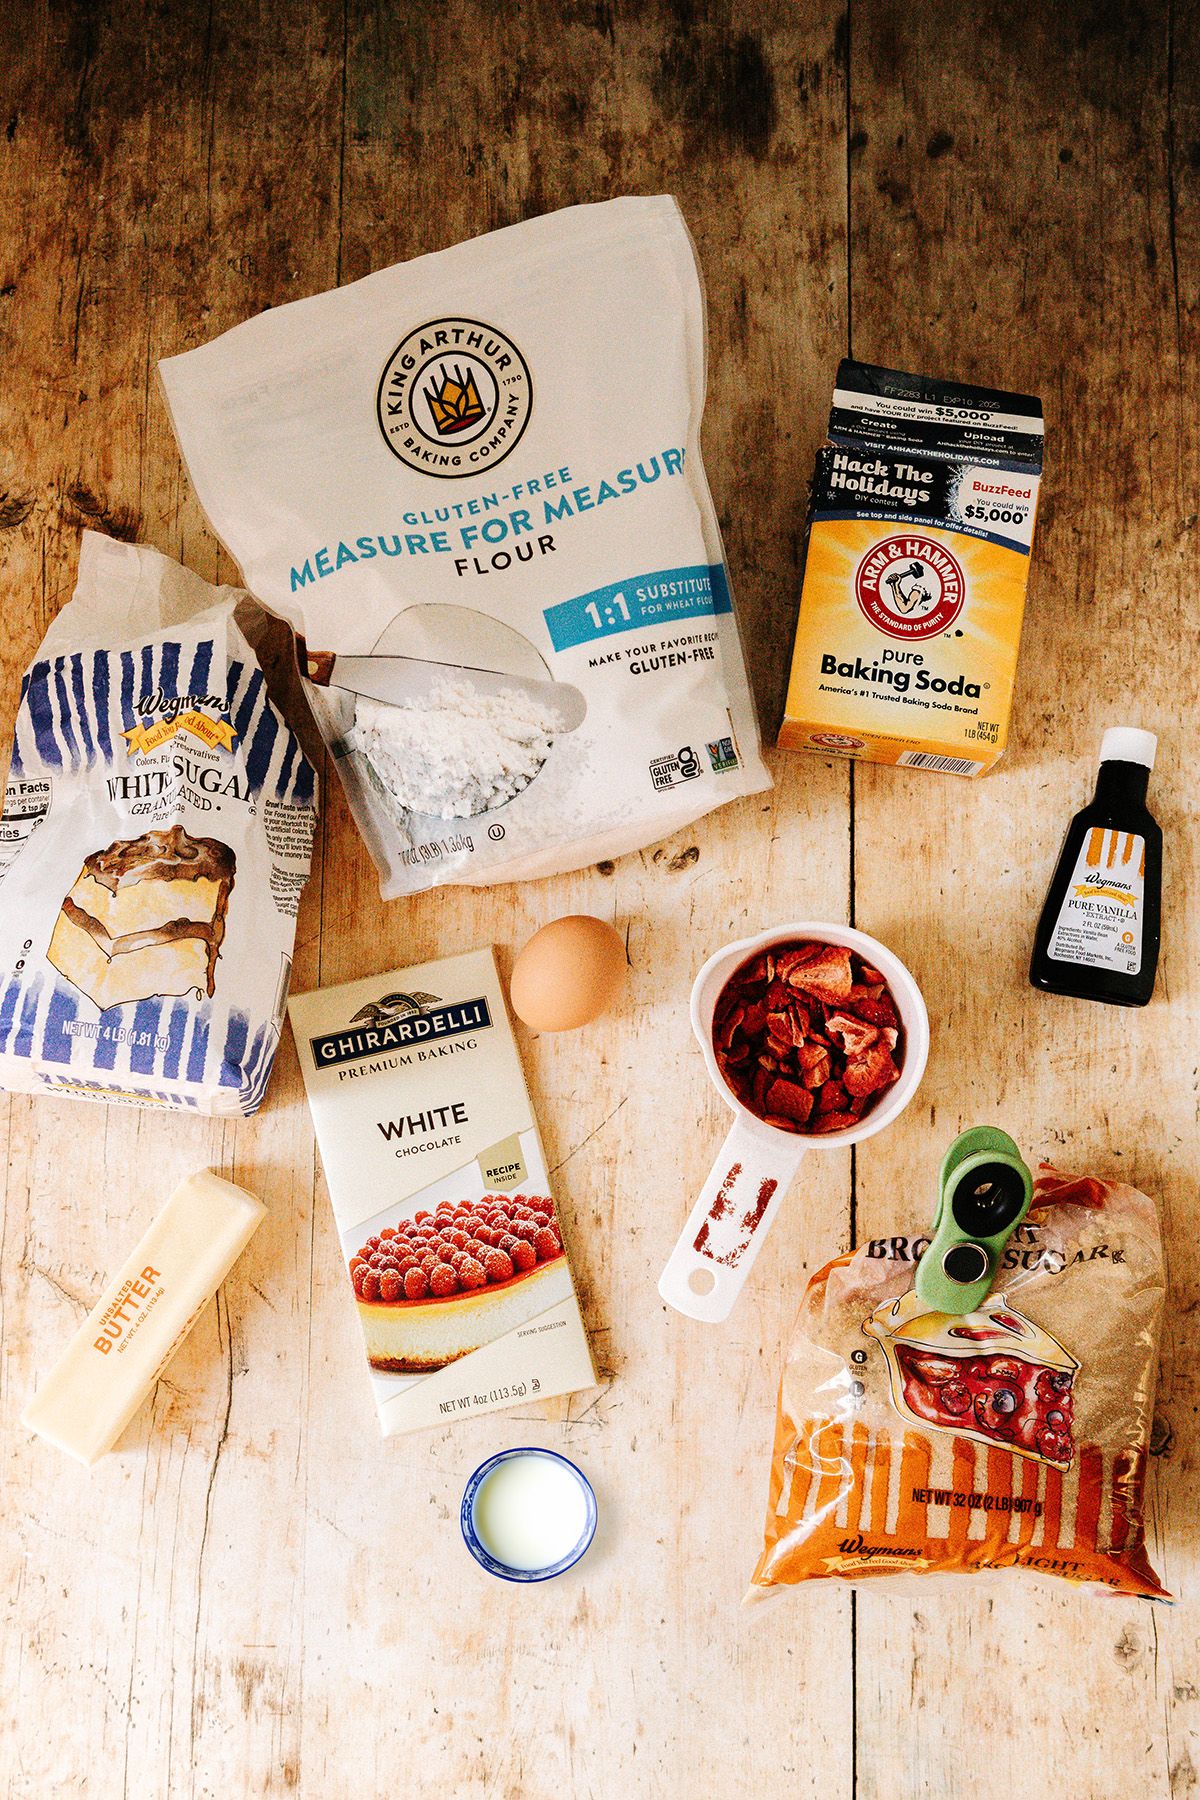
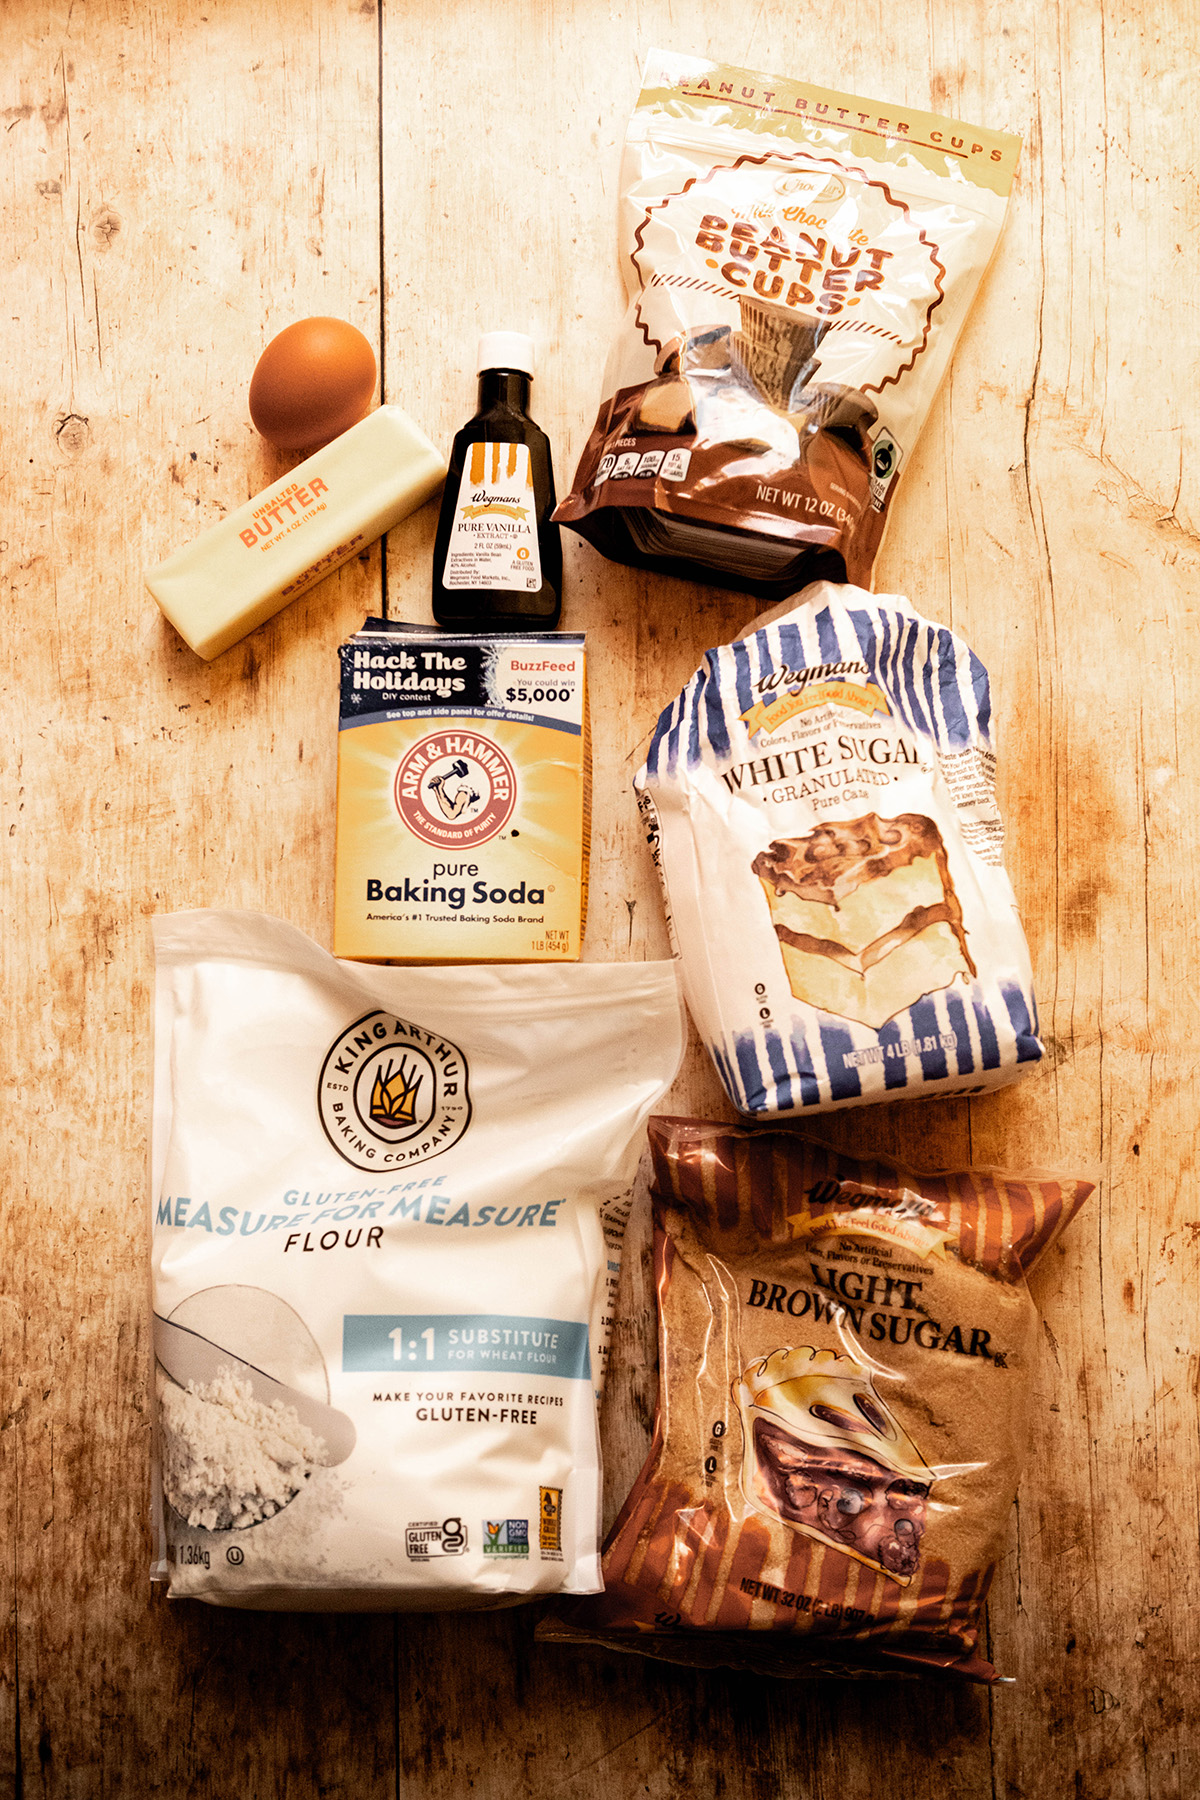
📃 Ingredients for raspberry white chocolate brownies:
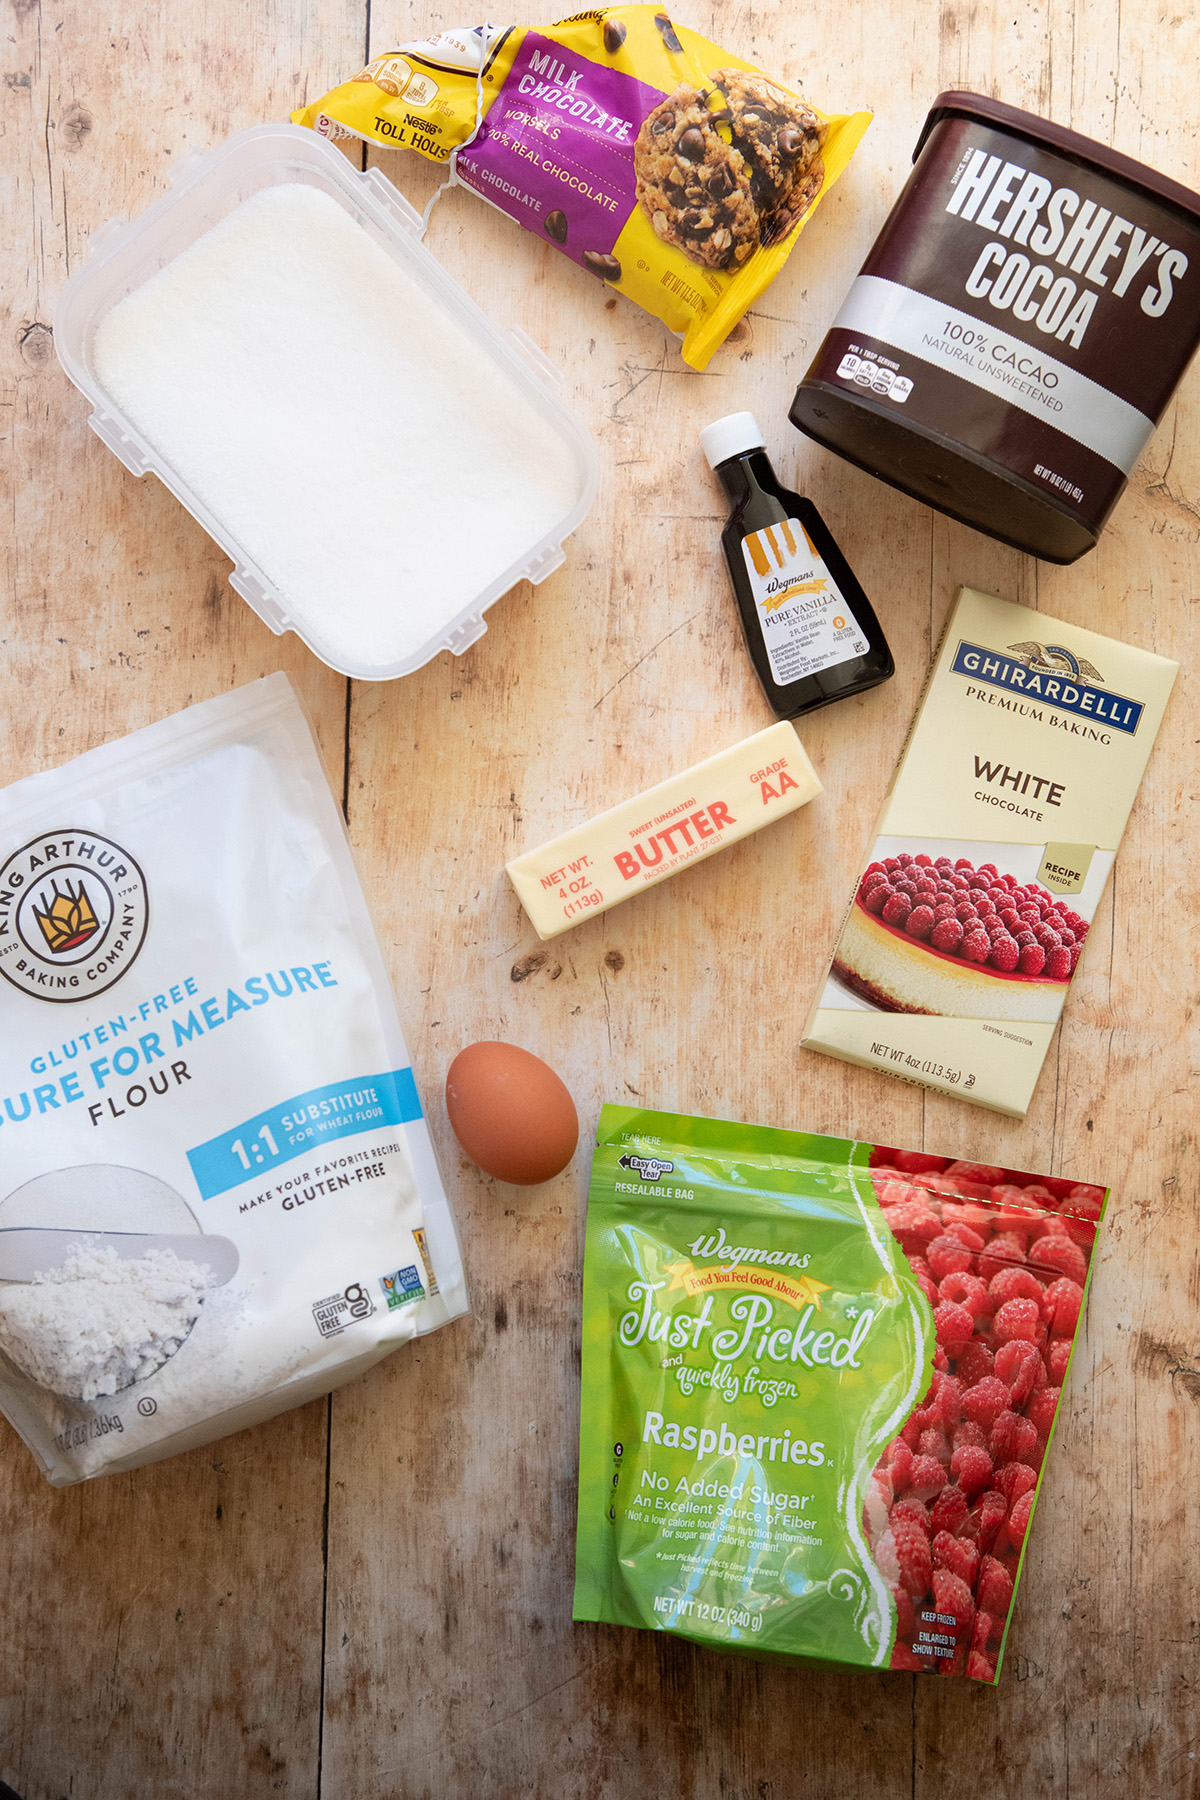
Butter: I use unsalted butter in my recipe but you can use salted if you would like to have some extra saltiness
Raspberries: See what I have to say about raspberries in tips and tricks section.
Eggs: Eggs are one of the binding agents in this recipe
Chocolate Chips: I like to use dark chocolate in brownies. I like the flavor that it gives.
White Chocolate: See what I have to say about white chocolate in the tips and tricks section.
Cocoa Powder: I like to use both cocoa powder and dark chocolate in my brownies. The chocolate mixture helps with the fudgy aspect of the recipe.
Vanilla Extract: Despite the fact that it is a chocolate based recipe, vanilla helps enhance those flavors.
White Sugar: Our sweetener for our recipe
Flour: I use a gluten free all purpose flour (specifically King Arthur Measure for Measure) but you can use whatever flour you like so long as it is all purpose. If it is gluten free, make sure it has xanthan gum in it.
📖 How to make this recipe:
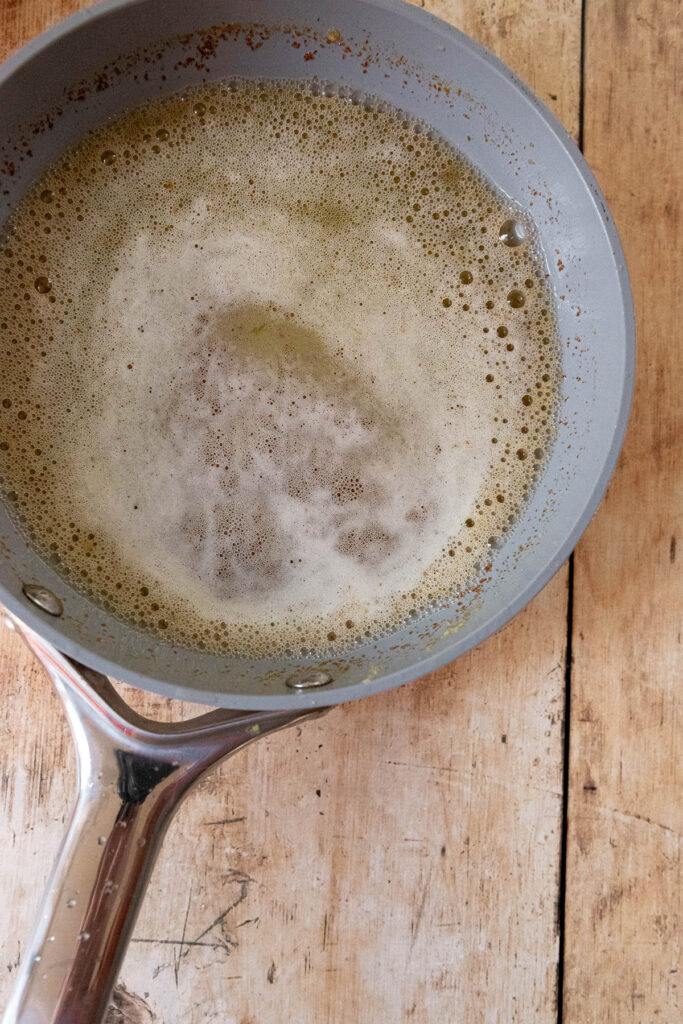
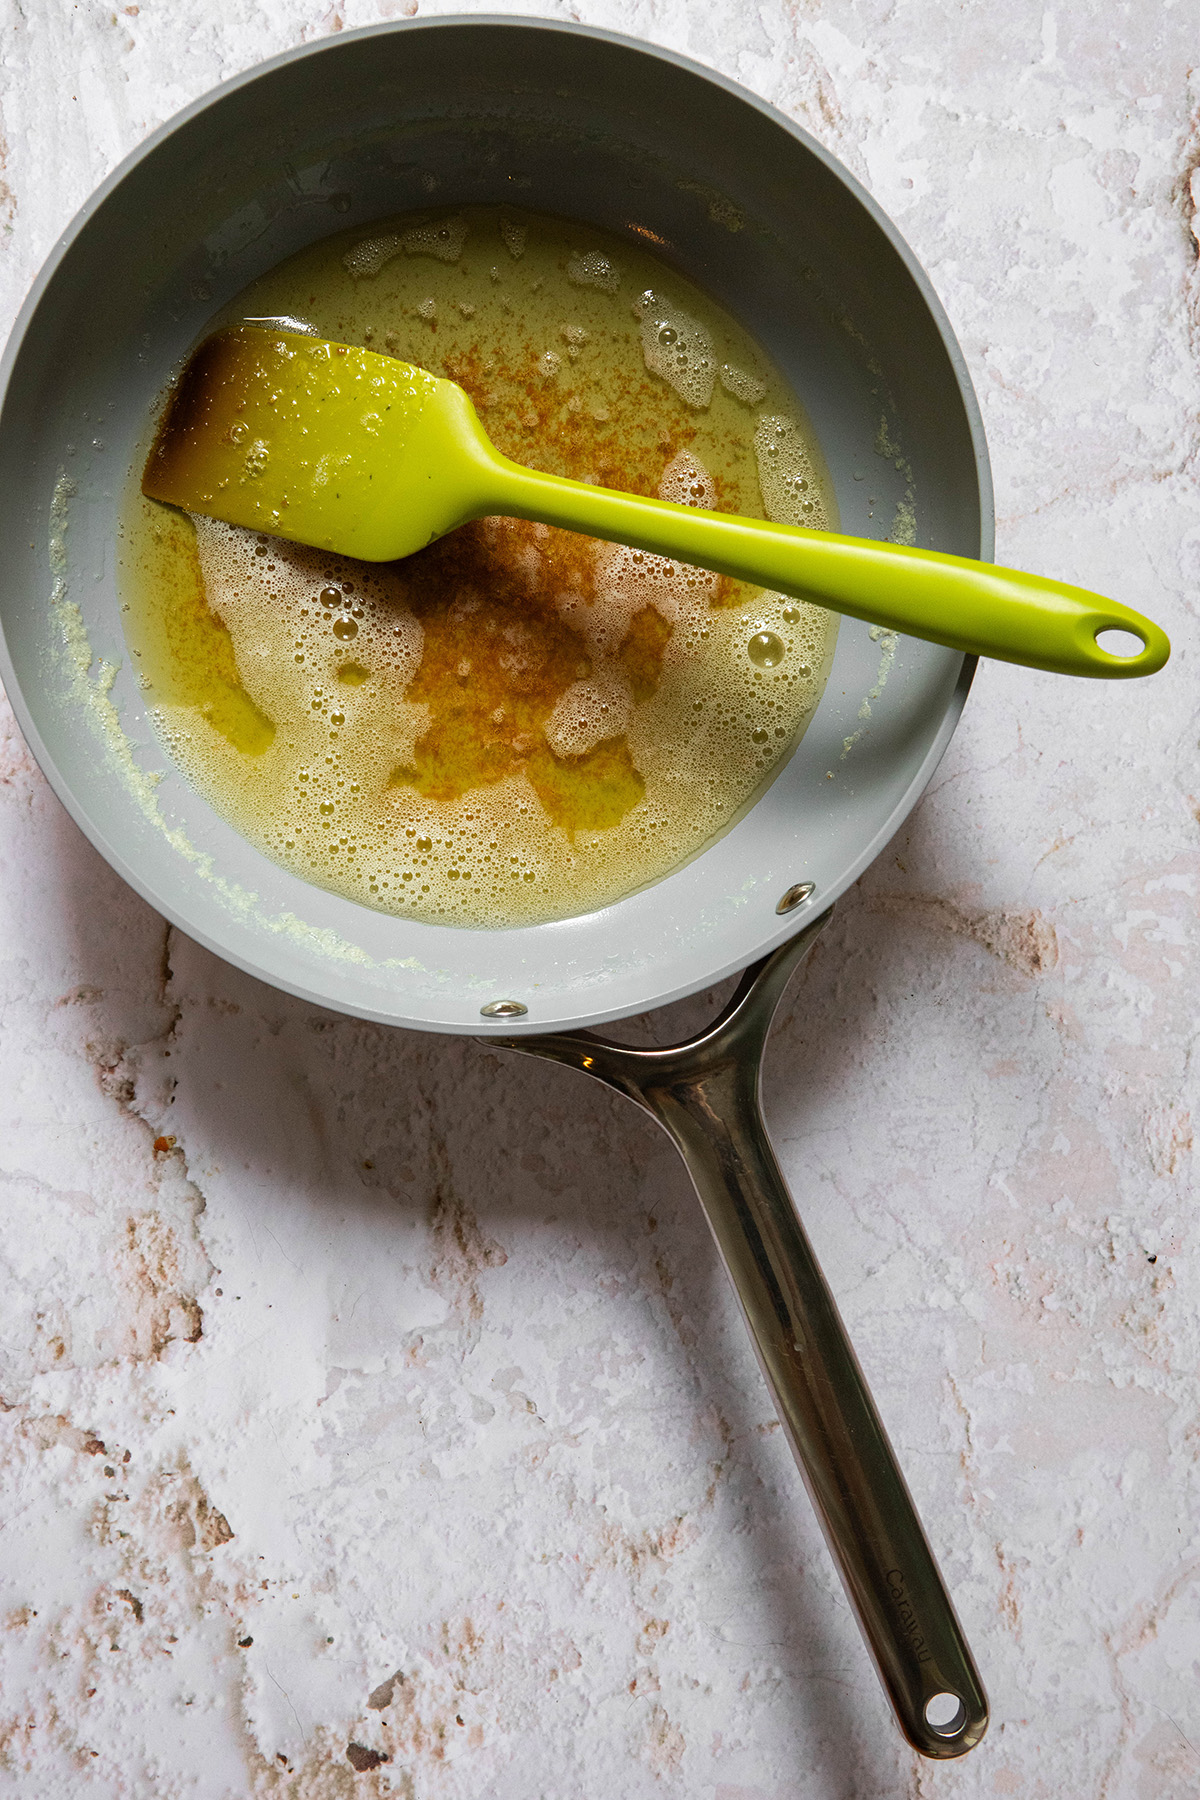
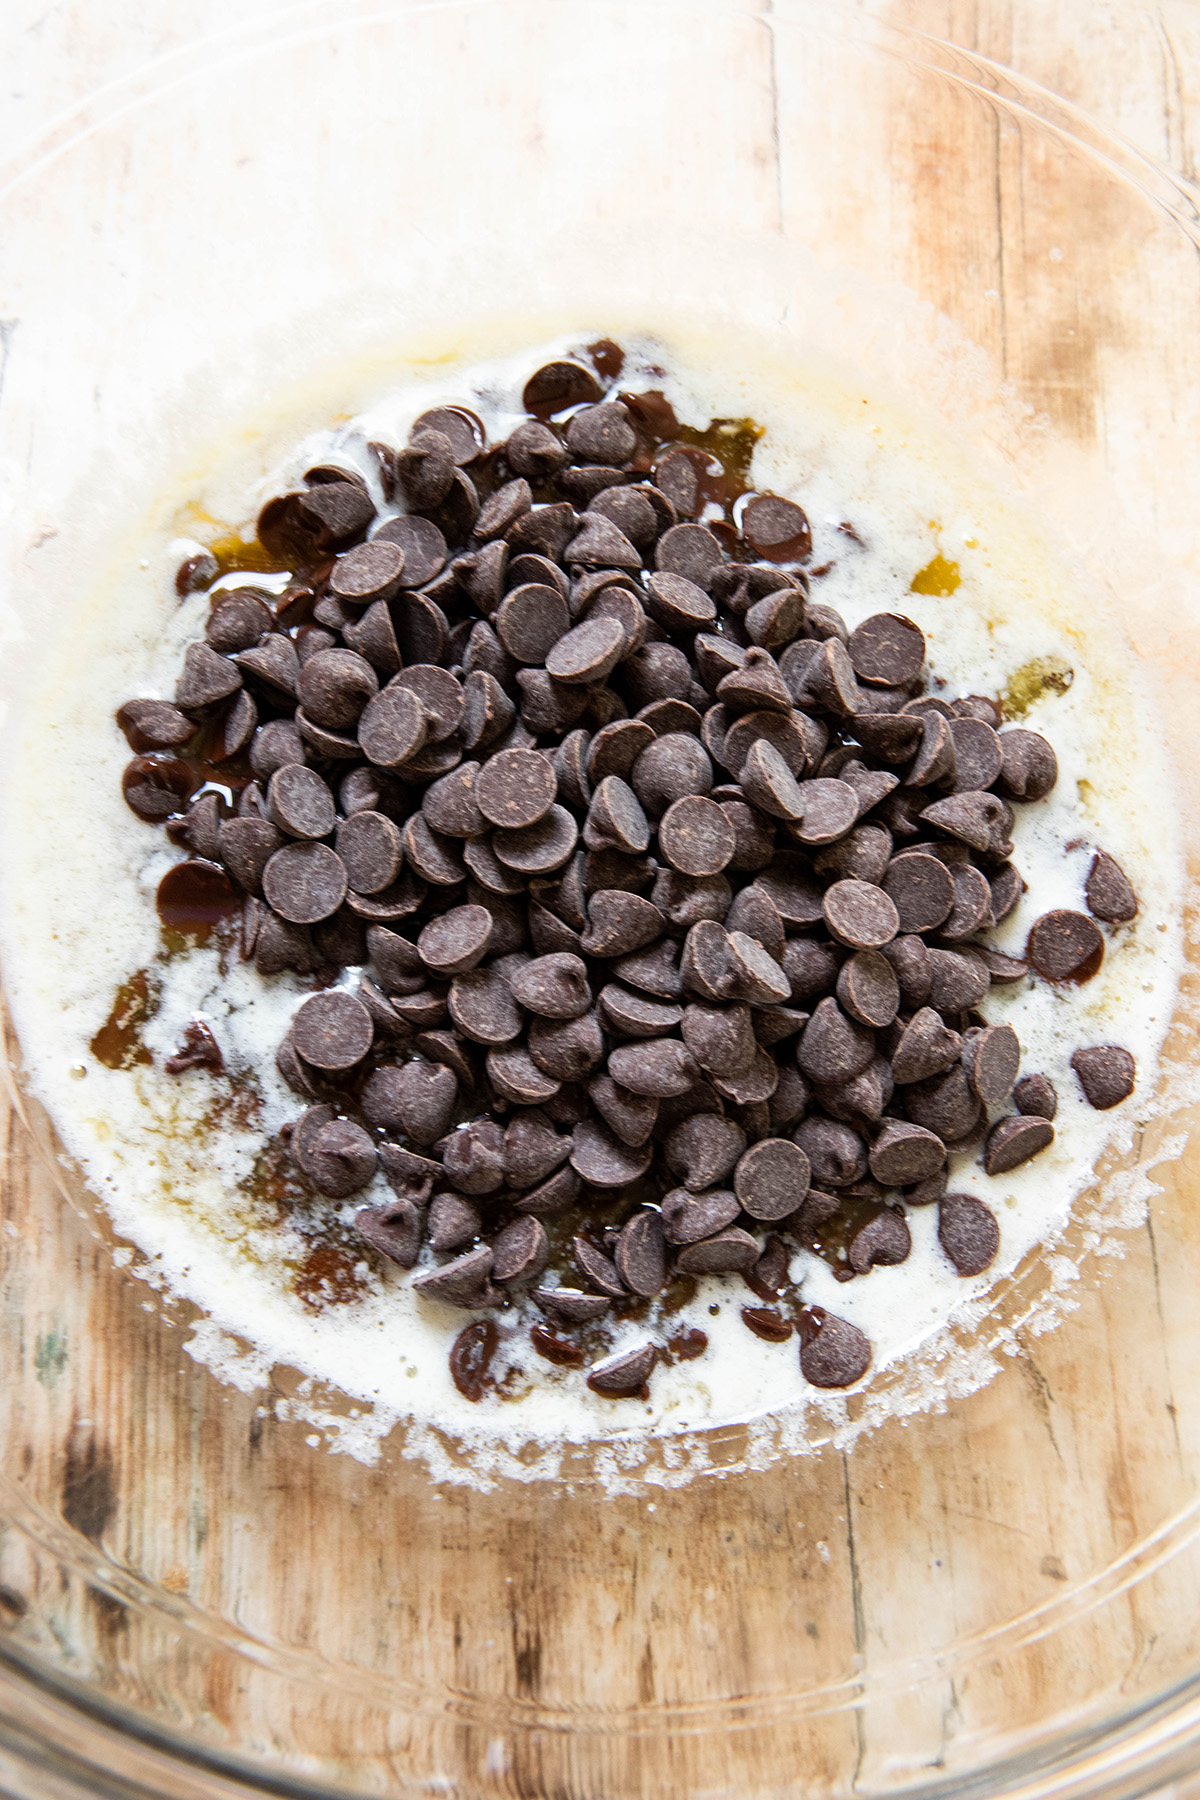
Combining the Butter and Chocolate: In a large bowl (use a heatproof bowl) melt the butter in a microwave. Once the butter is completely melted, add the chocolate chips to the bowl and whisk together. They should all melt to form a beautiful chocolatey mix.
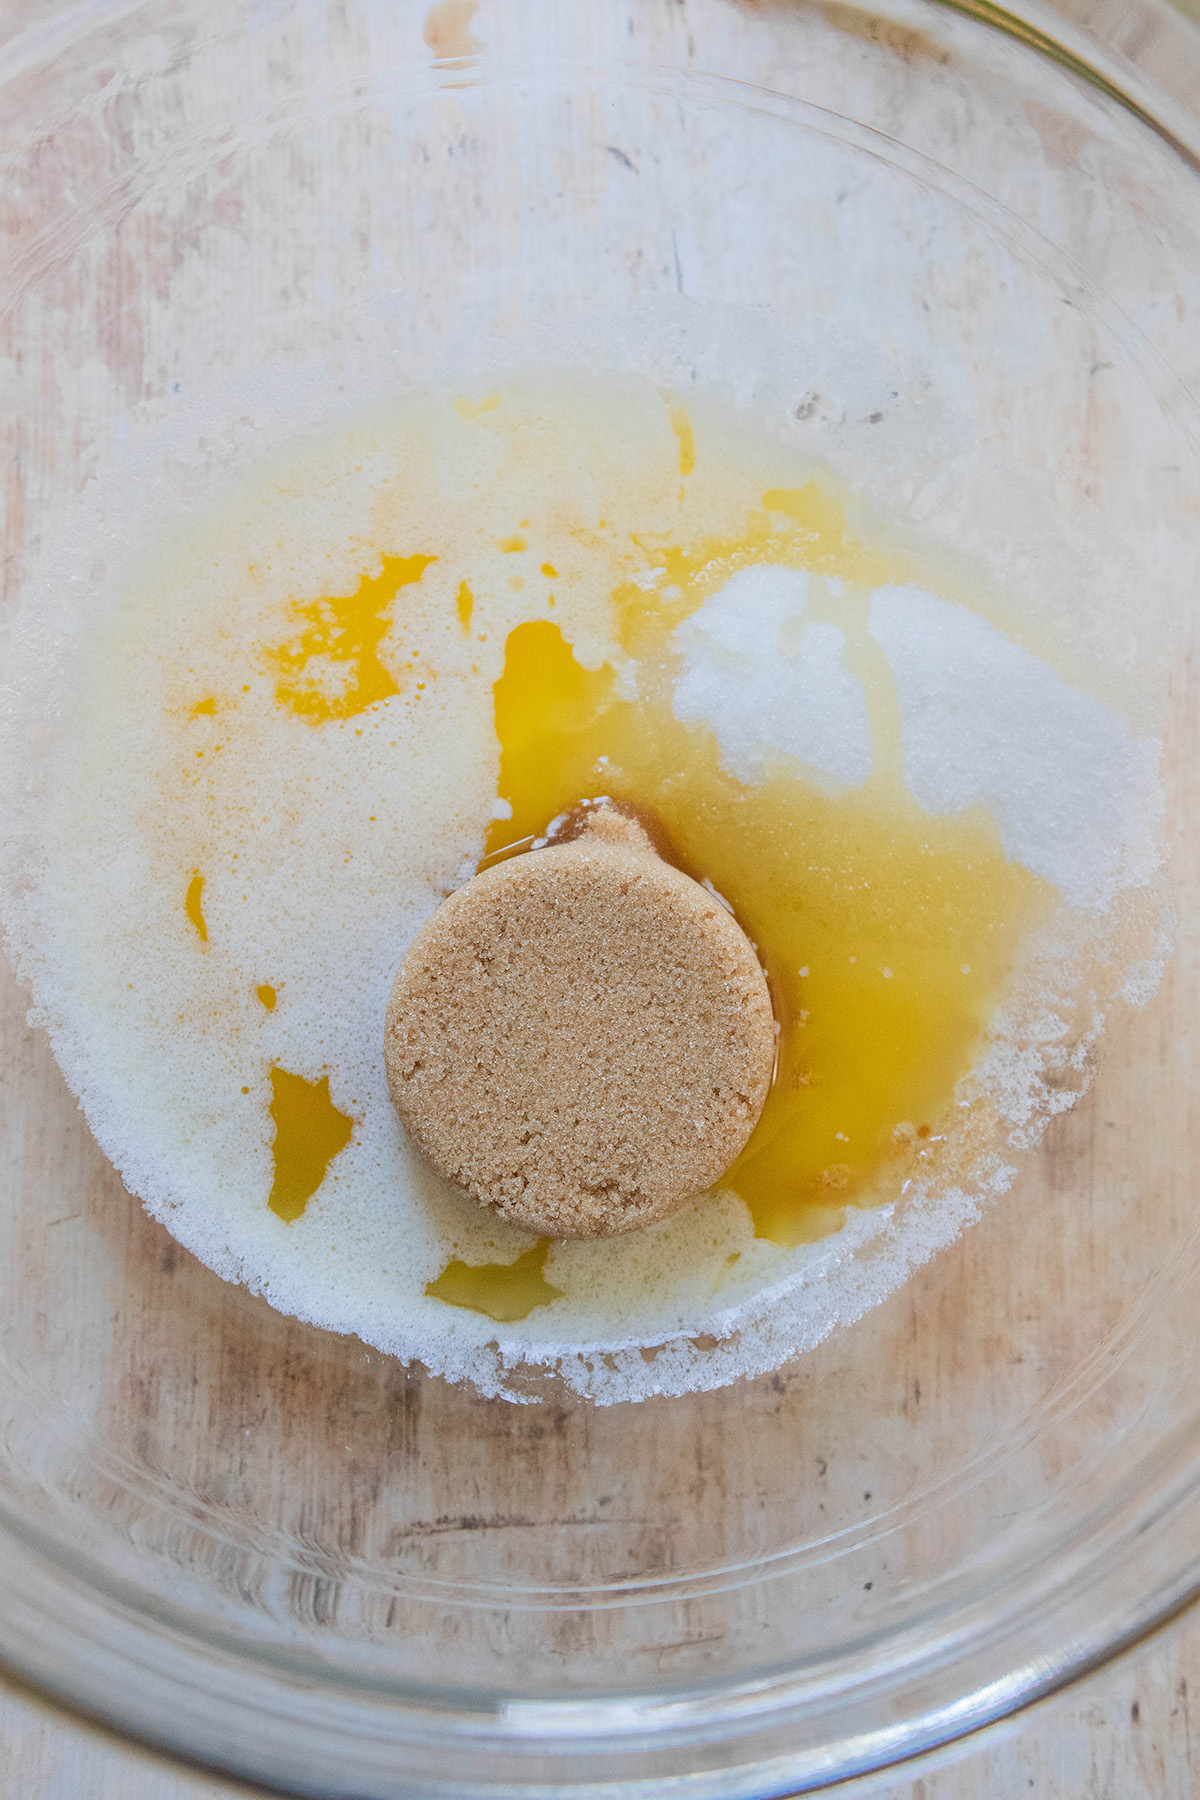
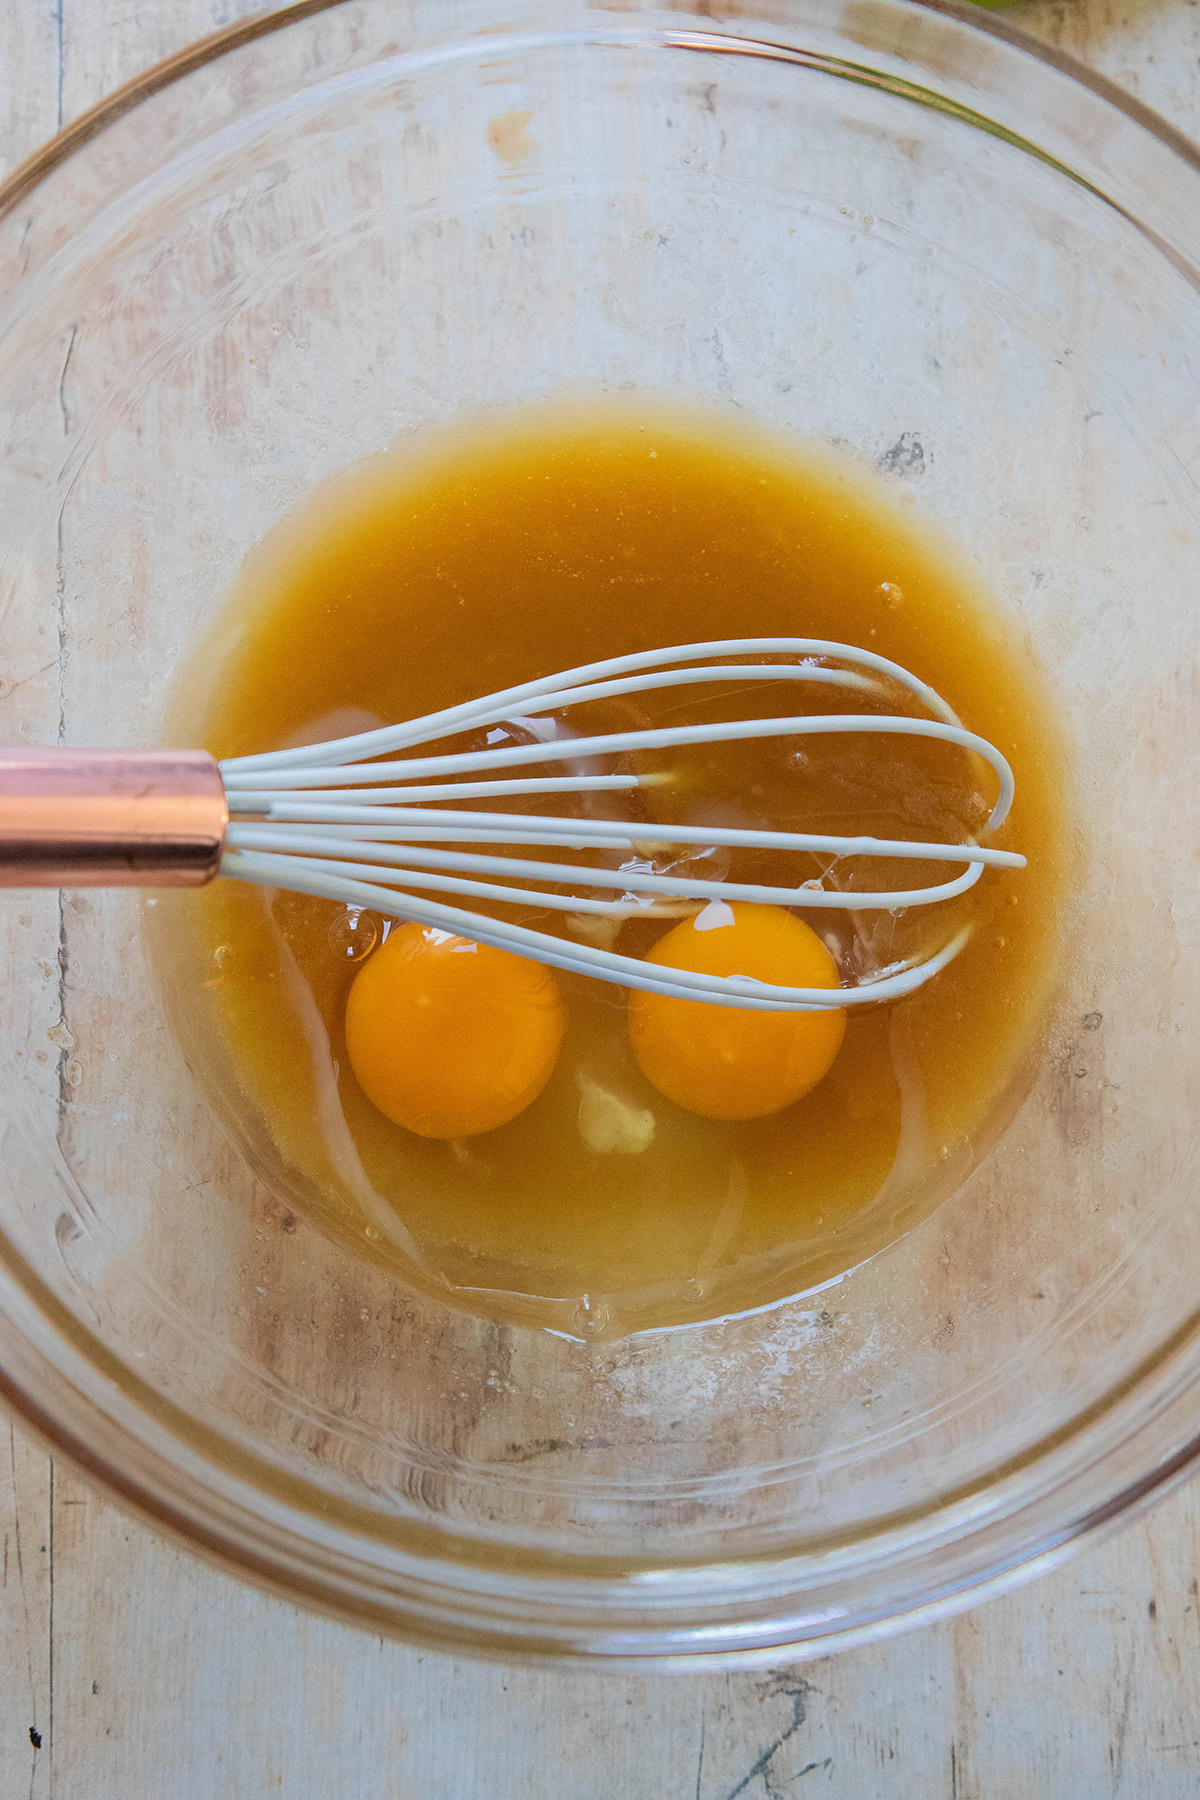
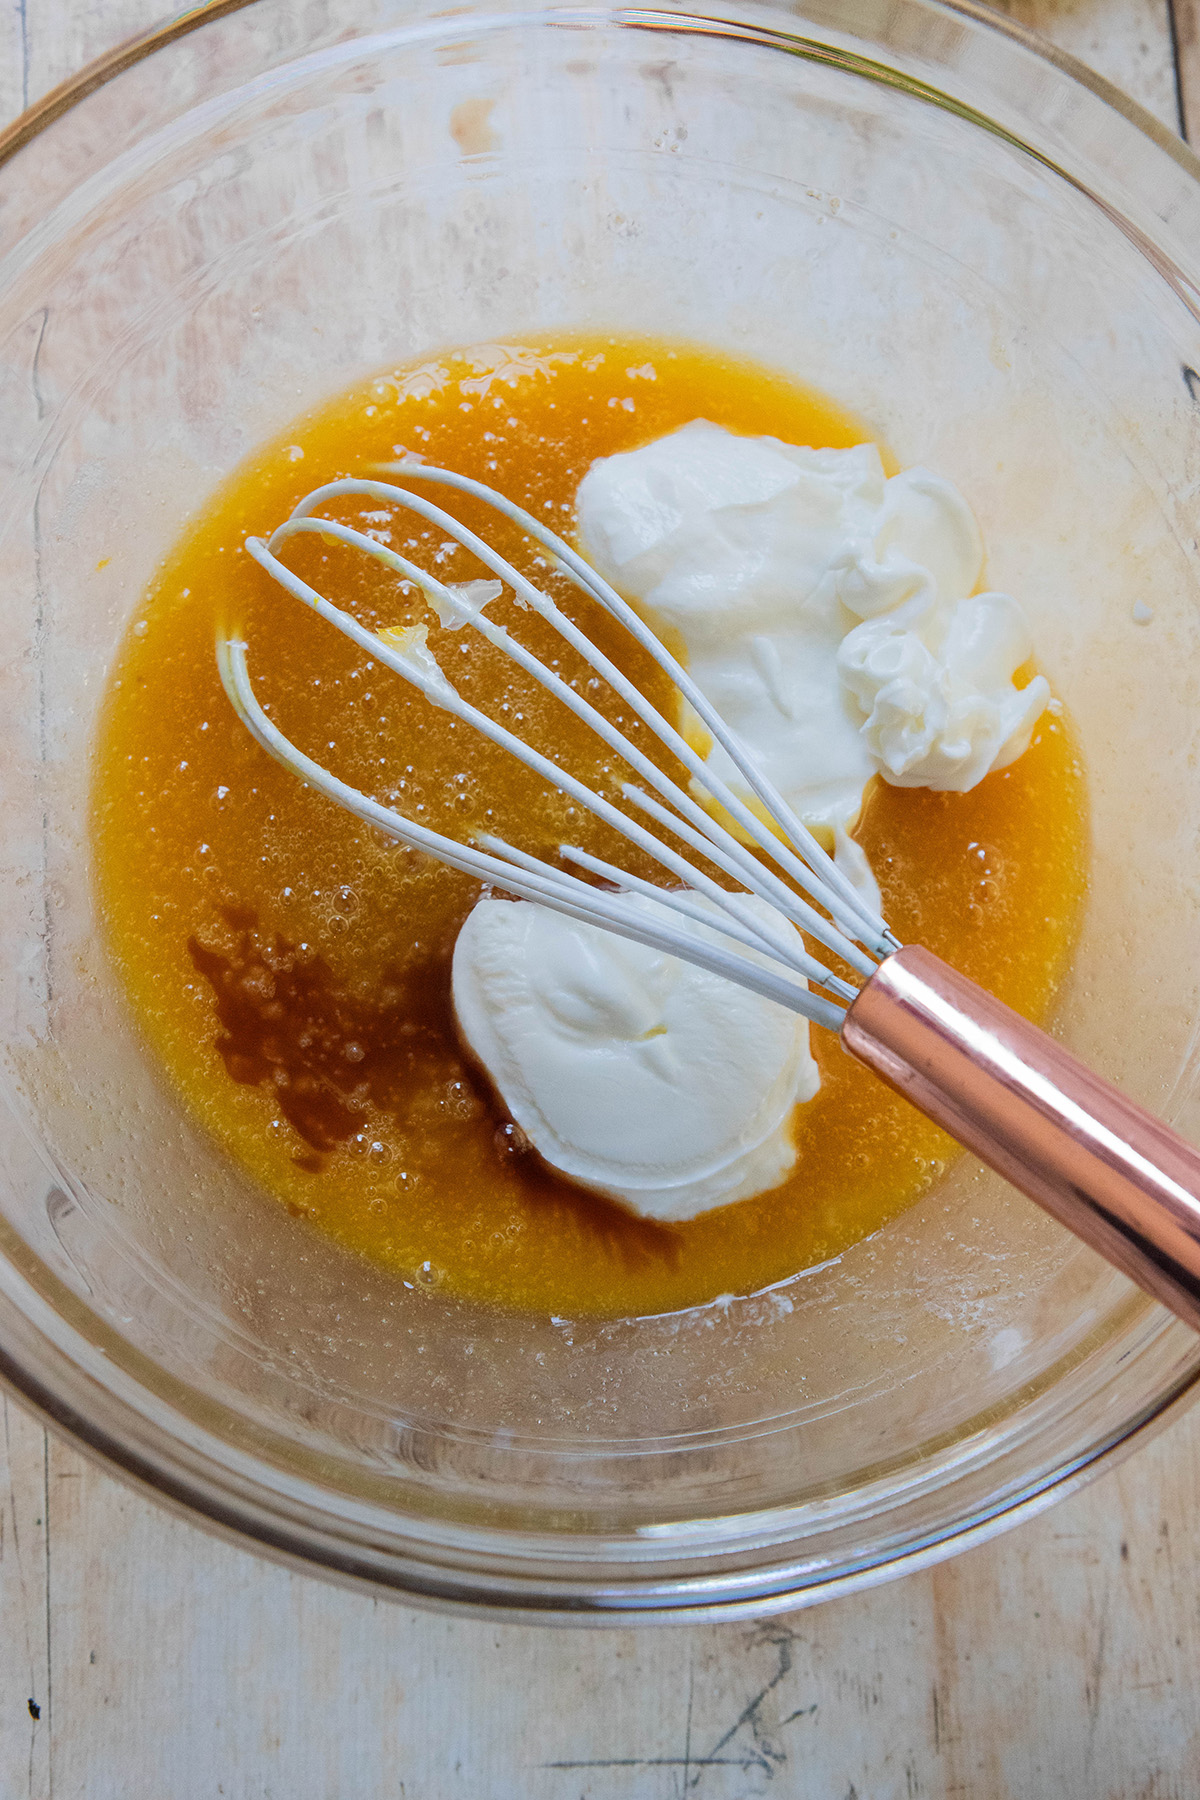
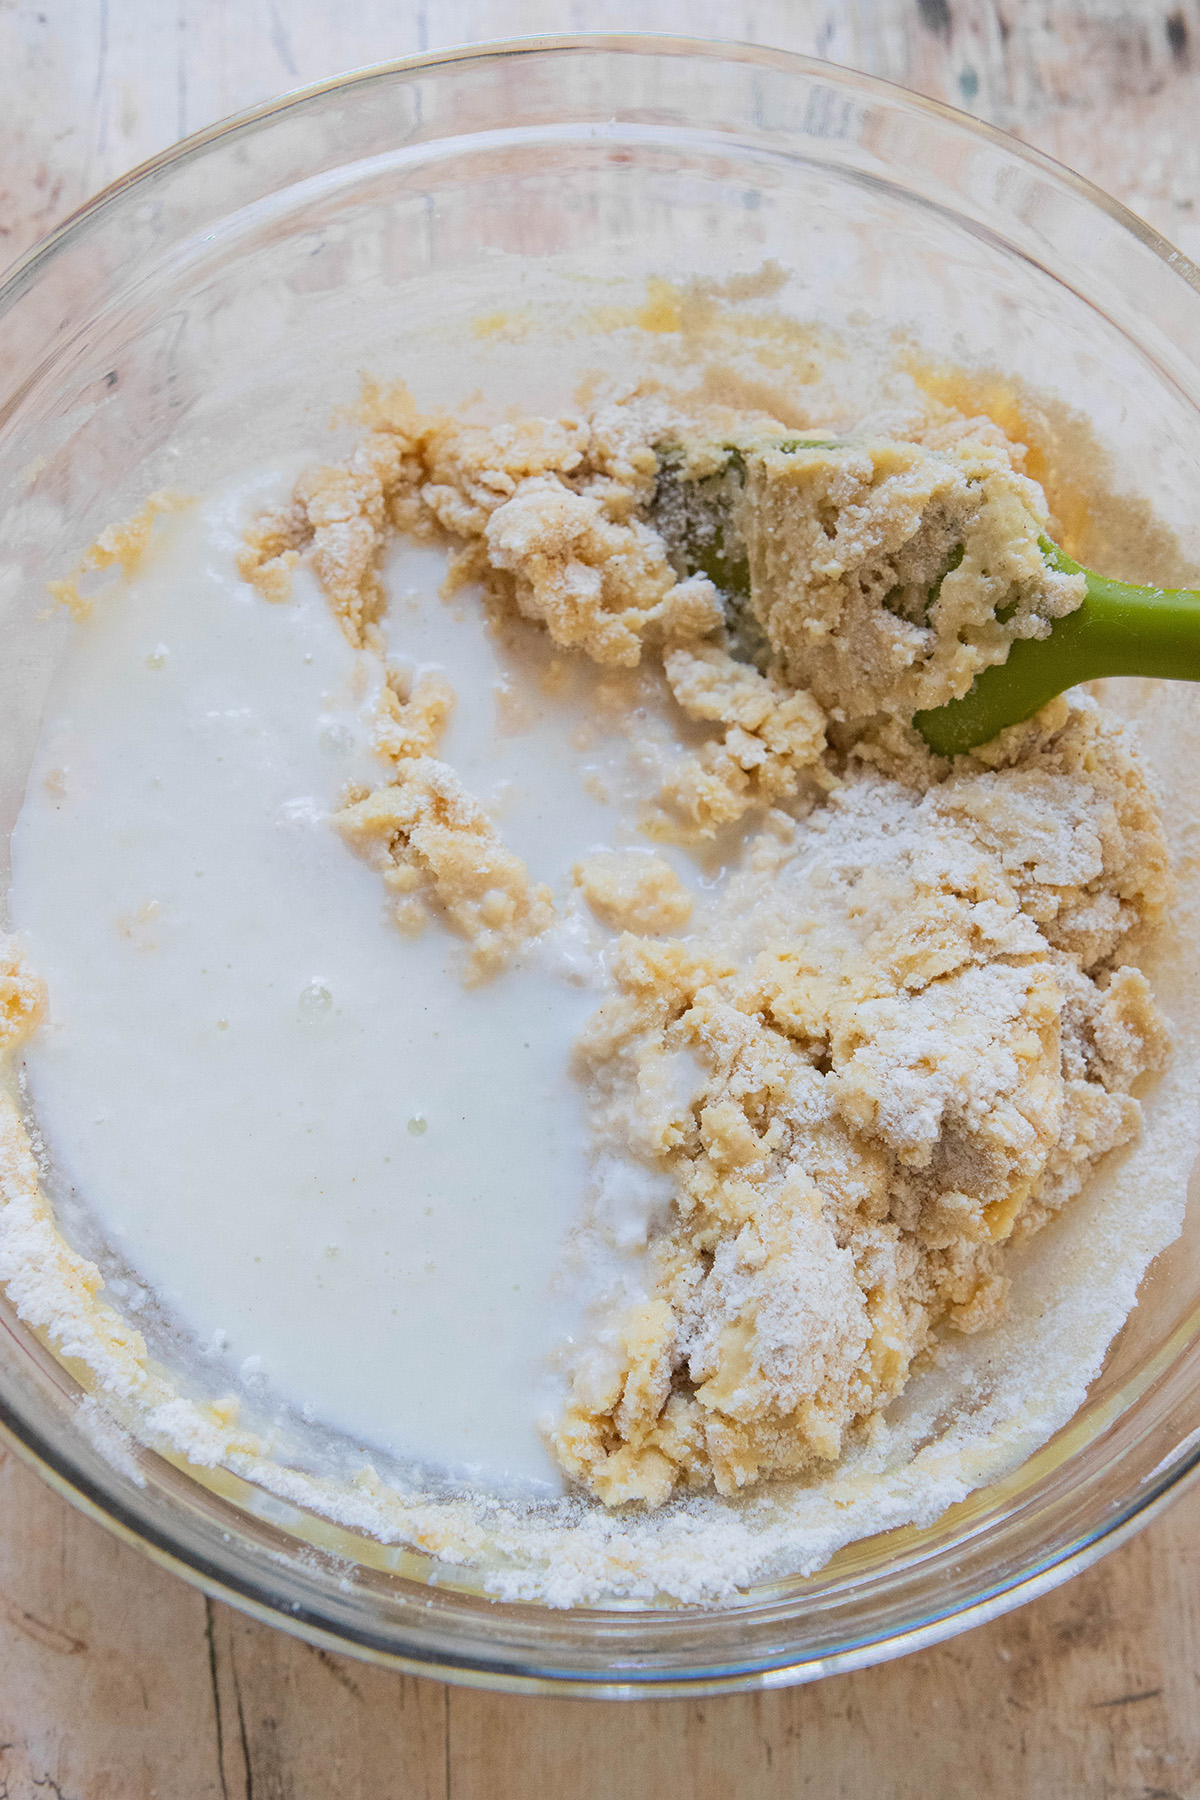
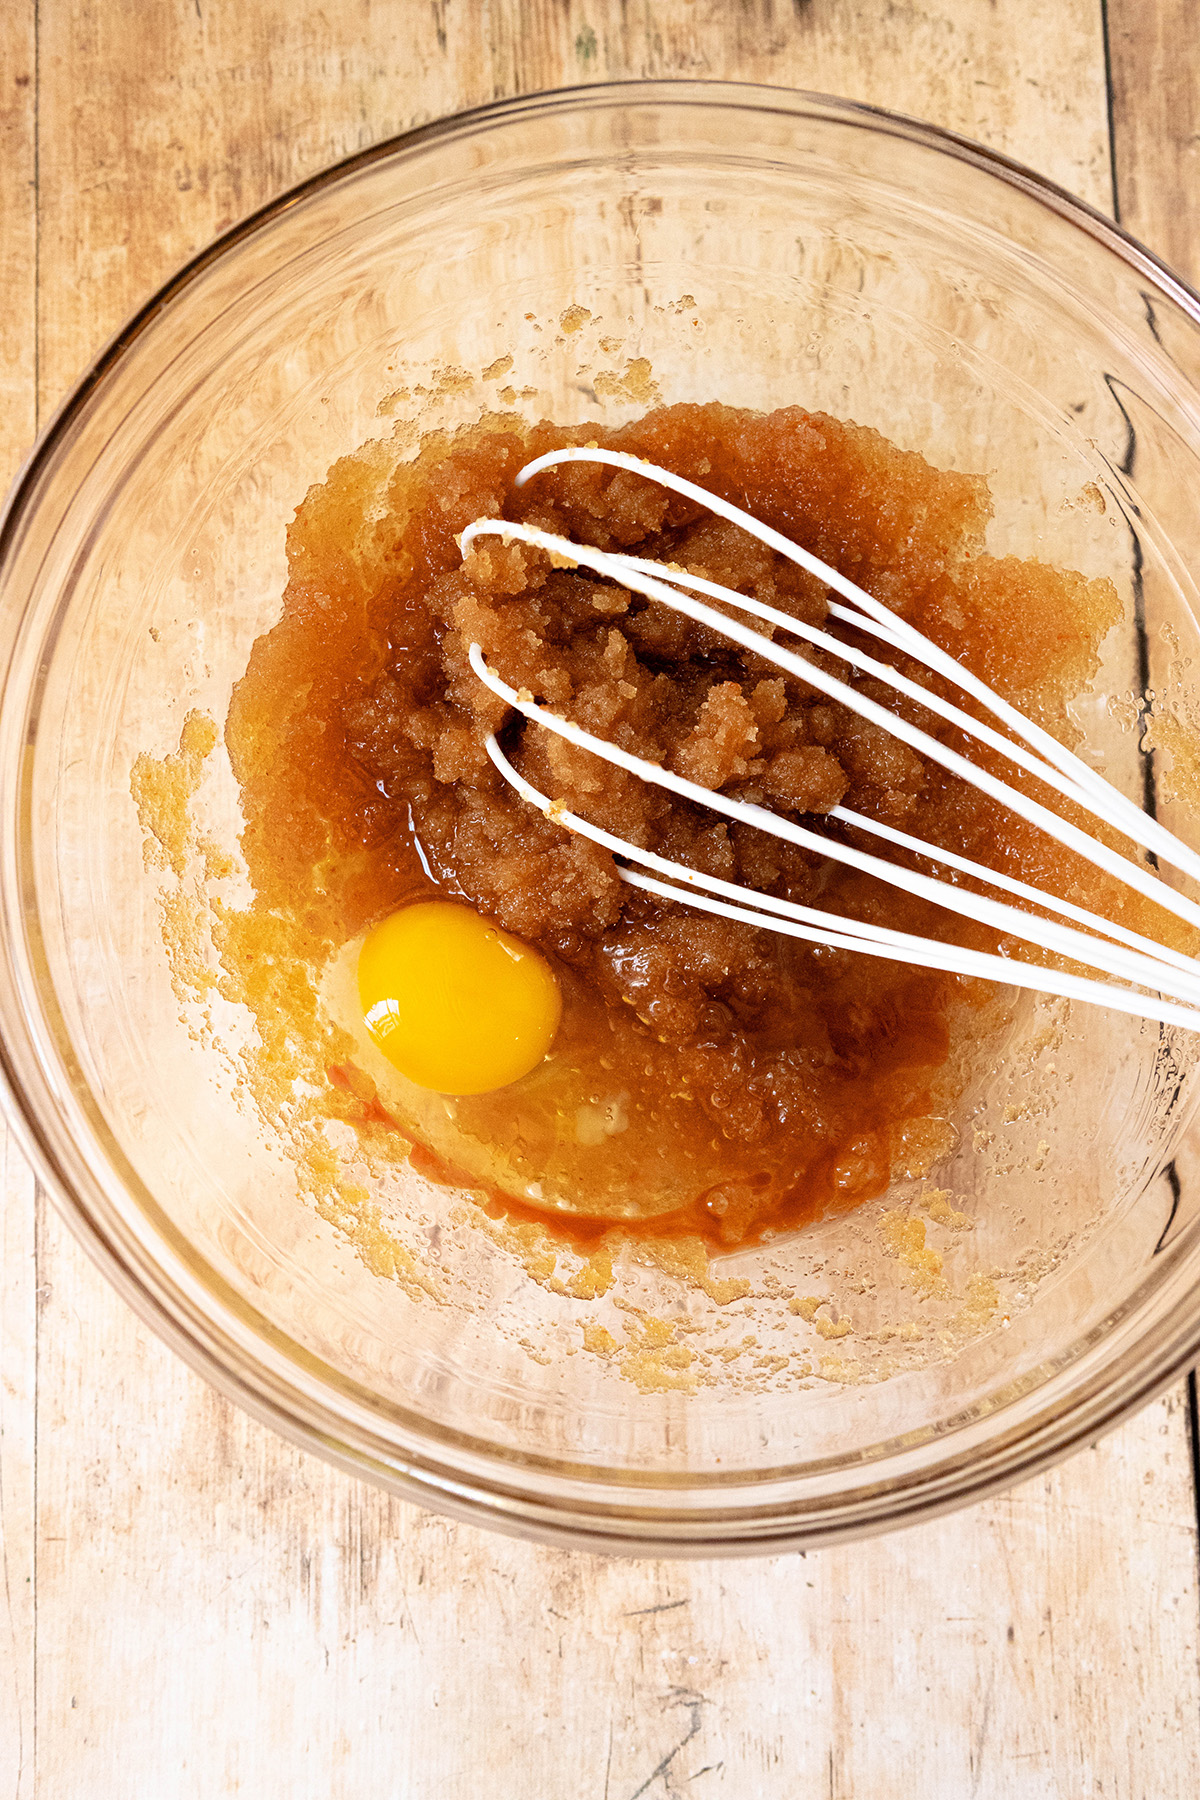
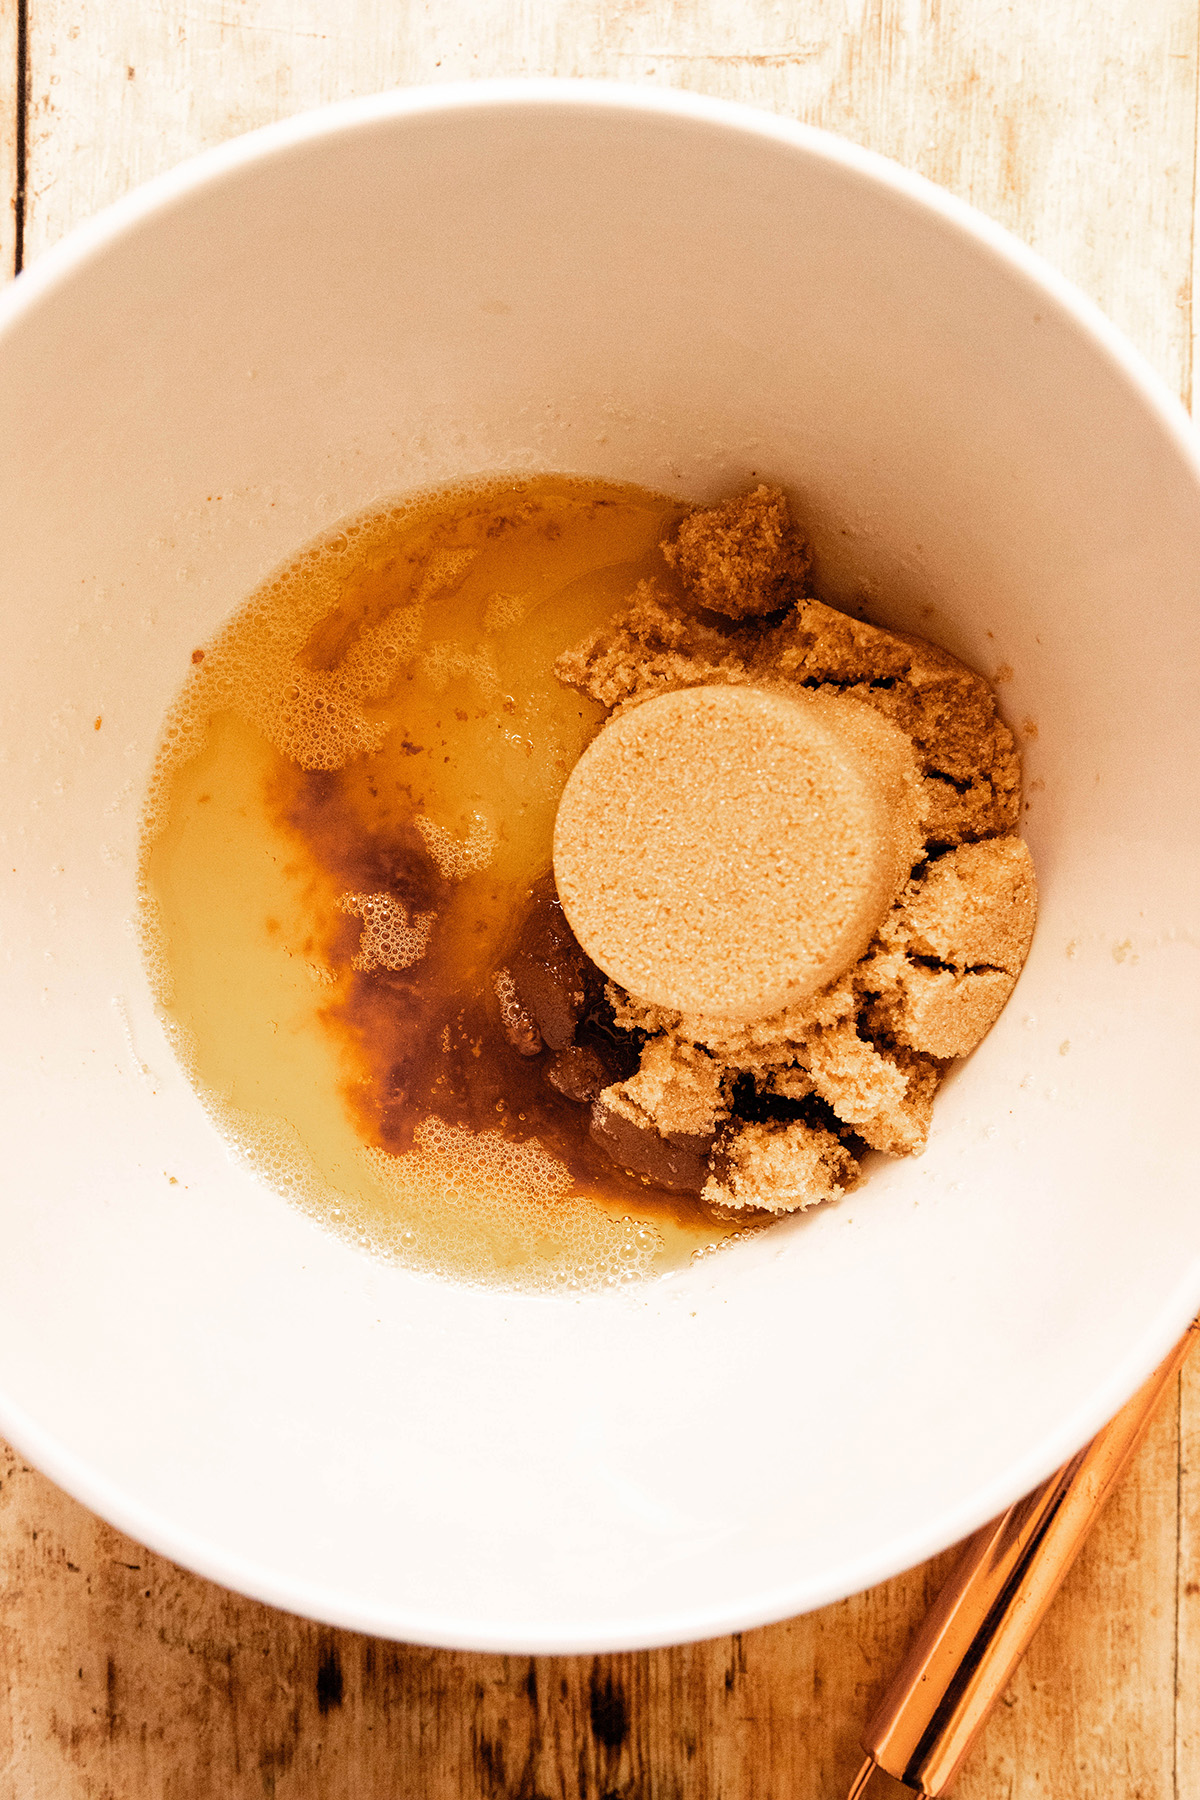
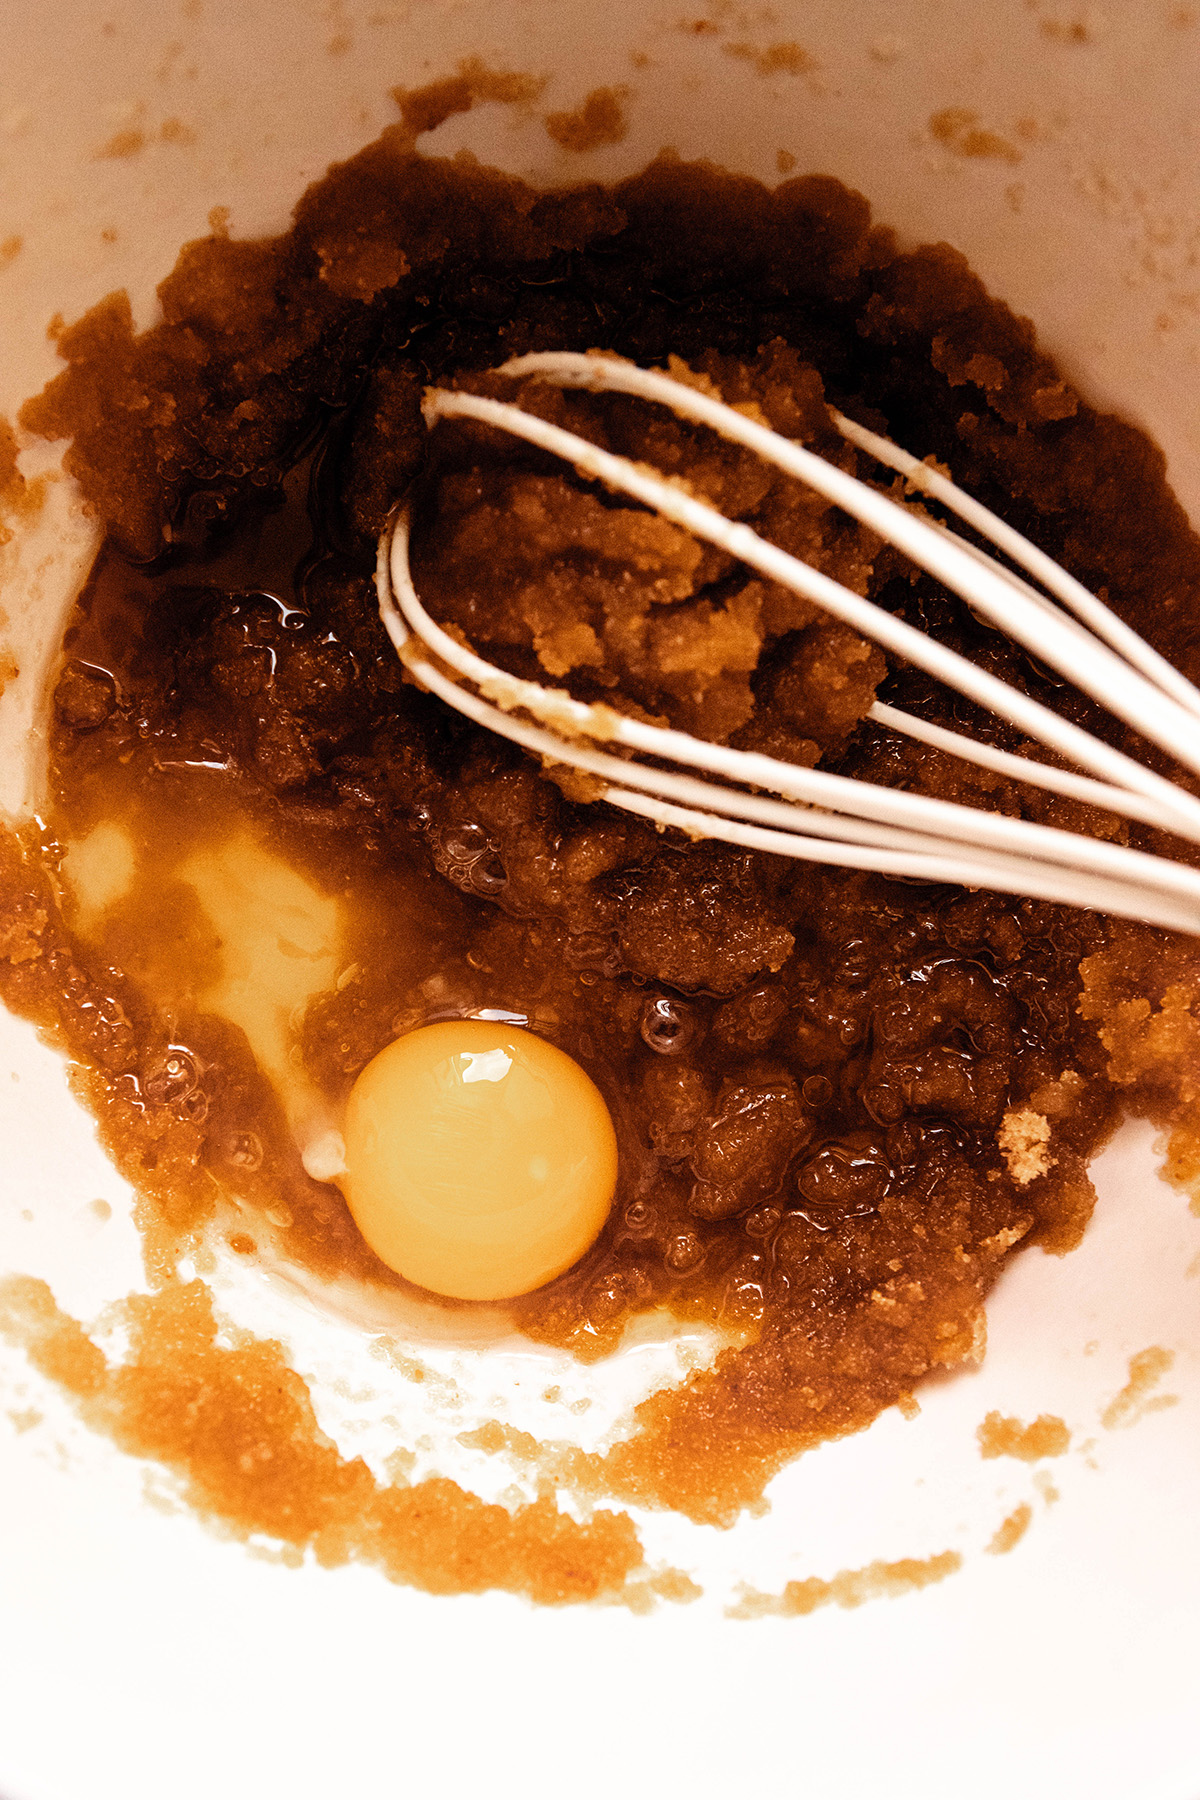
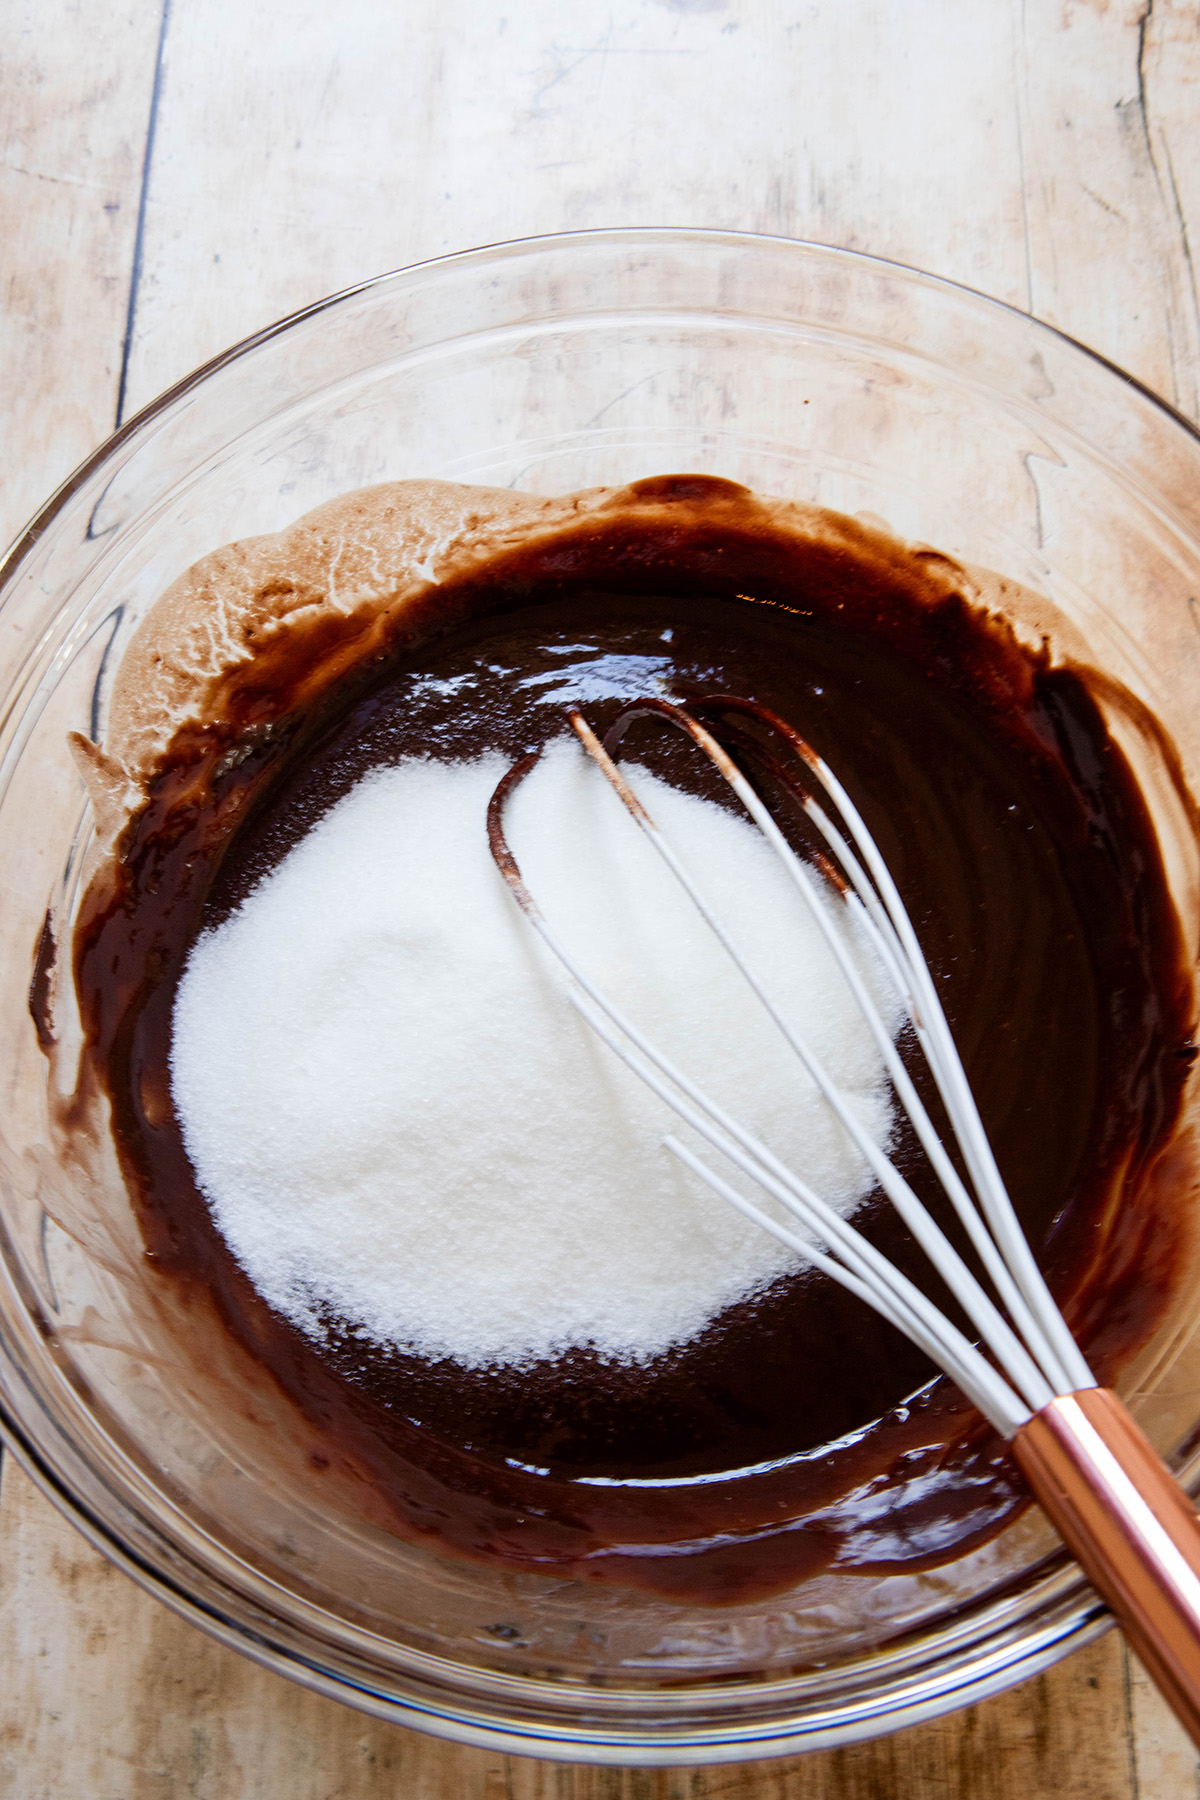
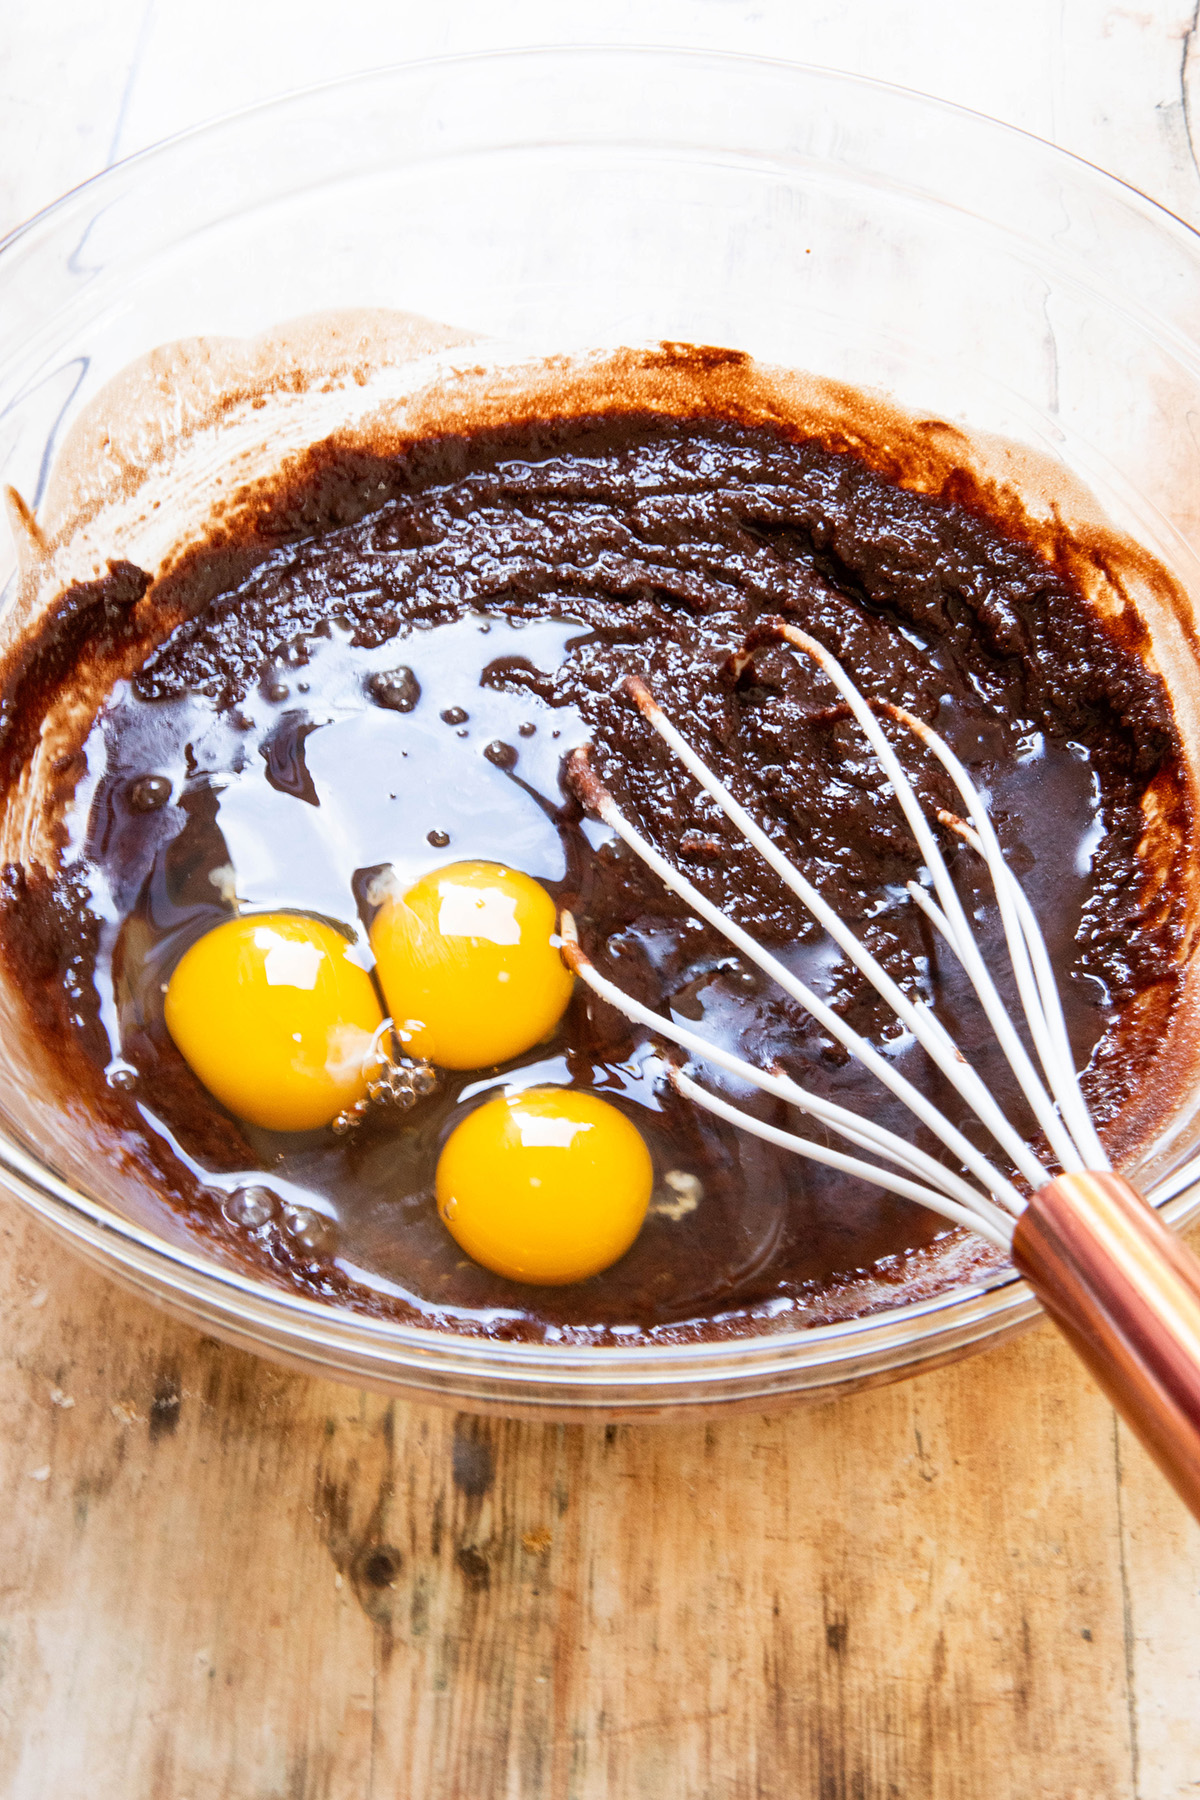
Adding the Sugar, Vanilla, and Eggs: Whisk in the sugar. Then add the eggs one at a time and whisk until the batter thickens. Finally add the vanilla and whisk once more.
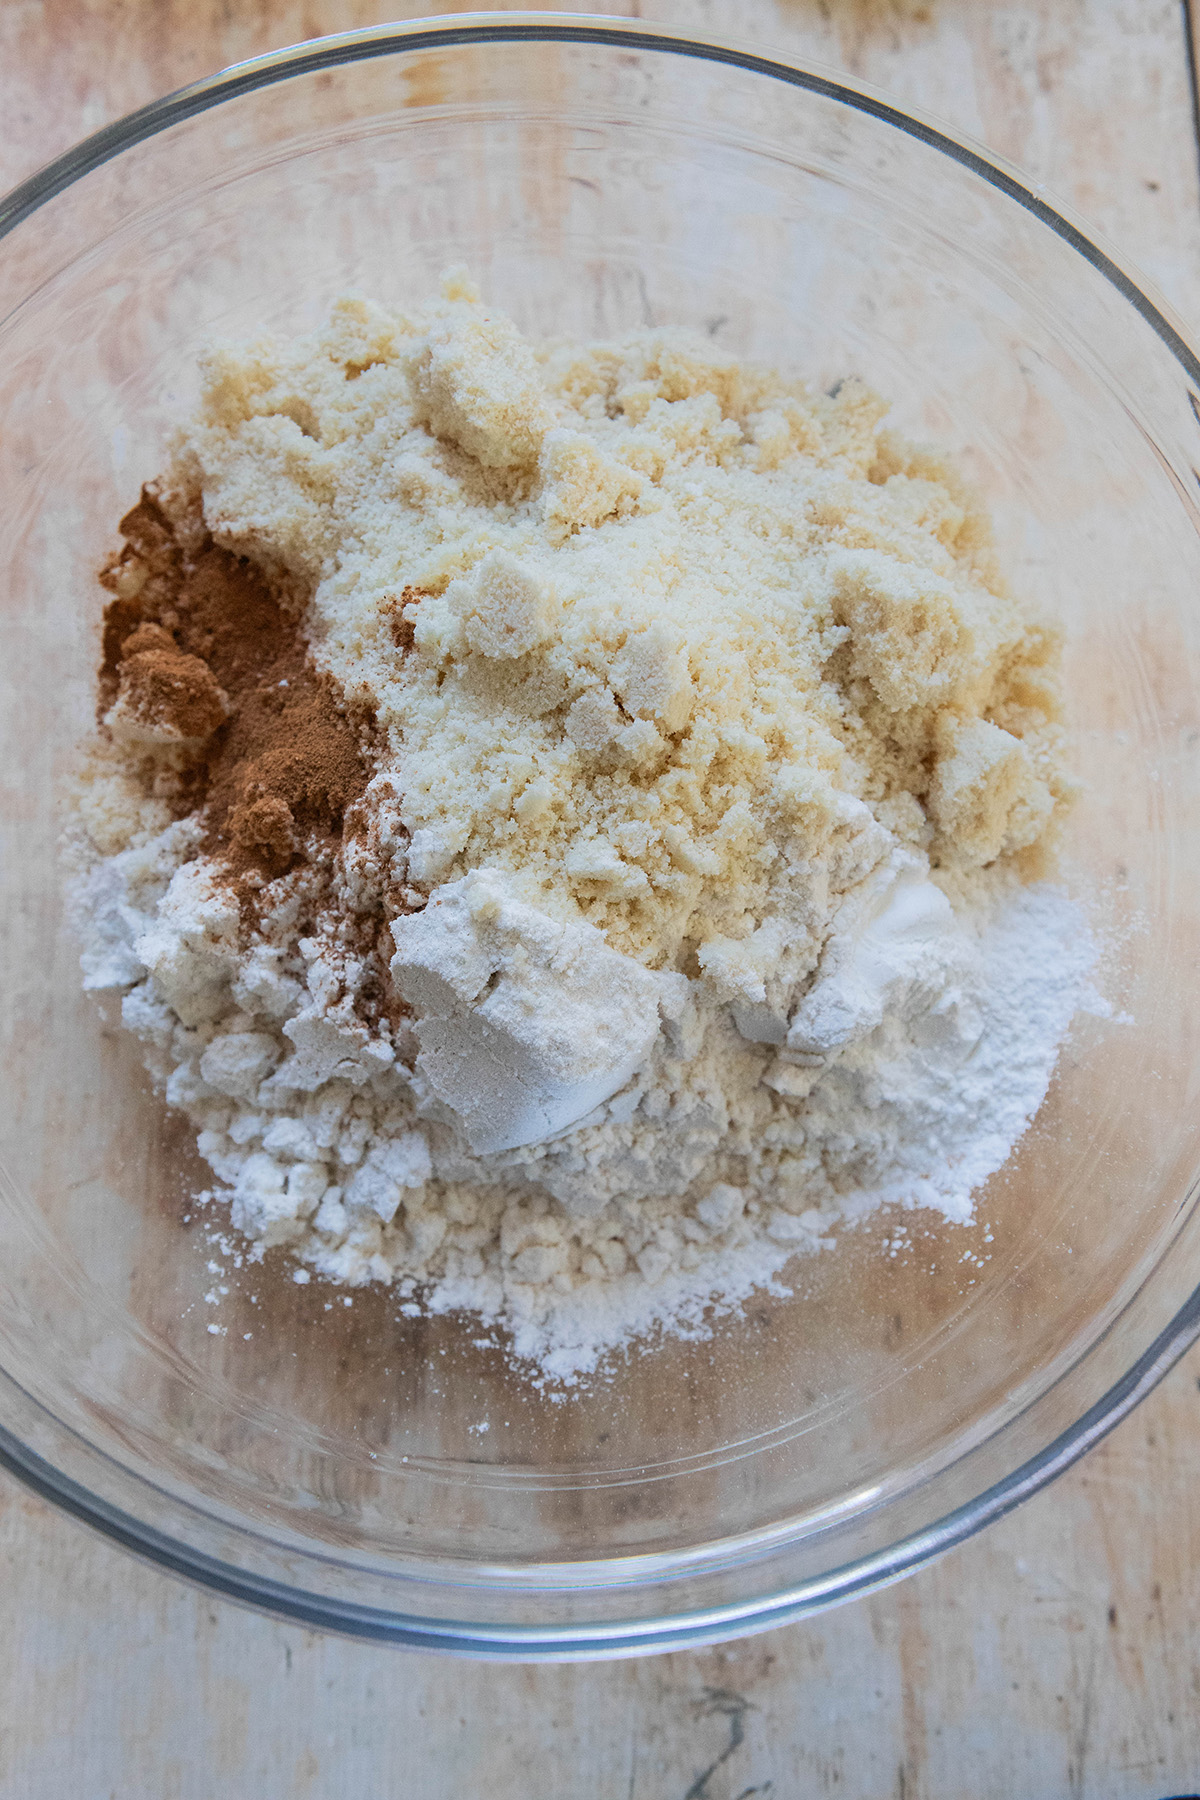
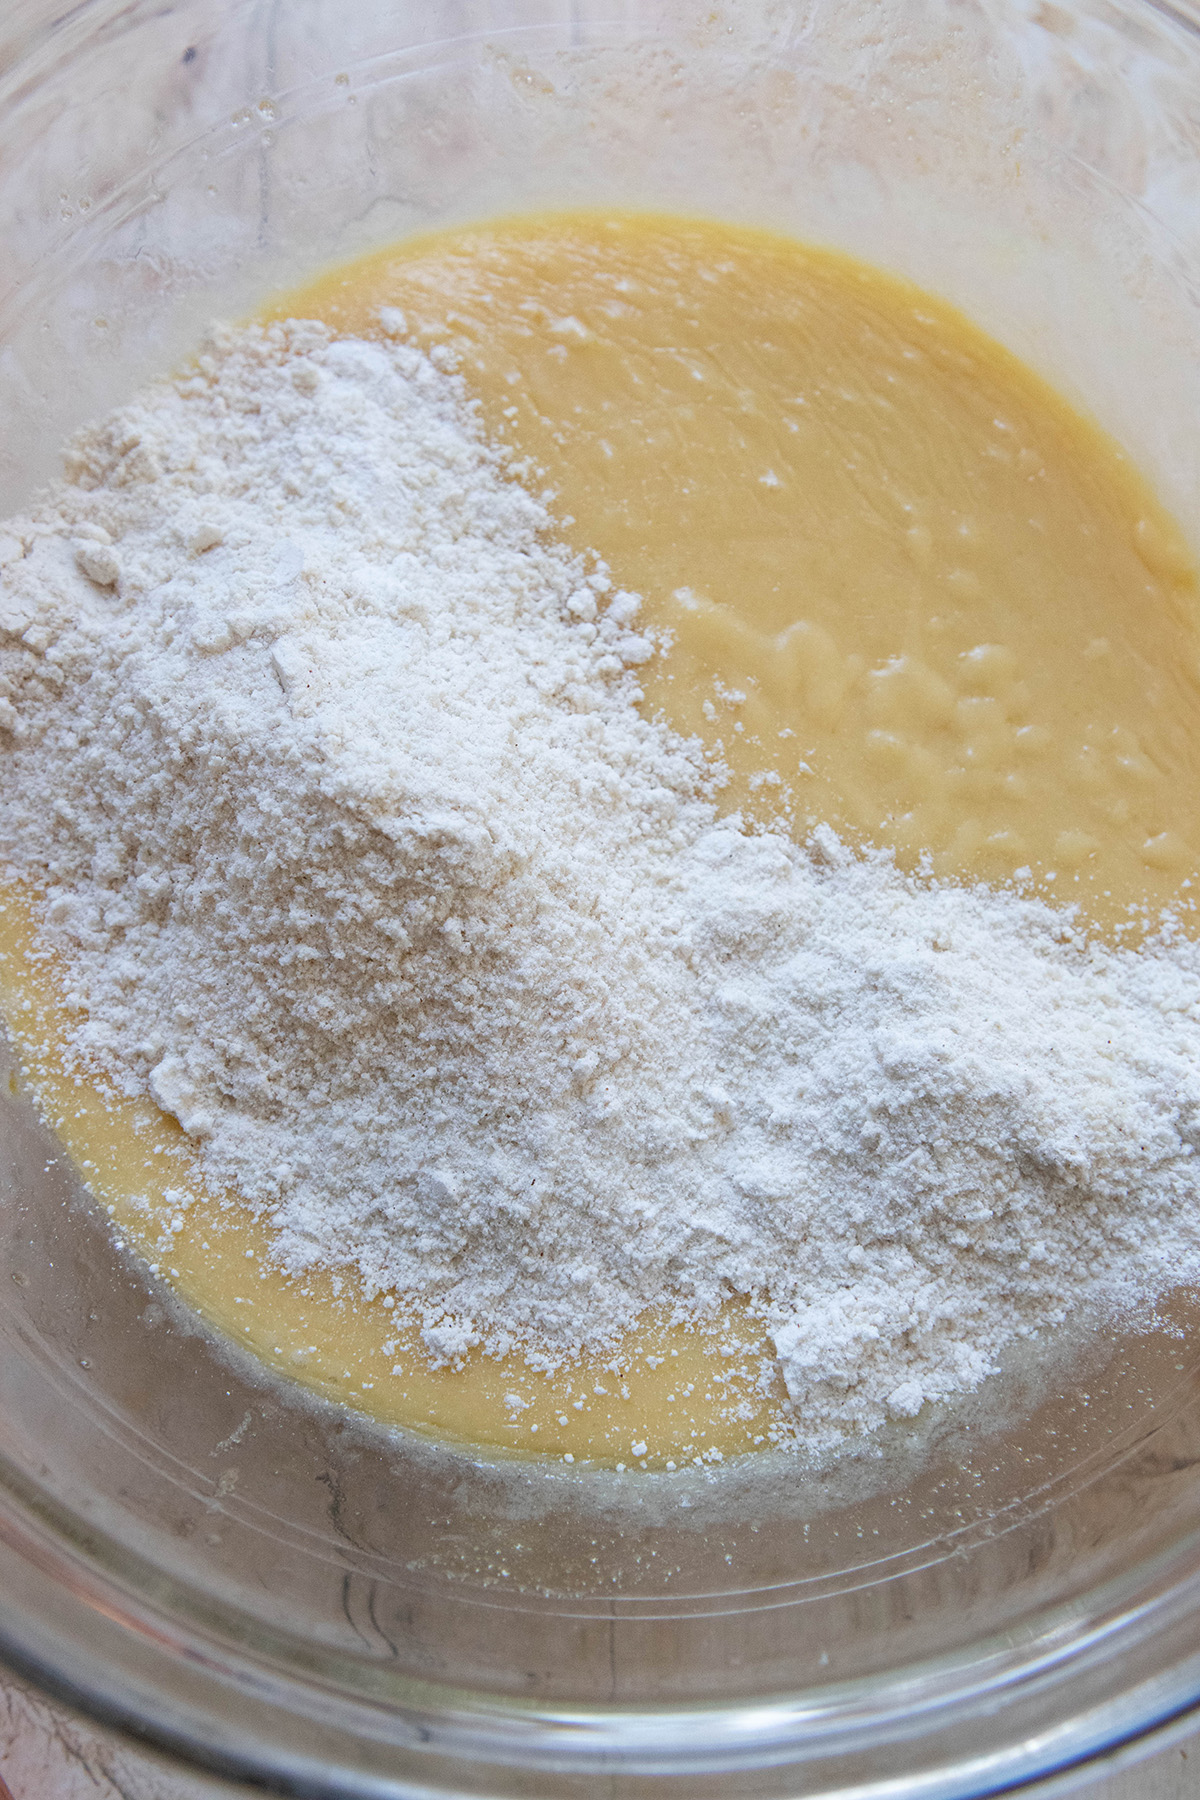
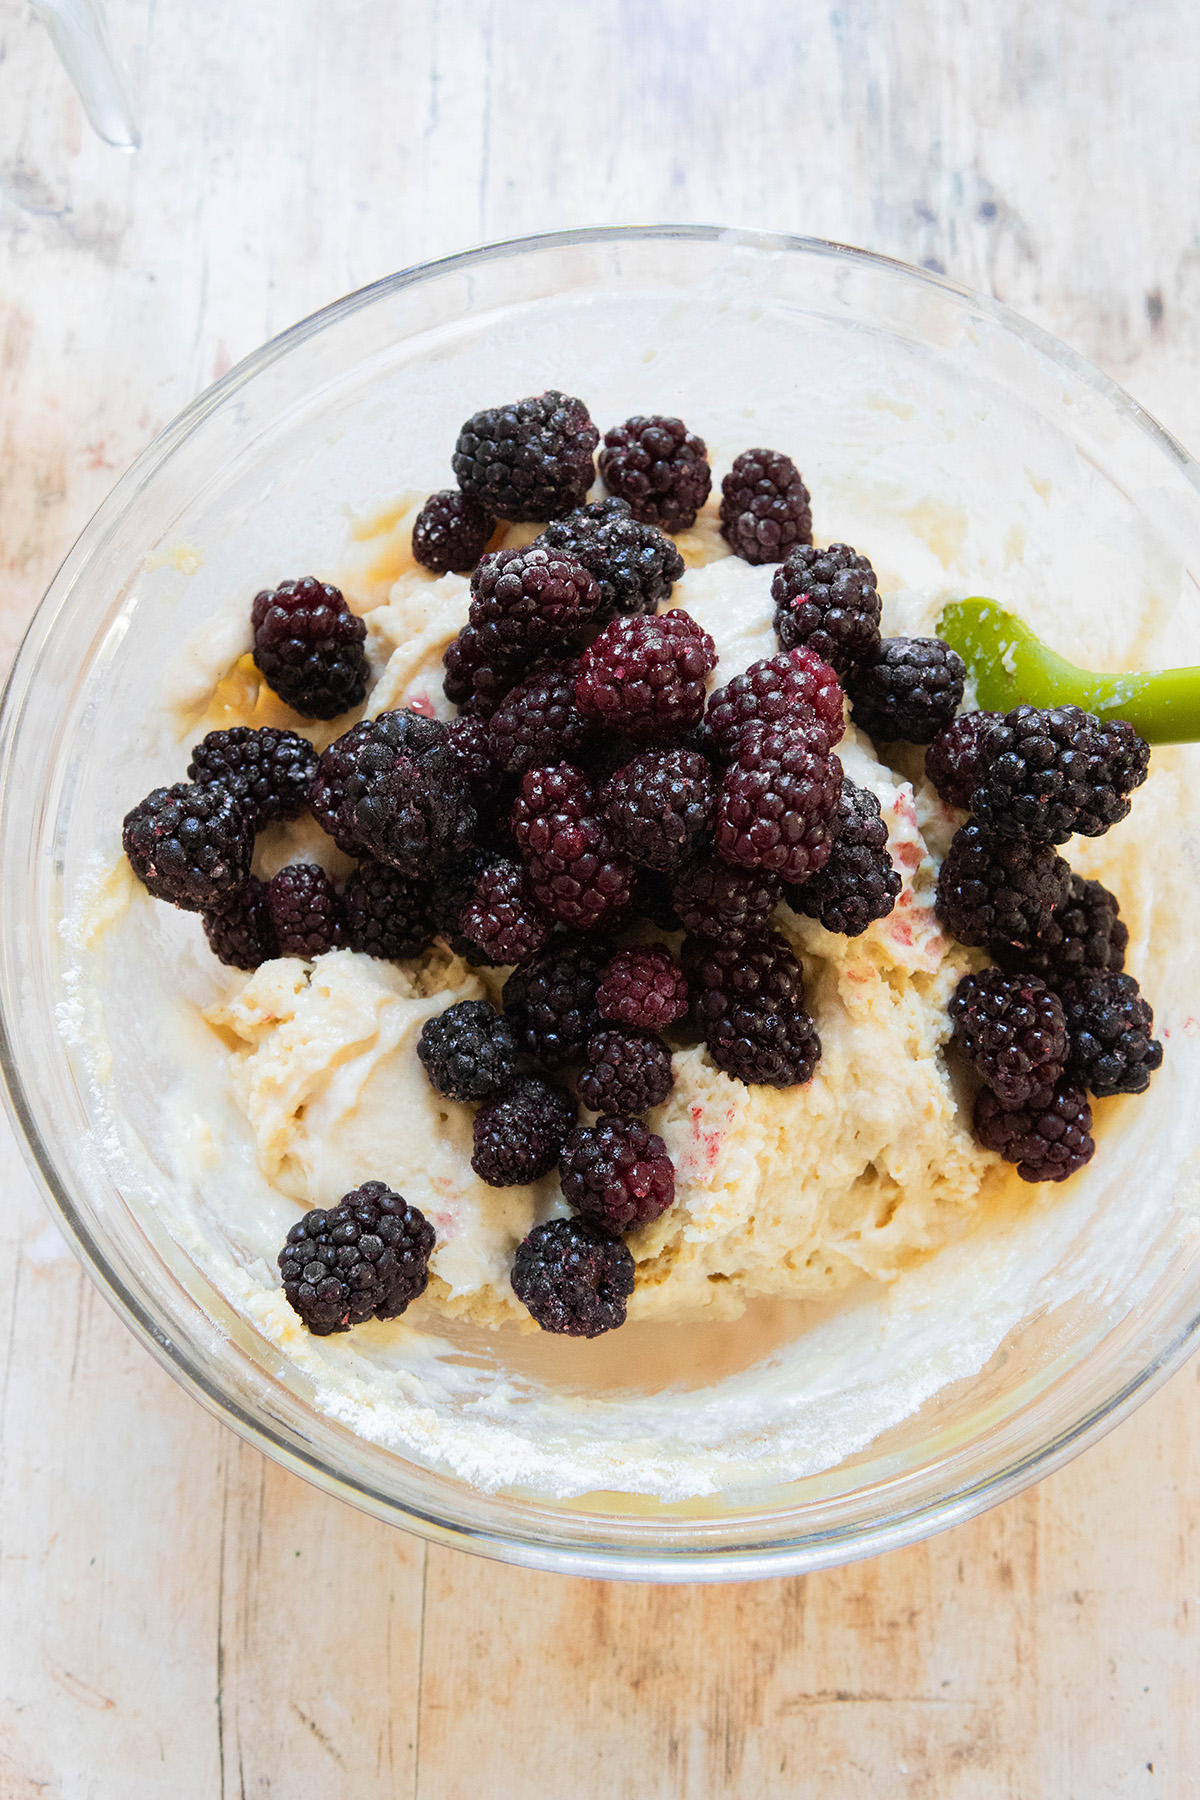
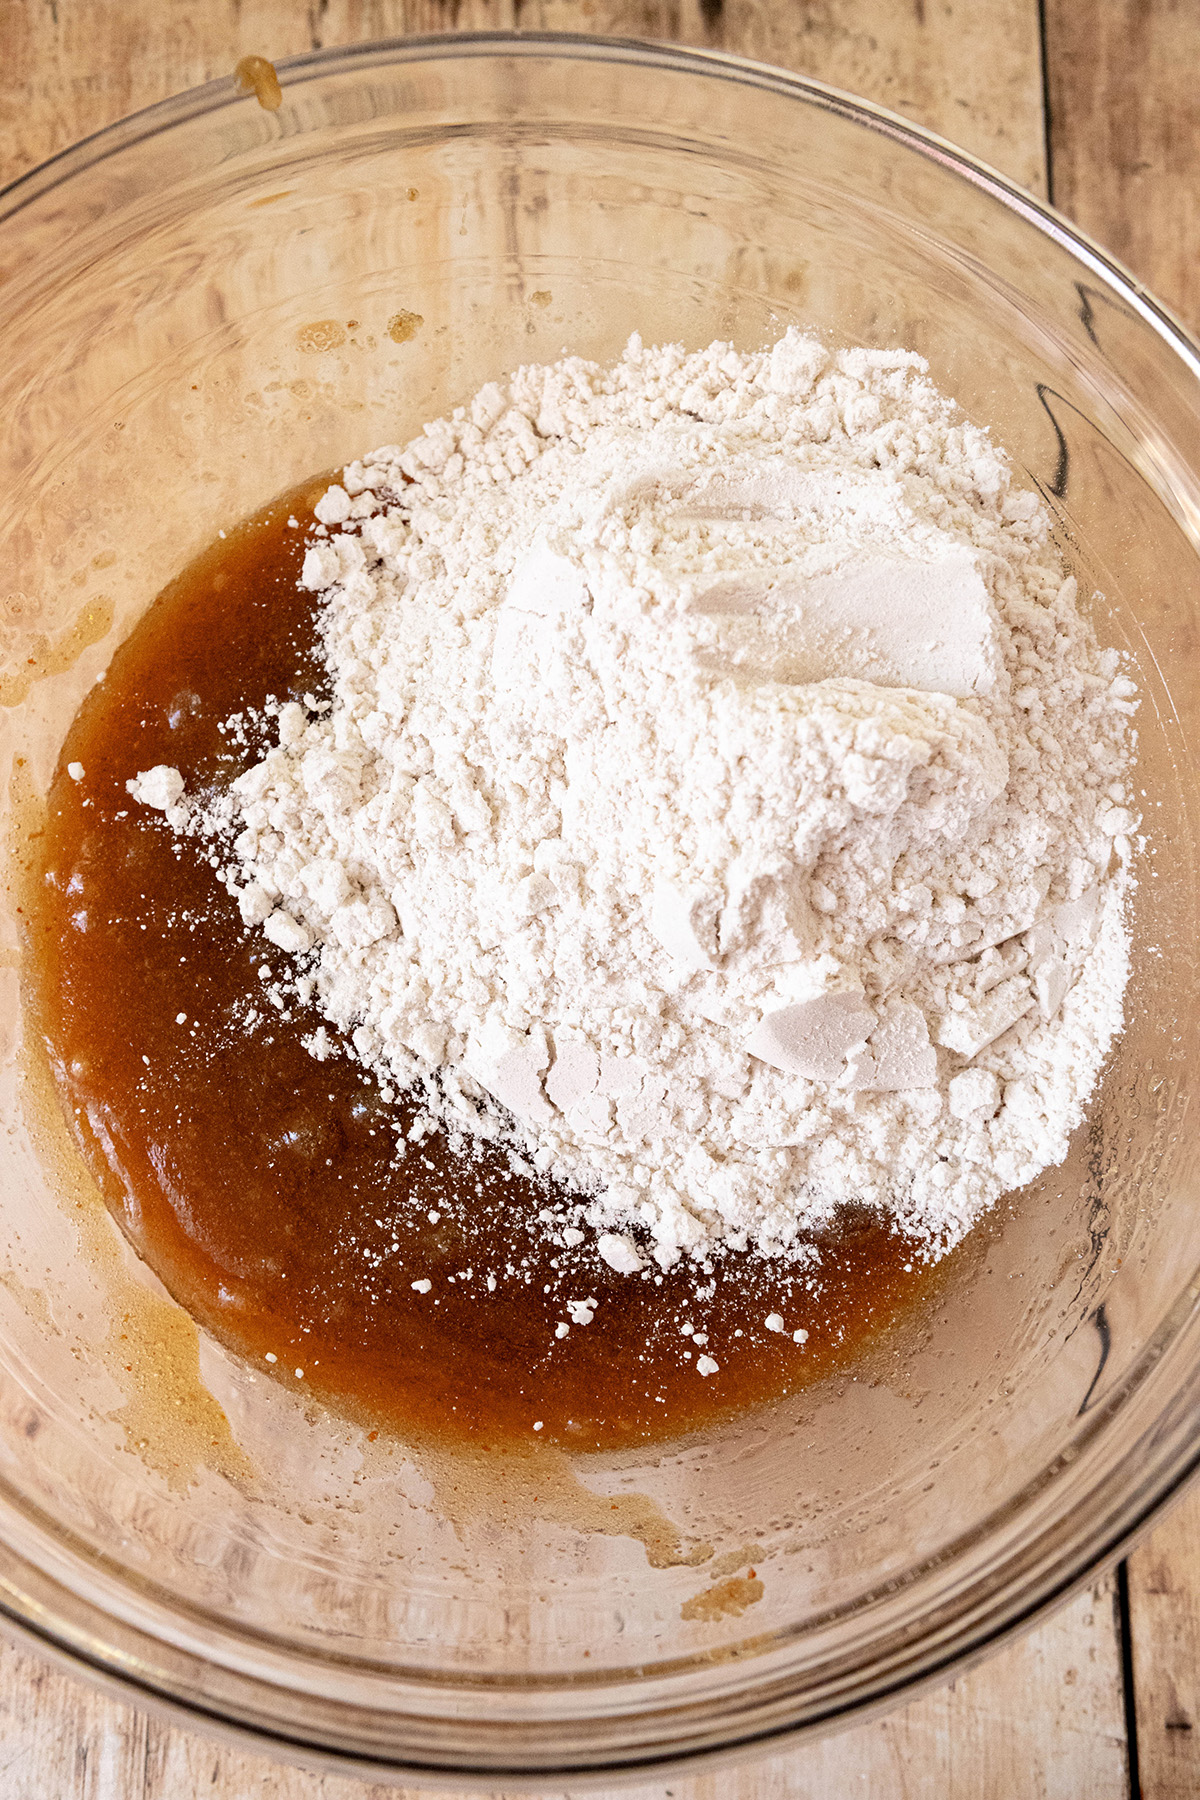
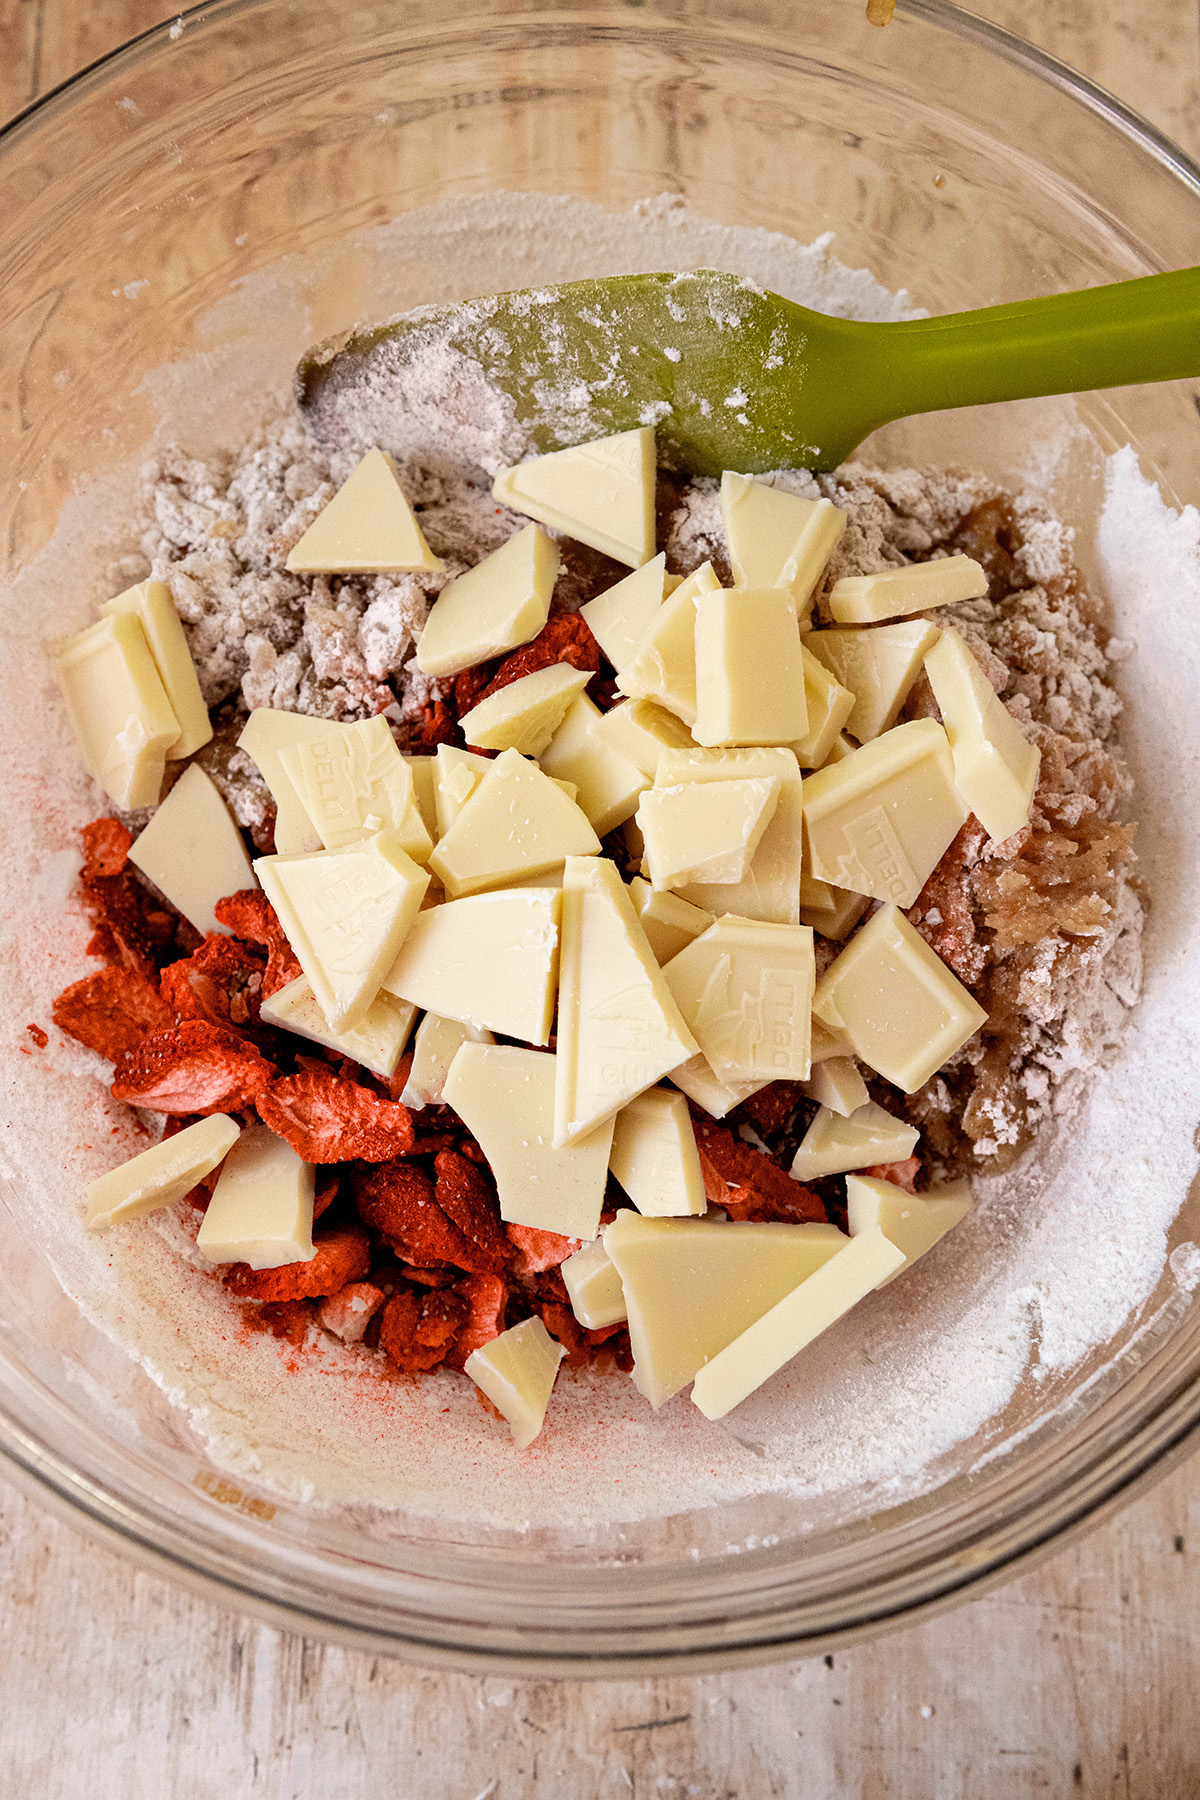
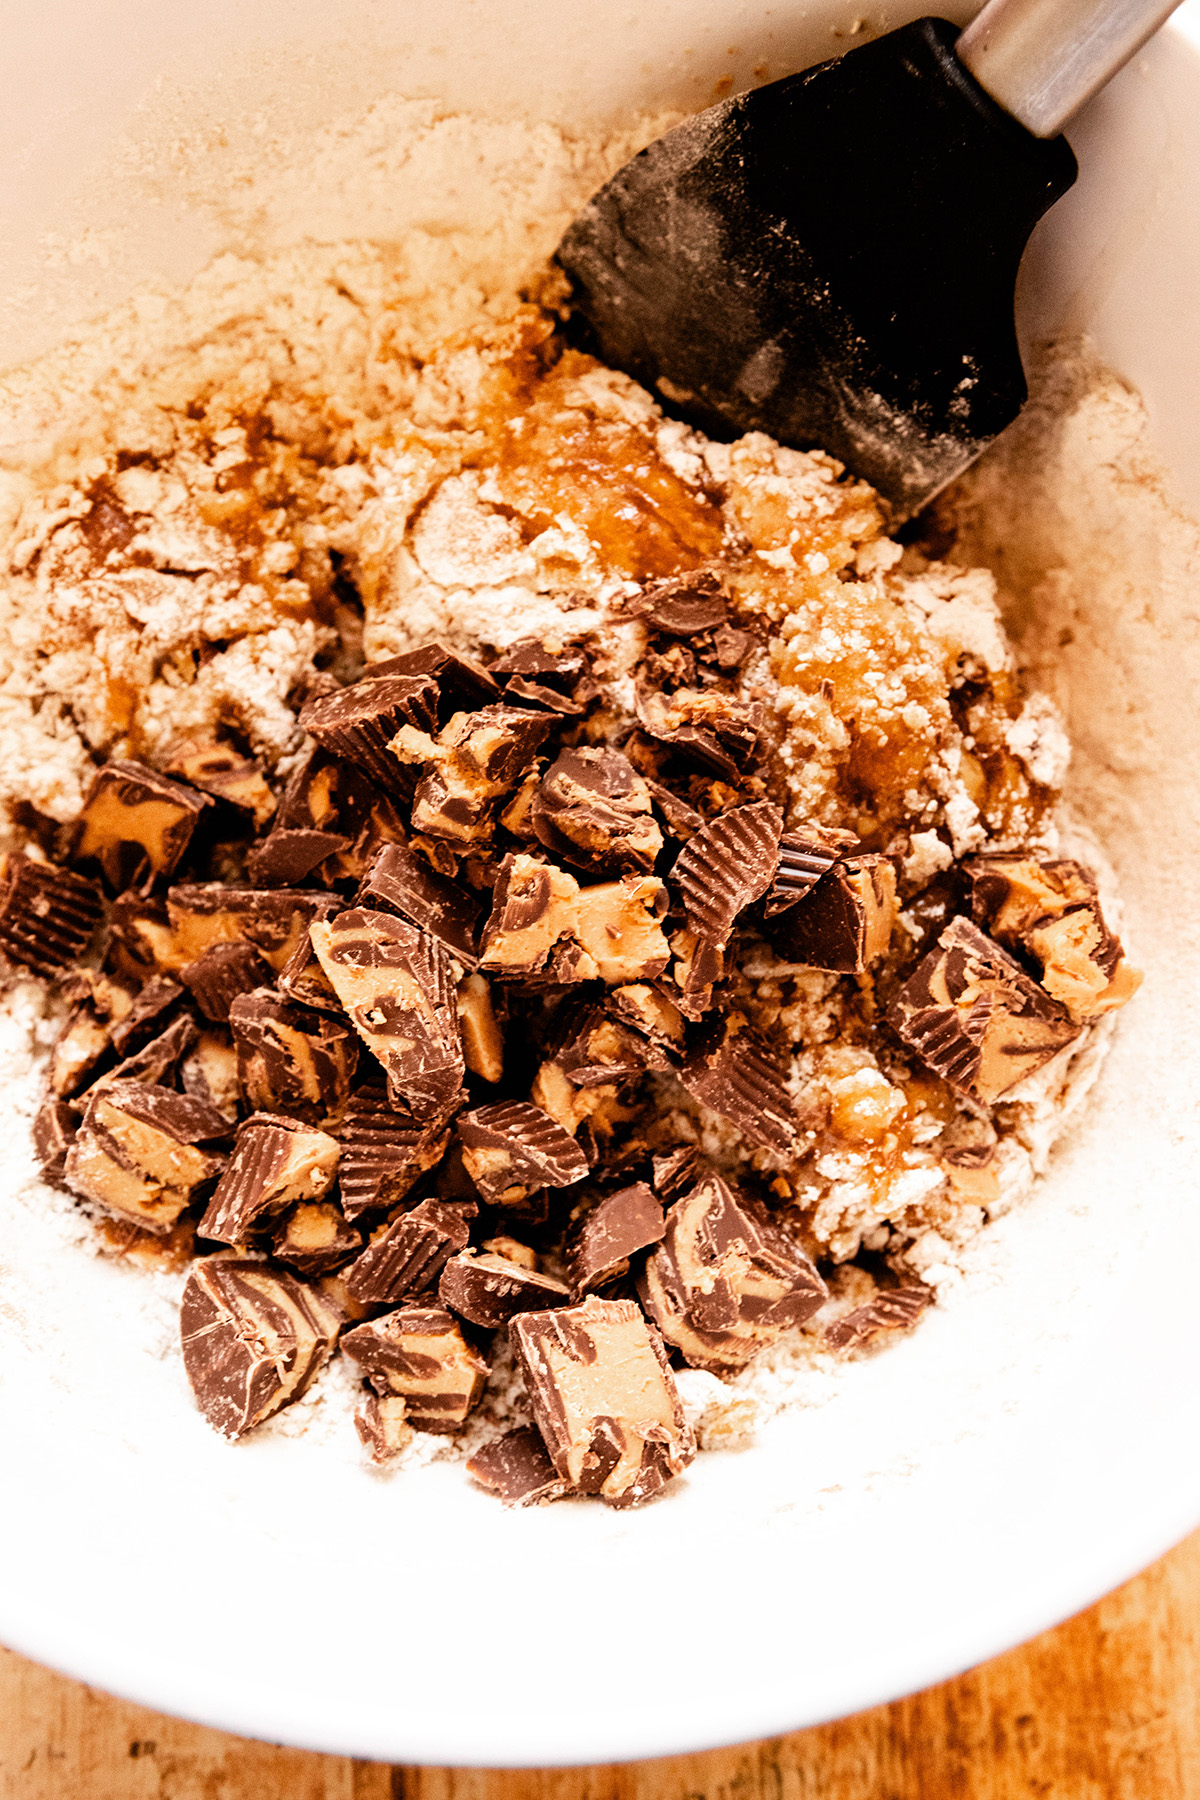
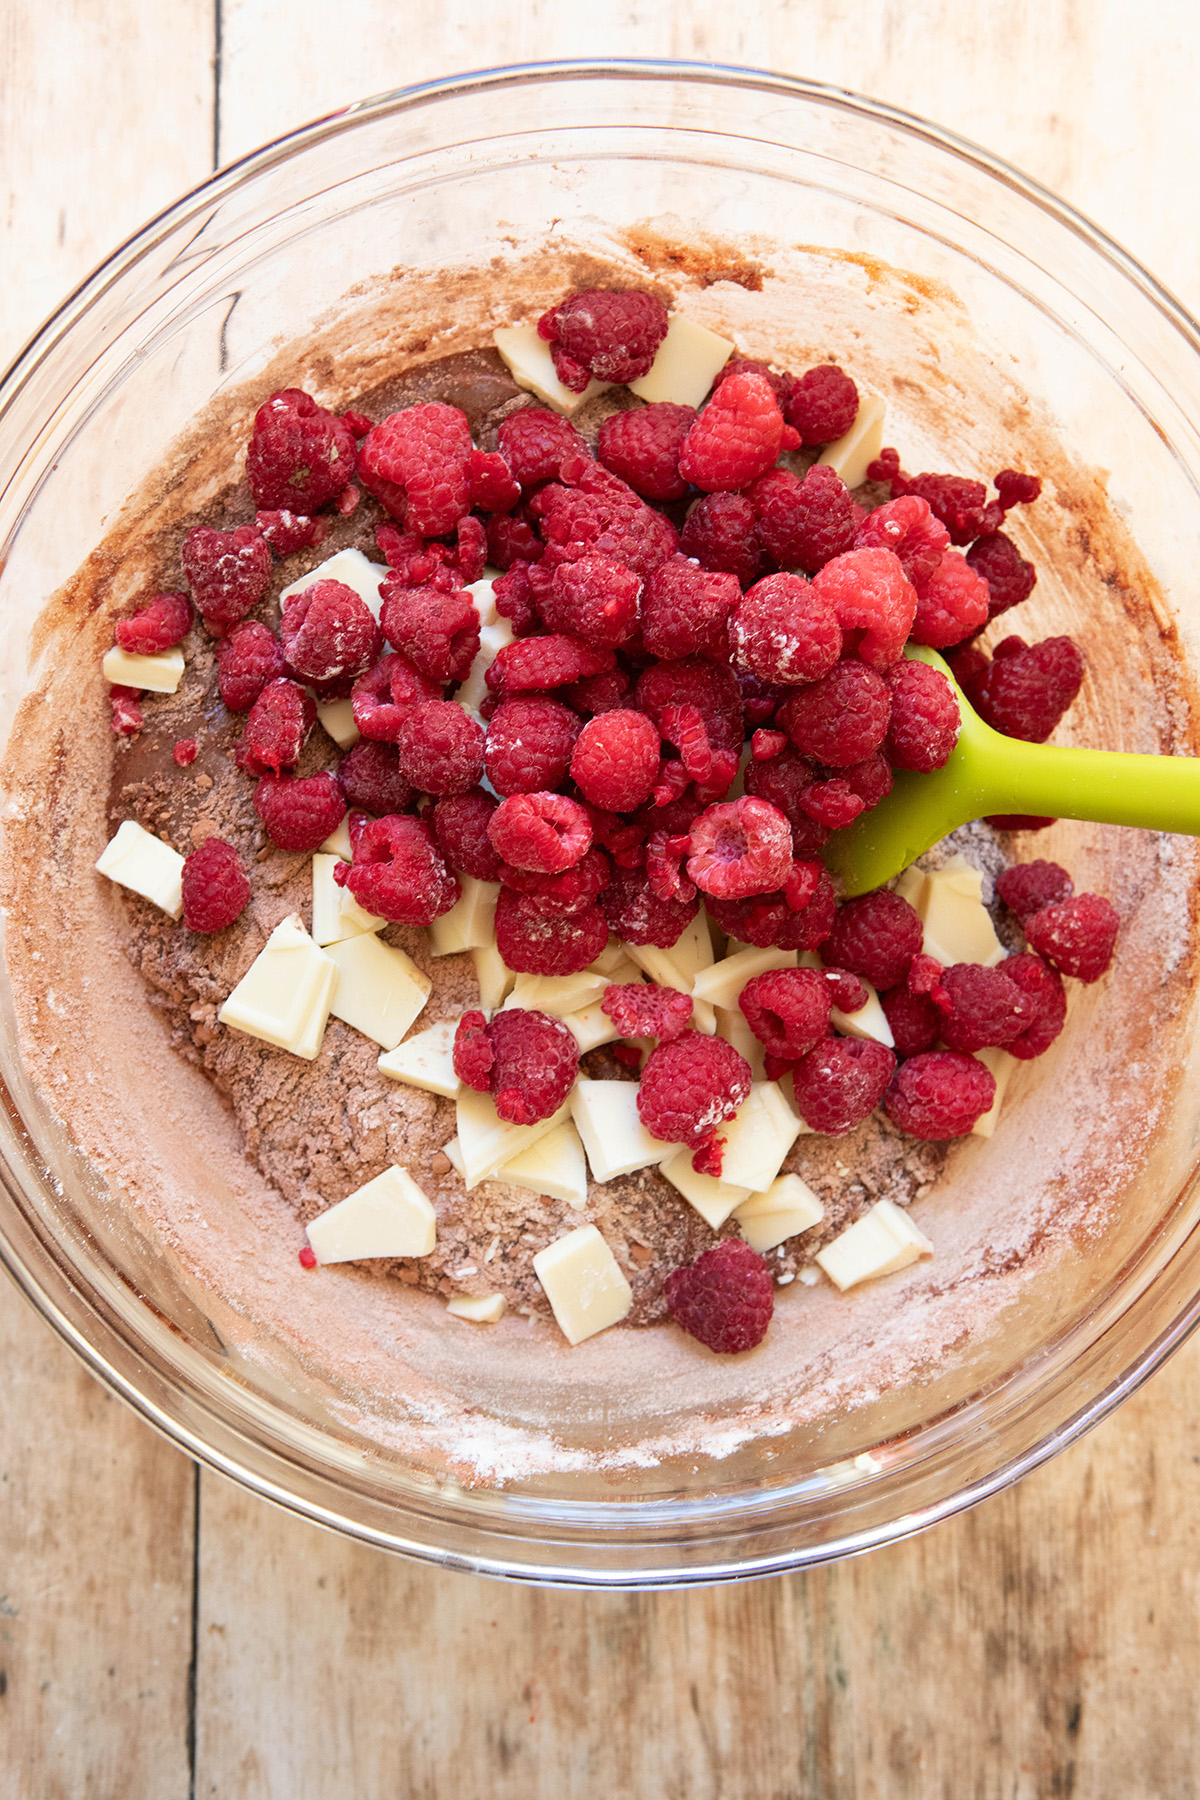
Mixing in the dry ingredients: Add the flour and cocoa powder to the brownie batter. Switch out the whisk for a spatula now and fold in the ingredients. Once they are practically all mixed in, add in the raspberries and white chocolate.
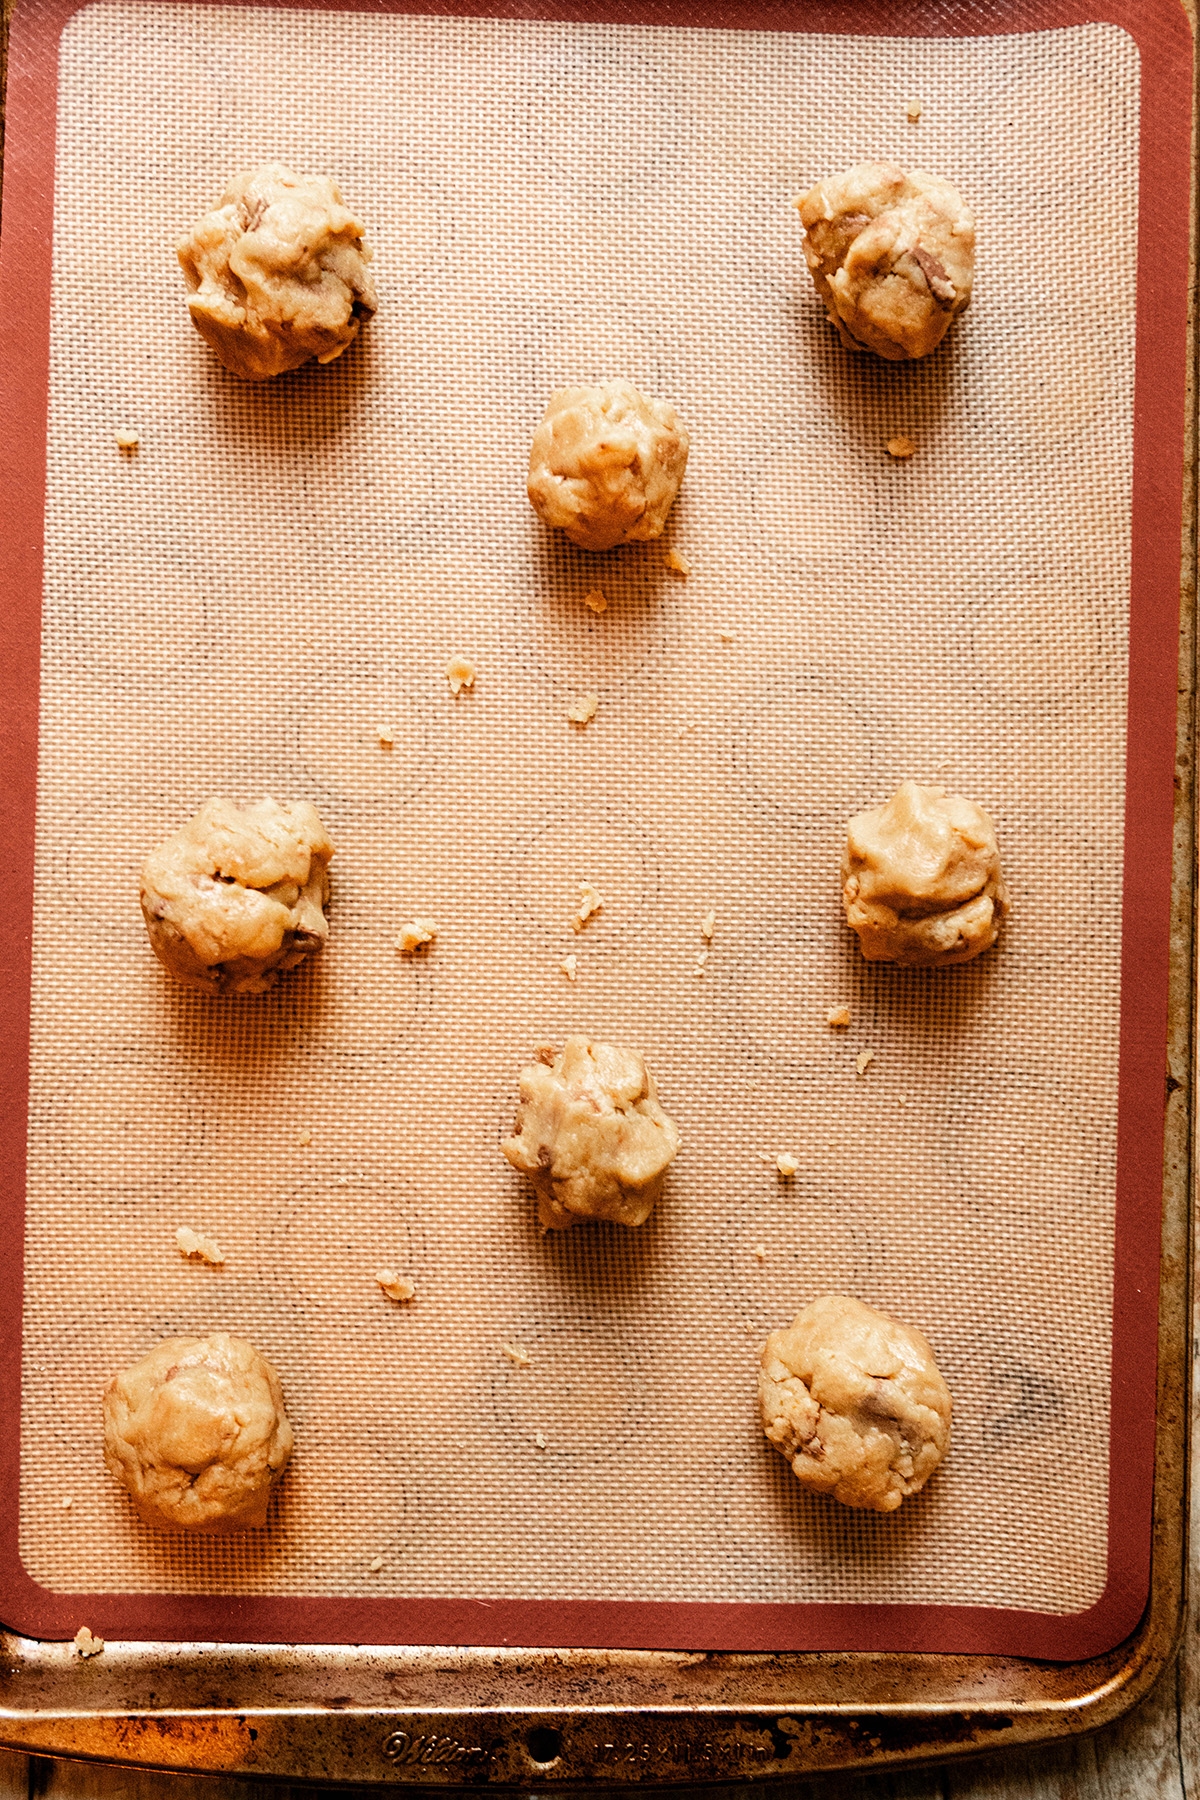
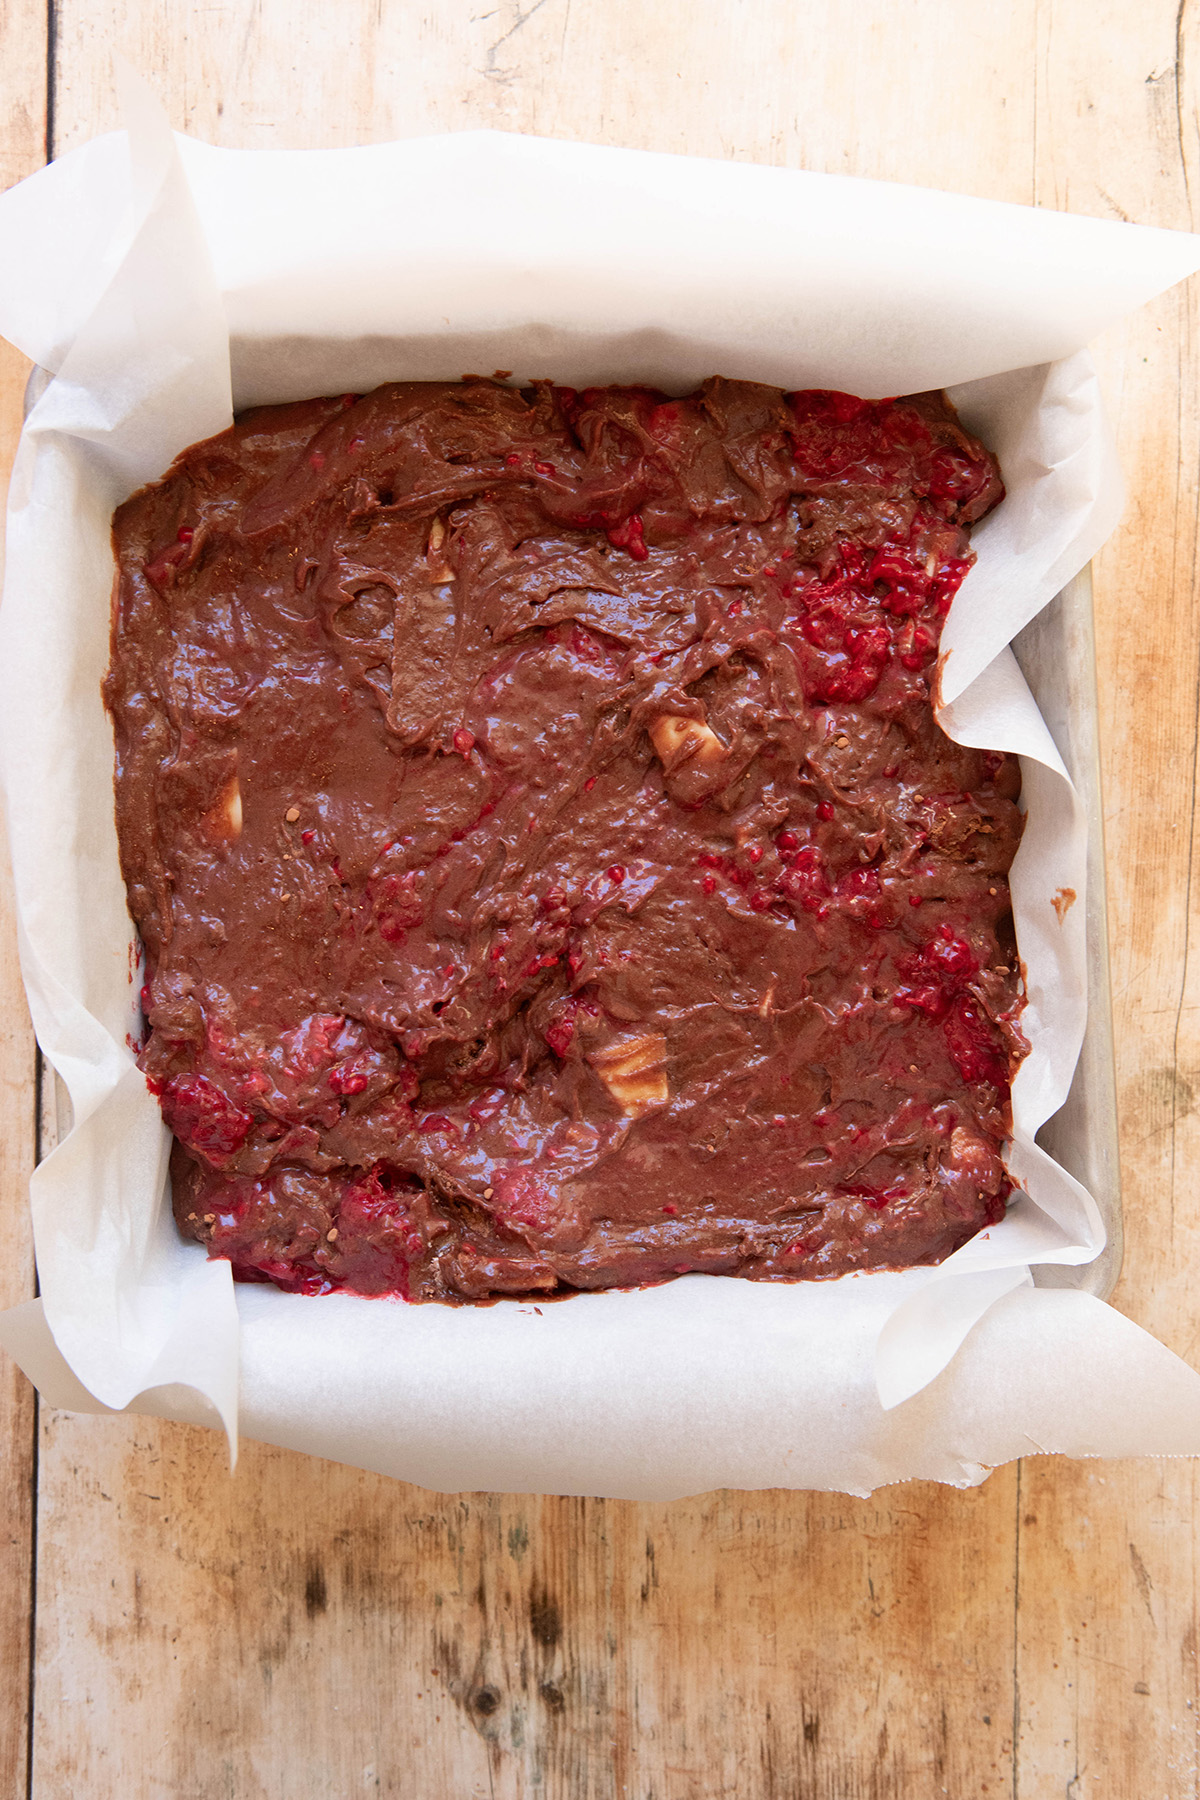
Baking: Set the oven to 350°F. Create a prepared pan by lining a baking dish (a square tin) with parchment paper (it is easier if you grease the bottom first with cooking spray). Place mixture into the baking dish and smooth the top with a rubber spatula or palette knife. Place the baking dish onto the middle shelf of the oven. If you are using a 9×13, bake for 28 minutes. If you are using an 8×8 bake for 40-45 minutes. Check for doneness when removing from the oven with a toothpick. If you want them to cook up a bit more, place back in for 3 minutes at a time. Once they are done baking, place them into the fridge for an hour before slicing.
Note: If you want some extra saltiness to your brownies, use sea salt flakes on top or kosher salt before you put the lined tin into the oven. These would pair great with ice cream (a sweet cream or vanilla would be best).

If you want another great raspberry recipe, check out my blondie recipes!
When you are done with this sweet treat, try some of my Chocolate Raspberry Tart.
⍰ How to store these raspberry white chocolate brownies:
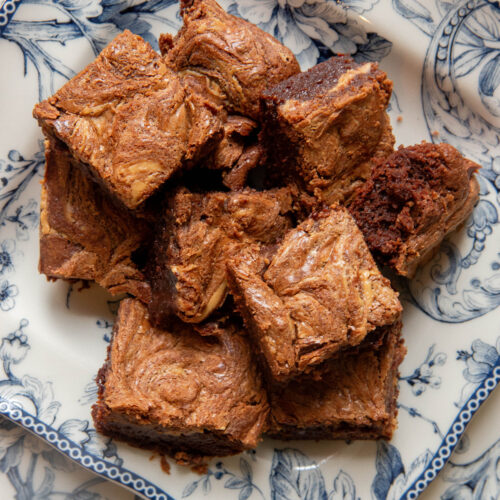
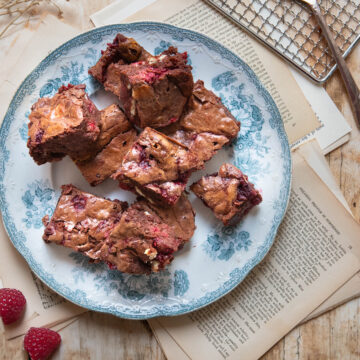
I cut up the brownie so that it is more brownie bites but you can cut them how you like. you can either store them in an airtight container on the counter for 3-5 days (same with the fridge) or, you can store them in a freezer safe bag. In you choose to freeze them (they do great if you freeze them) you can store them for up to 3 months. Just mark on the bag when you froze them. When you want to eat them, take out of the freezer, leave on the counter until desired temperature. I like to freeze them as individual brownies, so, I would advise cutting them before freezing.
🌟 LEAVE A RATING AND REVIEW! 🌟
⭐️⭐️⭐️⭐️⭐️
Did you love this recipe? If you did, let me know! And let others know too by leaving a comment and star rating. Reviews are incredibly useful in helping other people find my site and make my recipes. Thank you so much!
Laura
🔎 Looking for other recipes?
Best Raspberry White Chocolate Brownies Recipe!
Equipment
- 1 Large Bowl Heat Proof
- 1 Spatula
- 1 Whisk
- 1 8×8 Tin
- Parchment Paper
Ingredients
- 3 Eggs
- ½ Cup Flour I use King Arthur Gluten Free Measure for Measure flour
- ¼ Cup Cocoa Powder
- 8 tablespoon Unsalted Butter
- 1 teaspoon Vanilla
- 1 Cup Chocolate Chips
- 1 ½ Cup Raspberries
- 4 Oz White Chocolate
- 1 Cup Sugar
Instructions
- Combining the Butter and Chocolate: In a large bowl (use a heatproof bowl) melt the butter in a microwave. Once the butter is completely melted, add the chocolate chips to the bowl and whisk together. They should all melt to form a beautiful chocolatey mix.
- Adding the Sugar, Vanilla, and Eggs: Whisk in the sugar. Then add the eggs one at a time and whisk until the batter thickens. Finally add the vanilla and whisk once more.
- Mixing in the dry ingredients: Add the flour and cocoa powder to the brownie batter. Switch out the whisk for a spatula now and fold in the ingredients. Once they are practically all mixed in, add in the raspberries and white chocolate.
- Baking: Set the oven to 350°F. Create a prepared pan by lining a baking dish (a square tin) with parchment paper (it is easier if you grease the bottom first with cooking spray). Place mixture into the baking dish and smooth the top with a rubber spatula or palette knife. Place the baking dish onto the middle shelf of the oven. If you are using a 9×13, bake for 28 minutes. If you are using an 8×8 bake for 40-45 minutes. Check for doneness when removing from the oven with a toothpick. If you want them to cook up a bit more, place back in for 3 minutes at a time. Once they are done baking, place them into the fridge for an hour before slicing.