Are you a cheese lover but also live a gluten-free lifestyle? Do you ever wonder “is mozzarella cheese gluten free?”. In this post, we will address that question and get into the nitty gritty of dairy products and celiac disease.
If you are like me and are a lover of cheese (blue cheese, natural cheeses, rind cheeses, soft cheese, hard cheese), I love all cheese. However, as I suffer from celiac disease, I always have to read the ingredients for all cheese products before I try them.
Let’s get into the nitty gritty of cheese, and being gluten free.
⍰ what is non-celiac gluten sensitivity:
Non-celiac gluten sensitivity (NCGS) is a condition characterized by symptoms similar to those of celiac disease (an autoimmune disorder triggered by gluten), but without the same immune response and damage to the small intestine. Individuals with NCGS experience gastrointestinal symptoms, such as abdominal pain, bloating, diarrhea, and constipation, as well as non-gastrointestinal symptoms like fatigue, headache, joint pain, and mood disturbances after consuming gluten-containing foods.
Unlike celiac disease, NCGS does not involve the same autoimmune reaction or damage to the intestinal lining, nor does it typically result in the same diagnostic markers found in celiac disease, such as elevated levels of certain antibodies or damage seen in intestinal biopsies. However, the exact mechanisms underlying NCGS are not fully understood, and the diagnosis is often made through a process of exclusion after ruling out celiac disease and wheat allergy.
Although the exact prevalence of NCGS is uncertain and debated within the medical community, it is recognized as a distinct condition that can significantly impact quality of life for affected individuals. Treatment for NCGS typically involves following a gluten-free diet, similar to celiac disease, to alleviate symptoms. However, it’s essential for individuals experiencing gluten-related symptoms to consult with a healthcare professional for proper evaluation, diagnosis, and management.
⍰ what is a gluten intolerance?
Gluten intolerance is a broad term that encompasses various conditions related to difficulty digesting gluten, a protein found in wheat, barley, rye, and their derivatives. It includes both celiac disease and non-celiac gluten sensitivity (NCGS).
- Celiac Disease: Celiac disease is an autoimmune condition triggered by the ingestion of gluten. In individuals with celiac disease, gluten consumption leads to an immune response that damages the lining of the small intestine, resulting in malabsorption of nutrients and various gastrointestinal and systemic symptoms. This condition requires strict adherence to a gluten-free diet to manage symptoms and prevent complications.
- Non-Celiac gluten Sensitivity (NCGS): Non-celiac gluten sensitivity refers to a condition in which individuals experience symptoms similar to those of celiac disease after consuming gluten-containing foods. However, unlike celiac disease, NCGS does not involve the same immune response or damage to the intestinal lining. The exact mechanisms underlying NCGS are not fully understood, and diagnosis is typically made through a process of exclusion after ruling out celiac disease and wheat allergy.
Both celiac disease and non-celiac gluten sensitivity share symptoms such as abdominal pain, bloating, diarrhea, and fatigue, among others. However, the diagnostic markers and mechanisms differ between the two conditions. Additionally, some individuals may experience wheat allergy, an immune-mediated reaction to wheat proteins distinct from celiac disease and NCGS, which can also cause symptoms similar to gluten intolerance.
Overall, gluten intolerance refers to any condition in which individuals experience adverse reactions to gluten consumption, including celiac disease, non-celiac gluten sensitivity, and wheat allergy. Proper evaluation, diagnosis, and management by healthcare professionals are essential for individuals experiencing symptoms related to gluten intolerance.
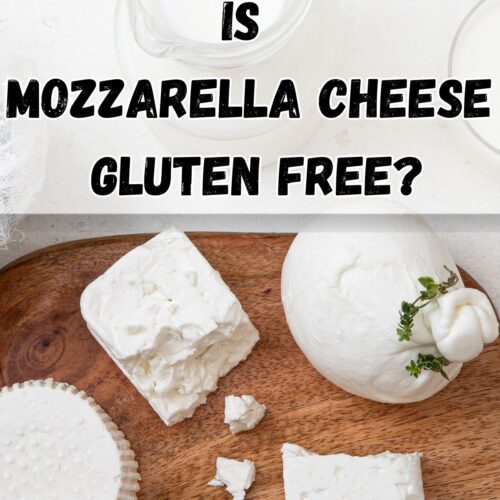
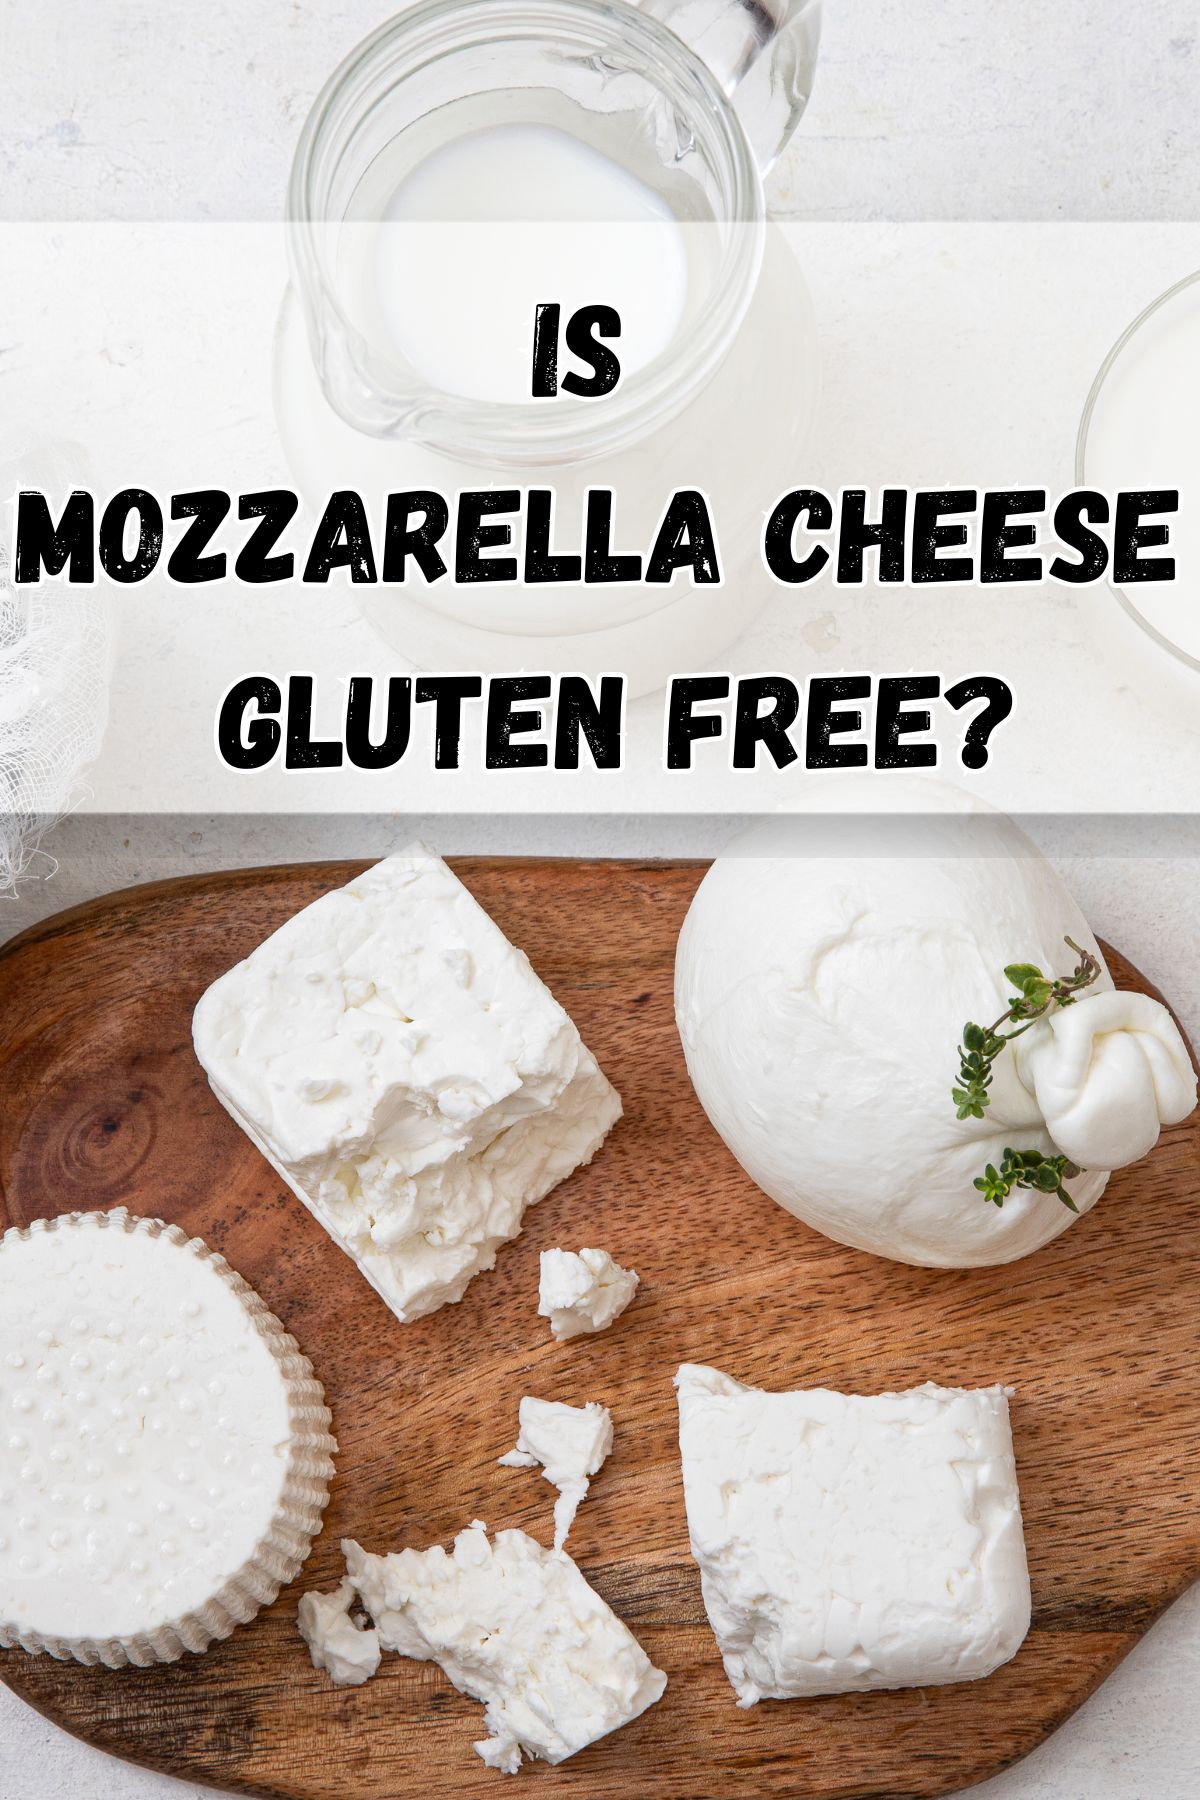
🧀 is mozzarella cheese gluten free?
Good news, the answer should be yes. Cheese lovers everywhere can rejoice that typically most cheese are gluten-free cheeses. It is always important to check food labels to make sure that the ingredient list does not have any gluten-containing ingredients. It is also important to check if there is a risk of cross-contamination due to the production process.
There are different types of mozzarella cheese. There is fresh mozzarella, this is the purest form and it has an incredibly creamy texture. The ingredients are usually simply Pasteurized Milk, Vinegar, Enzymes, Salt. It is often made from just cow’s milk, however, it can be made from other sources of milk like goat’s milk.
There is then shredded mozzarella which is commonly seen at the grocery store. This is often bought to make pizza at home, lasagne, or anything that requires a good melty cheese. Ingredients typically are:
Low-Moisture Whole Milk Mozzarella Cheese (Cultured Pasteurized Milk, Salt, Microbial Enzymes), Anti-caking Blend (Potato Starch, Tapioca Starch, Natamycin [a natural mold inhibitor]).
🔎 Things to look out for:
Flour is often used as a preservative to help shelf stabilization of food in most grocery stores. Wheat starch is often used as a flavoring agent and should never be seen in an ingredients lists.
Different types of cheeses, usually fancier cheeses that have a rind, may sometimes be brined in something like beer. There are varieties of cheeses that should be avoided for this reason however, mozzarella cheese is typically a great option for anyone who has a gluten-related disorders or someone who just chooses to avoid gluten.
⍰ What if I am gluten free and vegan?
If you are looking for vegan cheese or a vegan alternative for mozzarella, remember to check the manufacturing process of mozzarella cheese. It is not the same as you would find for a traditional cheese. But for those who have a lactose intolerance or just choose to not eat dairy, remember to check the ingredient label, and be careful.
💡 Final thoughts:
Remember when you are eating some of your favorite types of cheese, be it sharp cheddar cheese, ricotta cheese, queso fresco, or if it is mozzarella, be sure to check that you are consuming and buying a gluten-free product. Always check ingredients, and then enjoy.
Bon appetit!