Experience the ultimate indulgence with our best mini chocolate cake. Created with a convenient one-bowl recipe, these delectable treats are a breeze to make, saving you time and effort in the kitchen. In just 30 minutes, you’ll savor moist, chocolatey goodness that will leave you craving for more.
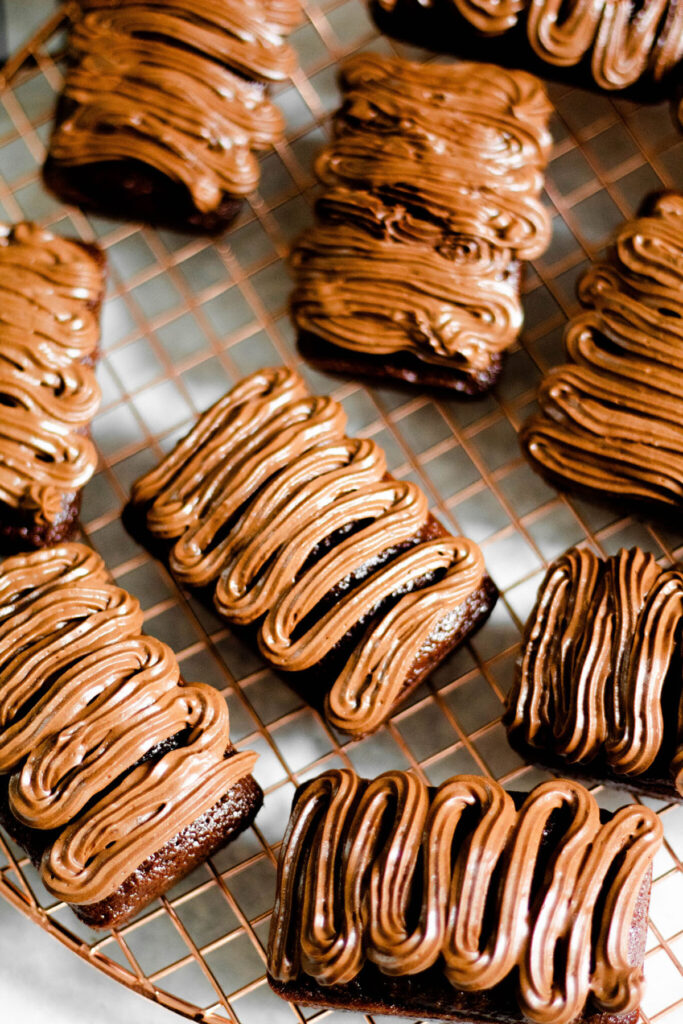
Discover the best mini chocolate cake with fudgy chocolate icing that will satisfy all your chocolate cravings. Whether you’re a long-time chocolate lover or a recent convert, this gluten-free chocolate cake recipe is the answer to your desires. Indulge in moist, rich chocolate goodness that’s so delicious, even gluten-eaters won’t be able to tell the difference.
How do I make a mini chocolate cake?
The first thing you need to make mini chocolate cake is the right baking tin. I love this one. The non-stick coating ensures easy release of the cakes, resulting in beautifully shaped and intact treats. This high-quality pan is durable, heat-resistant, and provides even heat distribution for consistent baking. Whether you’re making mini chocolate cakes or other delightful creations, the Wilton Perfect Results Mini Cake Pan is a reliable and convenient tool that will elevate your baking experience. I still like to spray mine with a non-stick spray, just to be safe!
Small Chocolate Cake vs Mini Chocolate Cake
The terms “small chocolate cake” and “mini chocolate cake” are often used interchangeably, but they can have slightly different meanings depending on the context.
A small chocolate cake generally refers to a cake that is smaller in size compared to a standard-sized cake. It can be a single-layer cake or a smaller version of a multi-layer cake. The exact dimensions may vary, but it typically serves fewer people than a regular-sized cake.
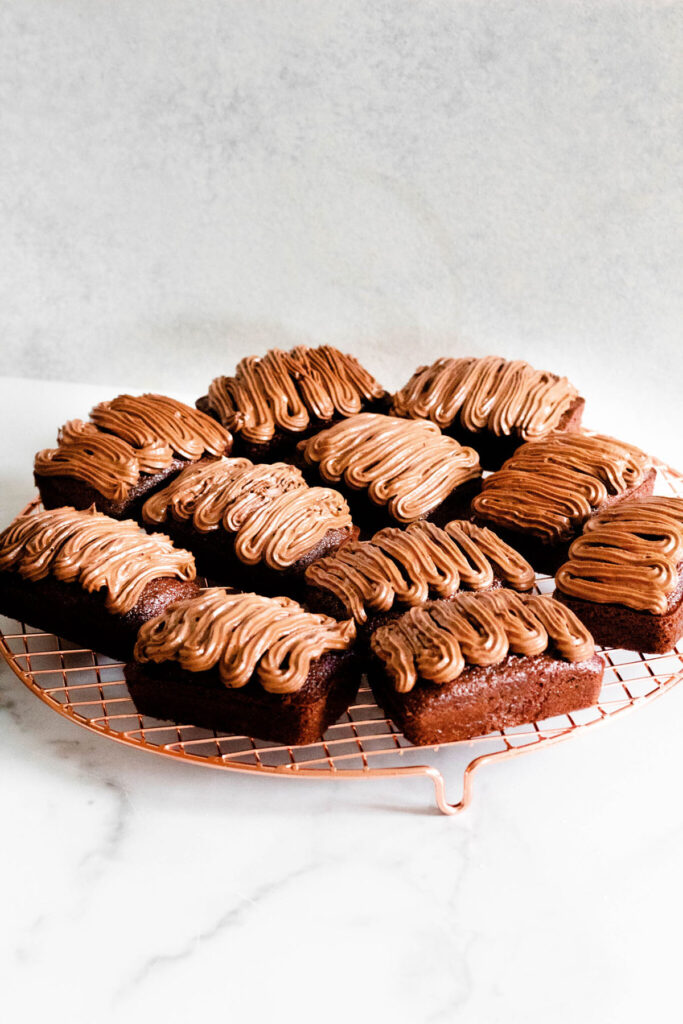
On the other hand, a mini chocolate cake specifically refers to a cake that is made in a miniature size, often using a specialized mini cake pan or molds. These cakes are typically smaller than small chocolate cakes and are designed to be individual servings or small portions. They are often baked in small, individual-sized pans or molds, resulting in cute, single-serving cakes.
A small chocolate cake generally refers to a smaller version of a regular-sized cake, while a mini chocolate cake specifically refers to an individually-sized cake made in a mini cake pan or molds. The distinction between the two may vary based on personal interpretation and the specific context in which the terms are used.
Why does chocolate cake sink sometimes?
Chocolate cakes can sink for several reasons. Here are a few common factors that can contribute to a sinking chocolate cake:
Underbaking: If a cake is not baked long enough, the center may remain undercooked and collapse as it cools. It’s important to follow the recommended baking time and test the cake’s doneness using a toothpick or cake tester before removing it from the oven.
Overmixing: Overmixing the batter can lead to excessive air incorporation, resulting in a cake that rises rapidly in the oven but collapses once removed. It’s best to mix the batter until just combined to avoid overmixing.
Opening the oven too early: Opening the oven door during baking can cause a sudden drop in temperature, which can cause the cake to sink. It’s advisable to avoid opening the oven until the cake is almost fully baked and set.
Too much leavening agent: Using too much baking powder or baking soda can cause the cake to rise rapidly and then collapse. It’s essential to measure the leavening agents accurately according to the recipe.
Incorrect ingredient proportions: Using incorrect ratios of ingredients, such as too much liquid or fat, can lead to a cake that doesn’t set properly and collapses during or after baking. It’s crucial to follow the recipe measurements accurately.
Altitude and temperature: High altitudes or extreme temperature changes can affect the cake’s rise and structure, potentially causing it to sink. Adjustments to baking time and ingredient ratios may be necessary in these cases.
By ensuring proper baking techniques, accurate measurements, and following the recipe instructions, you can minimize the chances of a chocolate cake sinking and achieve a delicious, well-risen result.
What is the difference between chocolate cake and choco truffle cake?
The main difference between a chocolate cake and a chocolate truffle cake lies in the texture and flavor profile.
A chocolate cake is a classic cake made with chocolate-flavored batter. It can be moist, tender, and rich in chocolate flavor. It is typically layered and frosted with chocolate frosting or ganache.
On the other hand, a chocolate truffle cake is a more indulgent and decadent variation. It is typically denser and fudgier in texture compared to a regular chocolate cake. The name “truffle” is derived from the similarity in texture to chocolate truffles, which are smooth and creamy chocolate confections. A chocolate truffle cake often consists of multiple layers of dense chocolate cake separated by layers of rich chocolate ganache or truffle filling. The cake is usually covered with a layer of ganache or frosting and decorated with chocolate shavings or other chocolate elements.
Ingredients for mini chocolate cake
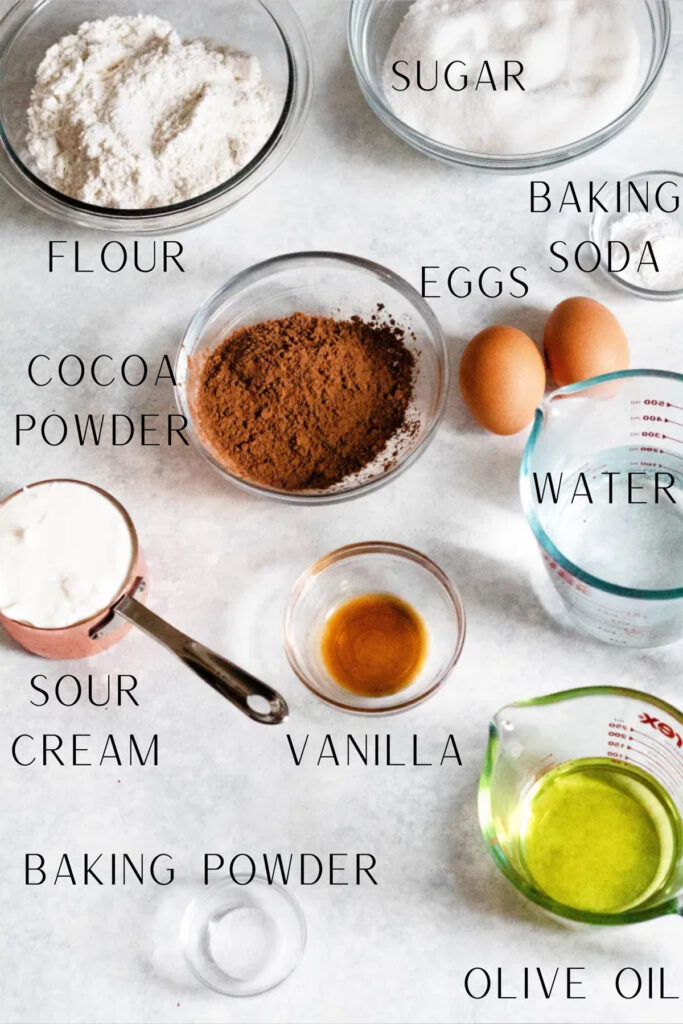
Sugar: Helps add the perfect level of sweetness to the mini chocolate cakes!
Flour: In this recipe I use a 1:1 gluten free King Arthur Measure for Measure flour. However, if you are not gluten free, you can use regular all purpose flour.
Egg: Try to use a room temperature egg. It helps the egg incorporate into the mini chocolate cake batter better.
Unsweetened Cocoa Powder: this is what gives our small chocolate cake recipe all that chocolate flavor! I use Hershey but many brands work well in this recipe.
Sunflower Oil: I use oil instead of butter in this cake. It helps make the mini chocolate cakes moist.
Baking Soda + Baking Powder: these leaveners help to give our mini chocolate cake a nice lift.
Water: it adds great moisture to the mini chocolate cakes!
Sour Cream or Greek Yogurt: it adds fluffiness to the
How do you make mini chocolate cake from scratch?
To make cake:
Set oven temperature: 350°F
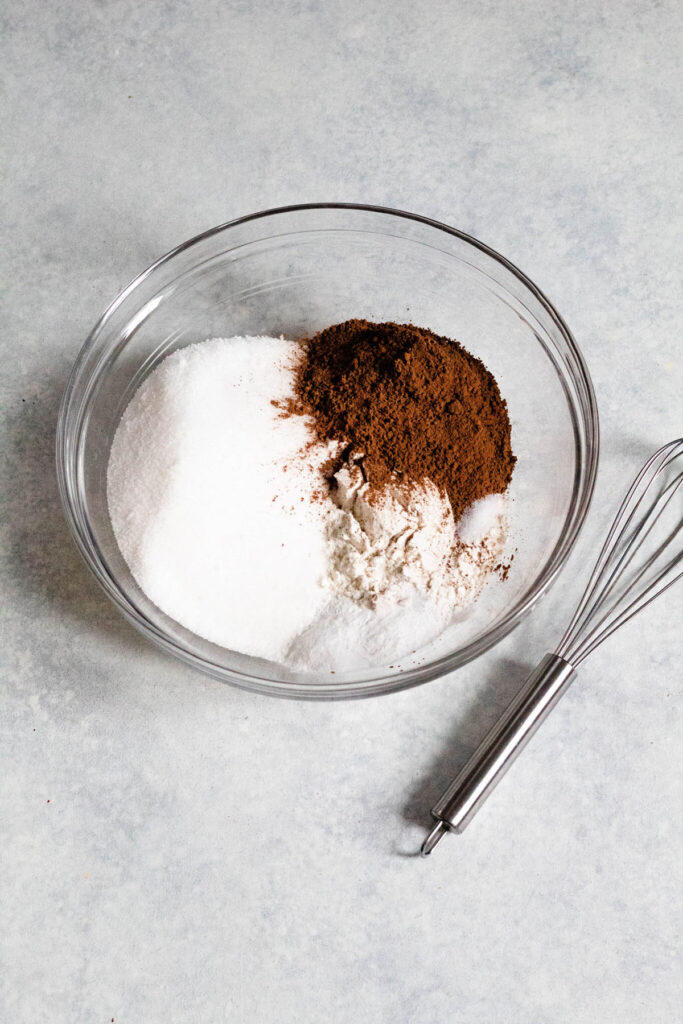
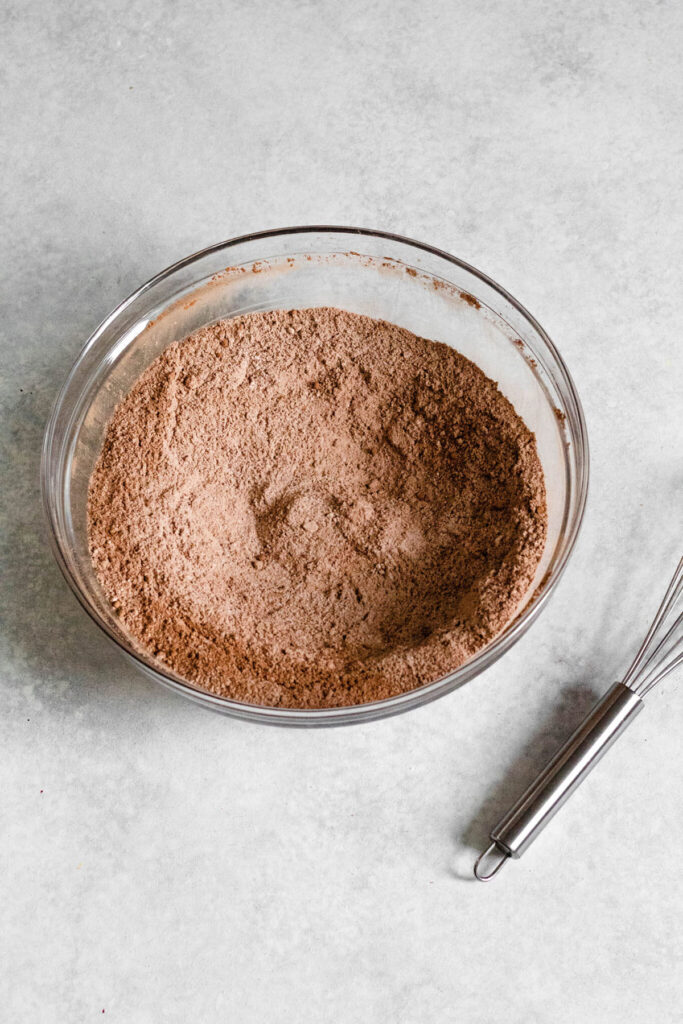
Dry Ingredients: take all of your dry ingredients and mix them together in a bowl. I like to use a whisk.
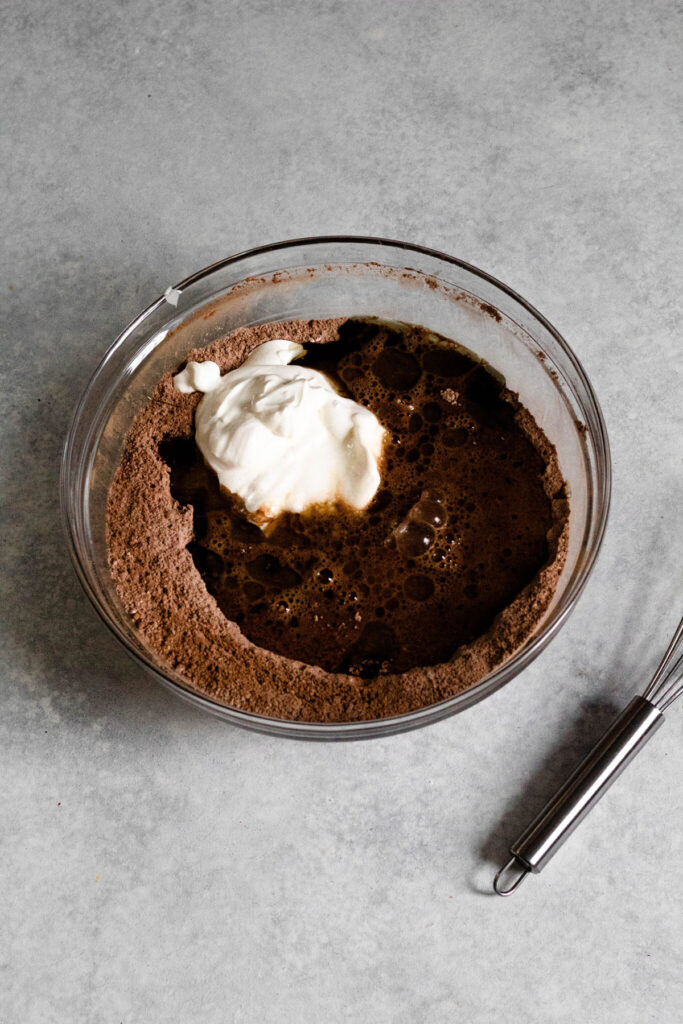
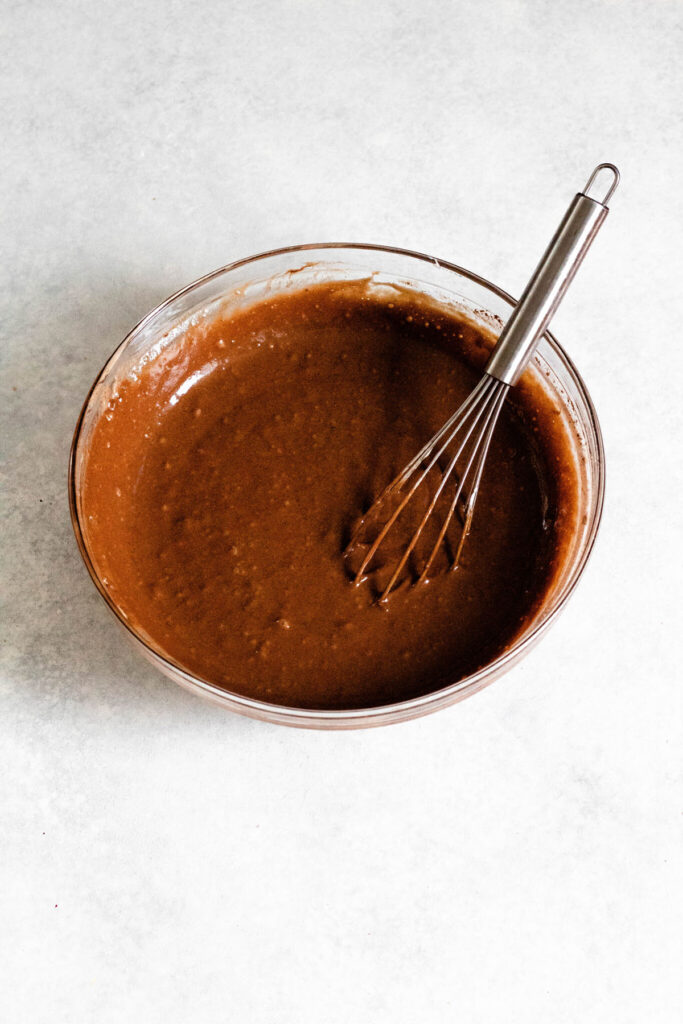
Wet Ingredients: Add the rest of your ingredients and whisk together until there are no lumps.
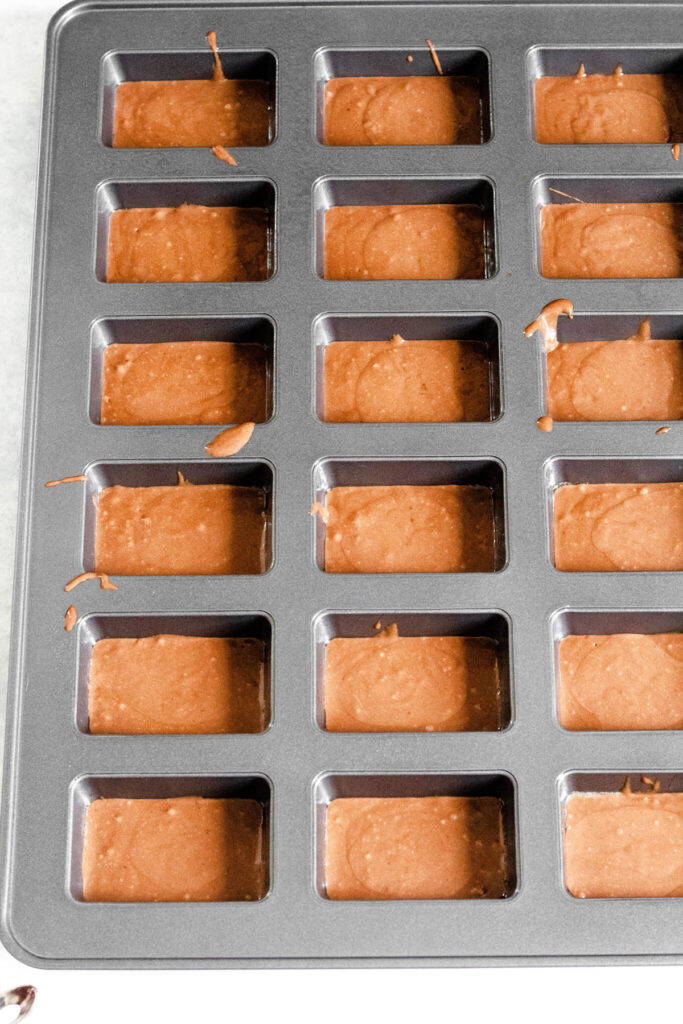
Grease your pan: grease the mini loaf pan. I like to use a butter or canola spray.
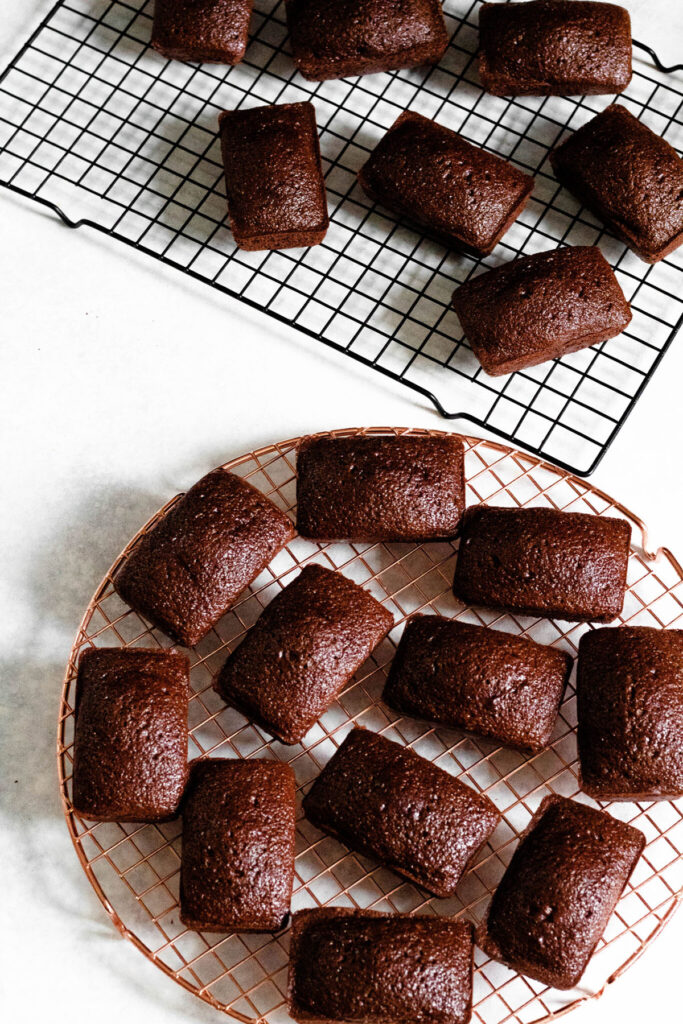
Bake: for 22 minutes. Remove from the oven and check for doneness by inserting a toothpick. If it comes out clean, it is ready. Allow them to cool in the pan for 5 minutes before removing them and place them on a wire rack to cool completely before icing.
How to store? Can I freeze the mini chocolate cakes?
Yes, you can freeze mini chocolate cakes. Freezing can be a convenient way to preserve the cakes for later enjoyment. Here’s a step-by-step guide on how to freeze mini chocolate cakes:
- Allow the cakes to cool completely after baking. It’s essential to ensure they are at room temperature before freezing to prevent condensation and moisture buildup.
- Wrap each mini cake tightly with plastic wrap or aluminum foil. This will help protect the cakes from freezer burn and maintain their freshness.
- Place the wrapped mini cakes in a freezer-safe container or freezer bag. Make sure to remove as much air as possible from the packaging to prevent freezer burn.
- Label the container or bag with the date of freezing to keep track of their freshness.
- Place the mini chocolate cakes in the freezer and ensure they are stored in a flat and level position to avoid any deformation.
- When you’re ready to enjoy the cakes, remove them from the freezer and let them thaw in the refrigerator overnight.
- Once thawed, the mini chocolate cakes can be served as is or decorated with frosting, ganache, or any desired toppings.
It’s worth noting that freezing may slightly affect the texture of the cakes, but they should still taste delicious. Properly stored, frozen mini chocolate cakes can last for several months.
Use this batter for chocolate cupcakes
If you would like to make chocolate cupcakes rather than mini chocolate cakes you can. Line a muffin tray with cupcake liners. Place the batter into them ¾ of the way up. Bake for approximately 18 minutes at 350°F.
Why You’ll love this mini chocolate cake recipe
Perfect portion size: These mini cakes are perfectly sized for individual servings, allowing you to indulge in a delicious treat without the need for cutting or sharing a larger cake.
Quick and easy: This recipe is designed to be simple and time-efficient. With minimal ingredients and preparation, you can whip up these mini cakes in no time. It’s a great option for when you want a homemade dessert without spending hours in the kitchen.
Moist and chocolatey: The combination of cocoa powder and other ingredients in this recipe ensures a moist and intensely chocolatey flavor. Each bite will be rich, satisfying, and bursting with chocolaty goodness.
Versatile and customizable: While this recipe creates delicious mini chocolate cakes as is, you can easily customize them to suit your preferences. Add a frosting of your choice, top with whipped cream or fresh fruits, or even drizzle them with melted chocolate for an extra touch of decadence.
What makes a cake moist and fluffy?
Proper ingredient ratios: Using the right proportions of wet and dry ingredients is crucial. The ratio of liquids (such as eggs, milk, or oil) to dry ingredients (such as flour, sugar, and leavening agents) affects the texture of the cake. Too much liquid can make the cake dense and wet, while too little can result in a dry and crumbly texture.
Fat content: Adding fats like butter, oil, or sour cream to the batter adds moisture to the cake. Fats help to tenderize the gluten in the flour, resulting in a softer and moister texture. They also contribute to the overall richness and flavor of the cake.
Mixing technique: Proper mixing techniques can influence the texture of the cake. Overmixing the batter can develop excess gluten, leading to a denser and tougher cake. Mixing until just combined helps create a lighter and more tender crumb.
Leavening agents: The use of leavening agents like baking powder or baking soda helps the cake rise by creating air pockets within the batter. This contributes to the cake’s light and fluffy texture. It’s important to measure the leavening agents accurately to avoid an overly dense or collapsed cake.
Liquid temperature: Using room temperature or slightly warm ingredients, such as eggs and milk, can promote better incorporation of ingredients and result in a smoother batter. This can lead to a more even texture and improved moisture retention in the cake.
Proper baking time and temperature: Baking the cake at the correct temperature for the right amount of time is crucial. Overbaking can dry out the cake, while underbaking can result in a dense and gooey texture. Following the recommended baking time and checking for doneness with a toothpick or cake tester is important.
LEAVE A RATING AND REVIEW!
Did you love the recipe? If you did, let me know! And let others know too by leaving a comment and star rating. Reviews are incredibly useful in helping other people find my site and make my recipes. Thank you so much!
Laura
Looking for something similar?

Gluten Free Chocolate Cake Recipe
Ingredients
For the Cake:
- 1 cup of sugar
- ¾ cup + 2 tablespoon all purpose flour make sure to use a gluten free all purpose with xanthan gum in it
- 1 teaspoon baking powder
- 1 large egg
- ¼ cup + 2 tablespoon cocoa powder
- 1 tablespoon pure vanilla extract
- ½ teaspoon sea salt
- ½ cup sour cream or greek yogurt
- ½ cup hot water
- 1 teaspoon baking soda
- ¼ cup sunflower oil
Instructions
For the Cake:
- Set oven to 350°F
- Take all of your dry ingredients and mix them together in a bowl. I like to use a whisk.
- Add the rest of your ingredients.
- Whisk together until there are no lumps.
- Now, you can either make one 8inch cake and or you can use a mini loaf pan! I love the mini cakes because everyone gets their own cake. Either way, spray it with a nonstick spray.
- Try to smooth is out so that it will bake evenly.
- Bake for 25-30 minutes if you are using the 9 inch tin. If you are using the mini loaf pan, bake for 22 minutes.
- Check for doneness by inserting a toothpick into the middle. If the toothpick comes out clean, then you know it is ready.
- For the Icing:This icing recipe is from the great Erin Jeanne McDowell. Her instructions are as follows:1. Meanwhile, make the frosting: Add the butter to the bowl of an electric mixer fitted with the paddle attachment and beat on medium speed until light and fluffy, 3 to 4 minutes. Remove the bowl from the electric mixer, and sift the confectioners’ sugar and cocoa into the bowl with the butter. Stir with a spatula a few times to incorporate slightly. Return the bowl to the mixer and beat on medium speed until smooth and uniform in color, 1 to 2 minutes. Add the sour cream and melted chocolate and mix on low speed until combined, about 30 seconds. Add the vanilla and salt and mix to combine.

Dianna Wilson Sirkovsky says
Moist, chocolatey decadence in your hand!
Laura Sirkovsky-Kauffman says
Thank you!