
Welcome to a delightful culinary journey into the world of Basque cuisine! Today, we’re diving into the mouthwatering realm of the Classic Basque Cheesecake, a dessert that has taken the culinary world by storm. If you’re wondering what exactly is Basque cheesecake, its origins, and how to make this delectable treat, you’ve come to the right place. Get ready to discover the rich history and irresistible flavors of this iconic dessert.
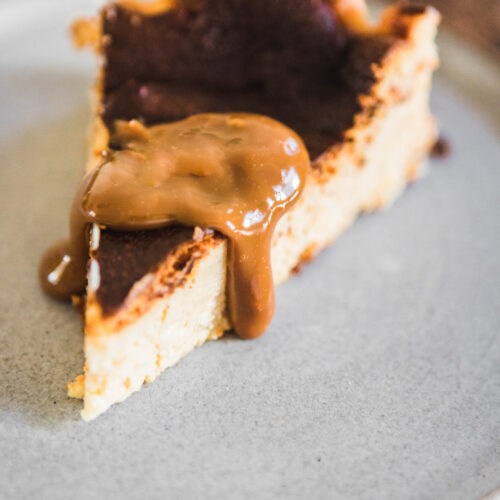
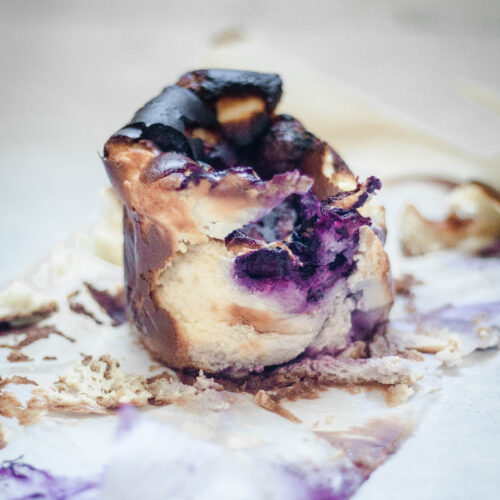
I love a classic Basque cheesecake aka a burnt Basque Cheesecake. I have a lemon, dulce de leche, and blueberry version of it on this site. Let’s dive into the history of this cake and what exactly it is and makes it different.
FAQ
What is Basque cheesecake?
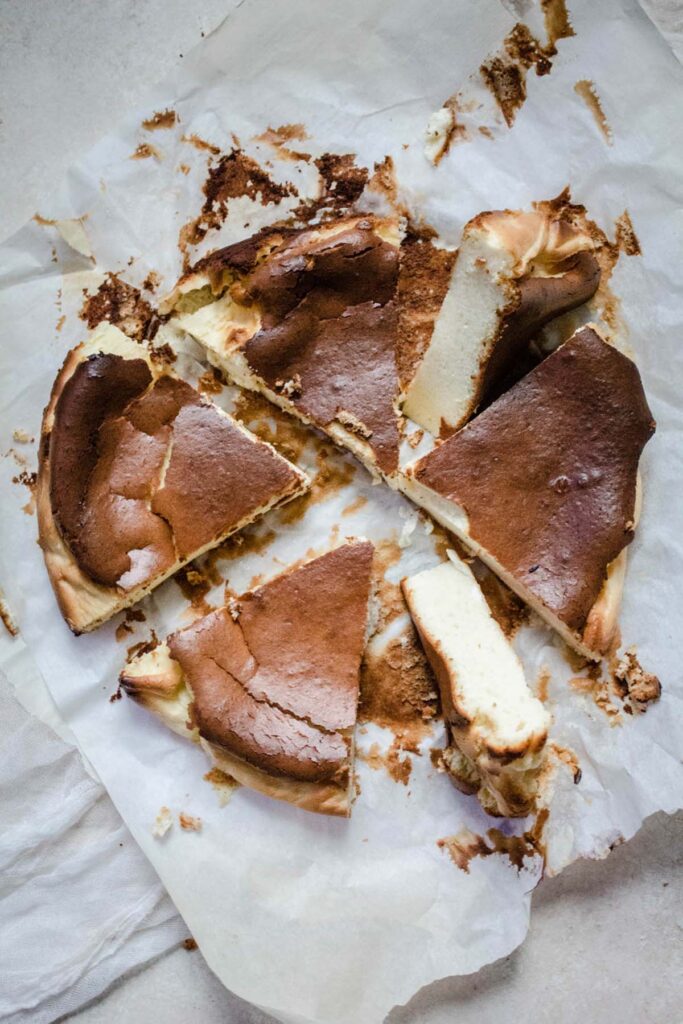
Basque cheesecake is a delightful twist on the traditional cheesecake, known for its beautifully caramelized top and creamy, custard-like interior. Originating from the Basque region of Spain, particularly the city of San Sebastián, this dessert has gained immense popularity for its unique flavors and texture.
Basque cheesecake origin:
Legend has it that the creation of Basque cheesecake was a fortunate accident. A local chef in San Sebastián accidentally overcooked a traditional cheesecake, resulting in a delightful surprise. The burnt exterior and velvety interior became the foundation of what we now know as the Classic Basque Cheesecake. Since then, this iconic dessert has become a staple in Basque cuisine and has gained recognition worldwide.
Pros to a Classic Basque Cheesecake vs regular Cheeecake
This is a great make-ahead dessert: Burnt Basque Cheesecake tastes even better when chilled, making it an ideal make-ahead dessert. You can prepare it a day in advance, allowing the flavors to meld and intensify, and simply serve it straight from the fridge.
No Crust Required: Burnt Basque Cheesecake is typically made without a crust, saving you time and effort. The focus is on the luscious interior and the caramelized top, which provide ample flavor and satisfaction on their own.
Gluten-Free Option: Traditional Burnt Basque Cheesecake recipes typically use a small amount of flour to stabilize the texture. However, it can easily be adapted to be gluten-free by using a gluten-free flour substitute or omitting the flour altogether. This makes it accessible to individuals with dietary restrictions or preferences.
Foolproof Baking: One of the joys of making Burnt Basque Cheesecake is its forgiving nature. It is designed to have a burnt and cracked exterior, so you don’t need to worry about achieving a perfectly smooth surface or preventing cracks. Embrace its imperfections and enjoy the unique visual appeal.
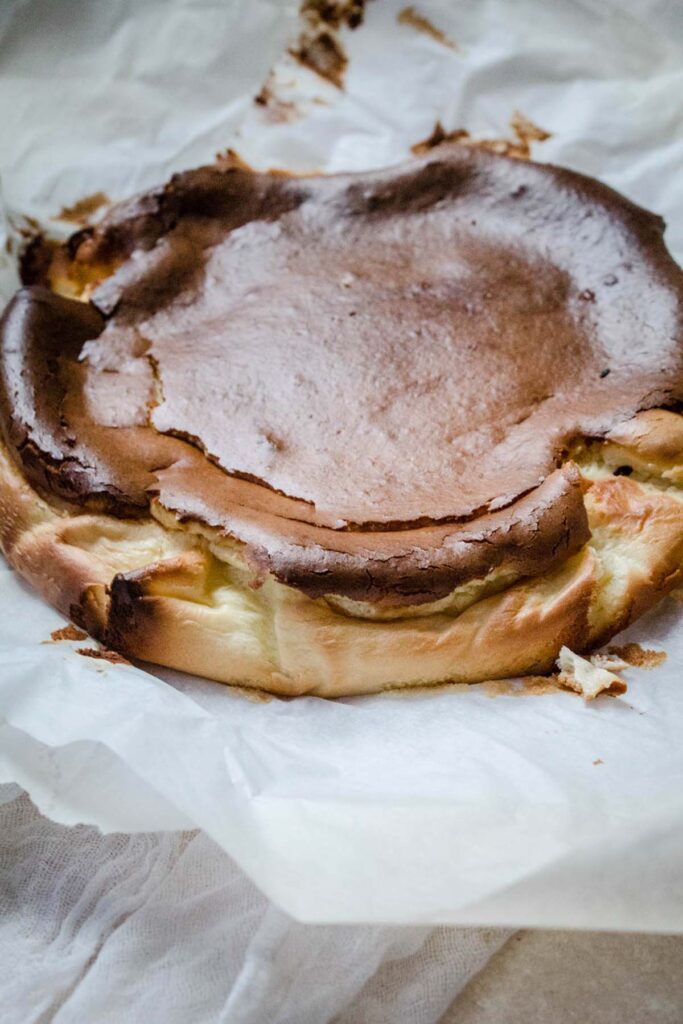
- Unique Appearance: Unlike traditional cheesecakes with a smooth, uniform surface, Burnt Basque Cheesecake is intentionally baked until the top turns beautifully caramelized and burnt. Its rustic, cracked appearance adds to its charm and character.
- Creamy and Custard-like Texture: The interior of Burnt Basque Cheesecake is incredibly creamy and indulgent, often described as having a custard-like consistency. It is dense, yet delightfully light at the same time.
Versatile Flavor Profile: While the classic version of Burnt Basque Cheesecake has a rich, vanilla-infused taste, there are endless opportunities for flavor variations. You can experiment with different extracts, citrus zests, chocolate, or even incorporate other ingredients like matcha or fruit puree for a personalized twist.
San Sebastián cheesecake recipe aka Classic Basque Cheesecake
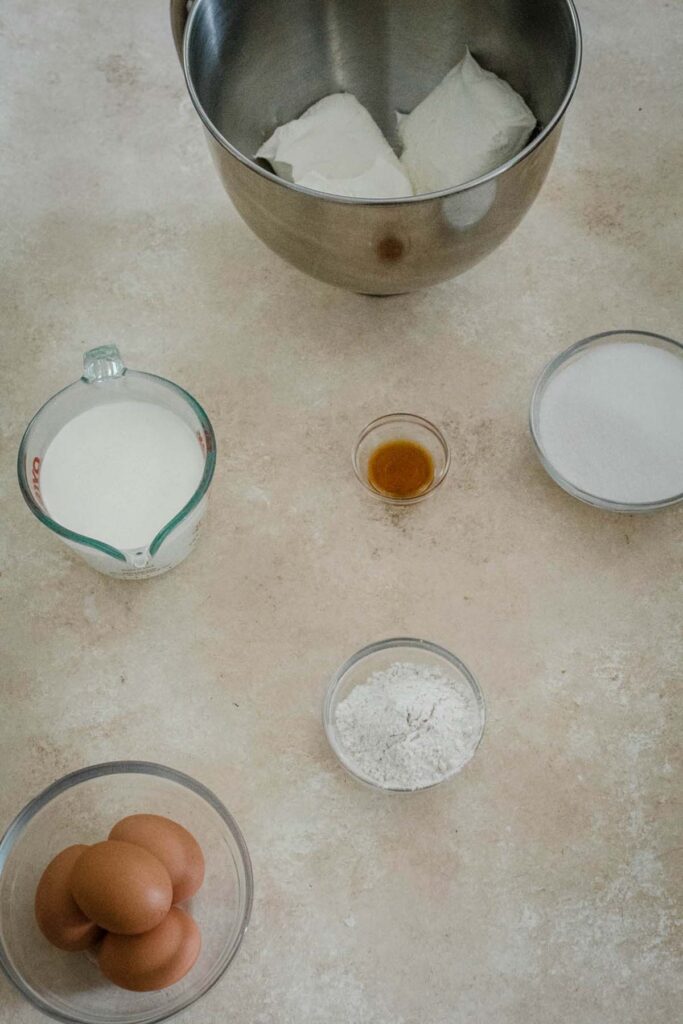
To make the Classic Basque Cheesecake, you will need:
1. 24 oz Cream Cheese (room temperature) this is 3 normal size packets of cream cheese
2. 1 ¼ cup Heavy Whipping Cream
3. 1 cup Sugar
4. 1 ½ teaspoon Vanilla
5. 4 Eggs
6. ¼ Gluten Free Flour, I use King Arthur Gluten Free 1:1 flour, regular flour is fine too if you do not need this to be gluten free.
What Equipment do you need?
- Mixmaster (or hand mixer)
- 8 inch spring form pan
- Cooking Spray
- Parchment Paper
- Spatula
How do you make it?
I love how easy this recipe is to make!
- Set your oven to 400°F
- Take your room temperature cream cheese and place in the bowl of your mixmaster or a bowl that you can use with a hand-mixer.
- Beat the cream cheese on medium for a few minutes, it will become very light and fluffy.
- Once you have done this, add your sugar. Continue to beat for 4-5 minutes on a medium high.
- Scrape down the side of your bowl to make sure everything has been incorporated on the sides of the bowl.
- Add your eggs now (one at a time) until each is fully mixed in.
- Once the eggs are all in, add the vanilla.
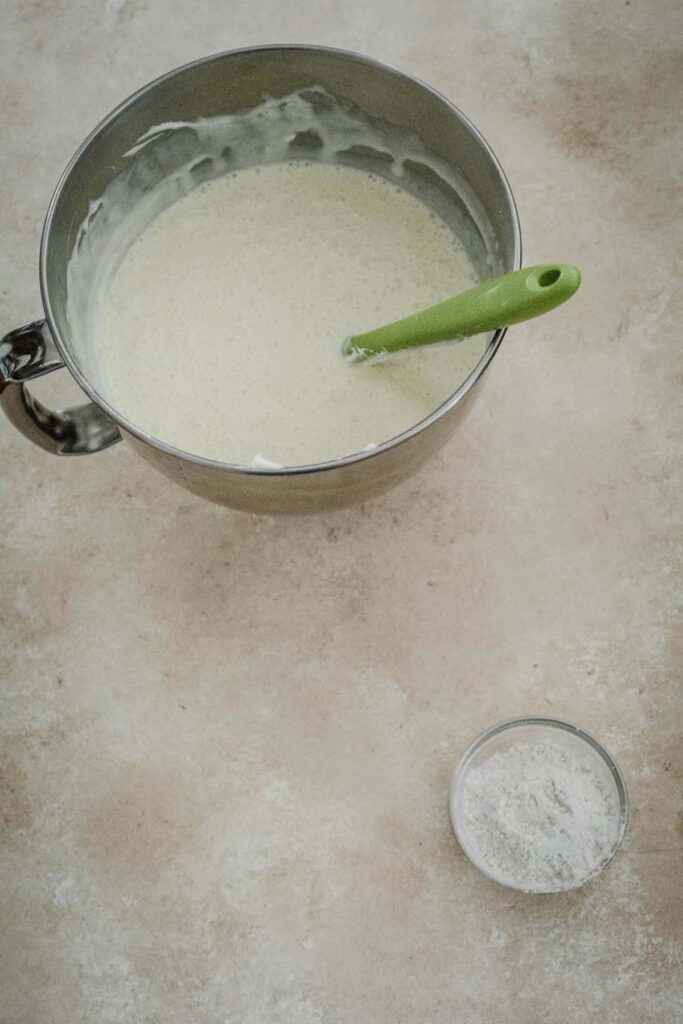
- Now is the time to add your cream. Mix for one minute.
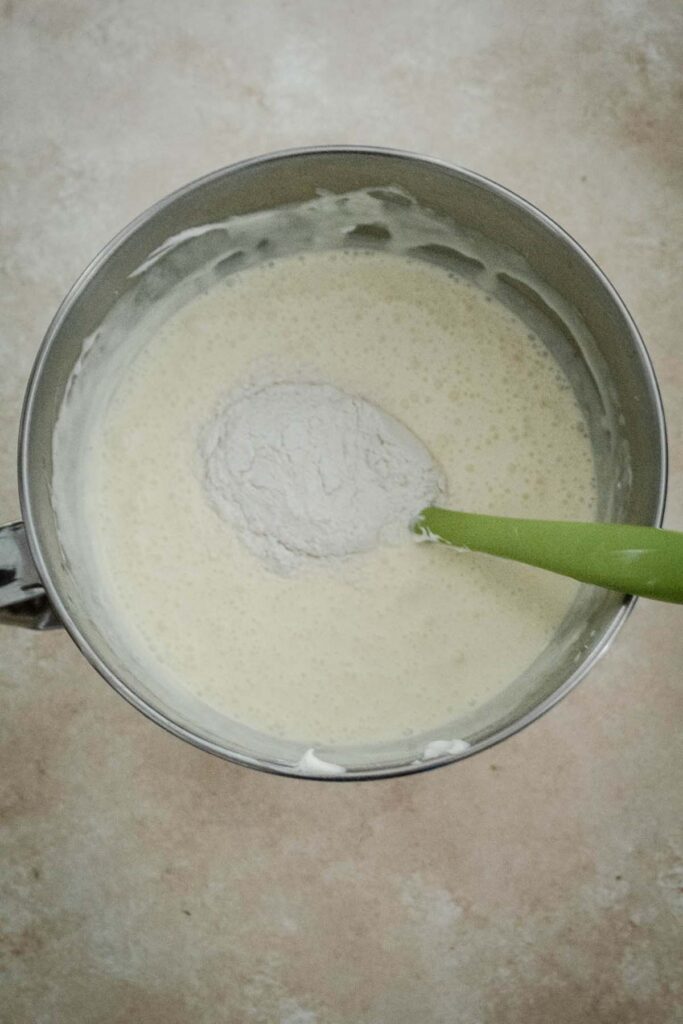
- You are going to mix in the flour by hand. Add the flour to the bowl and use a spatula to blend it all together.
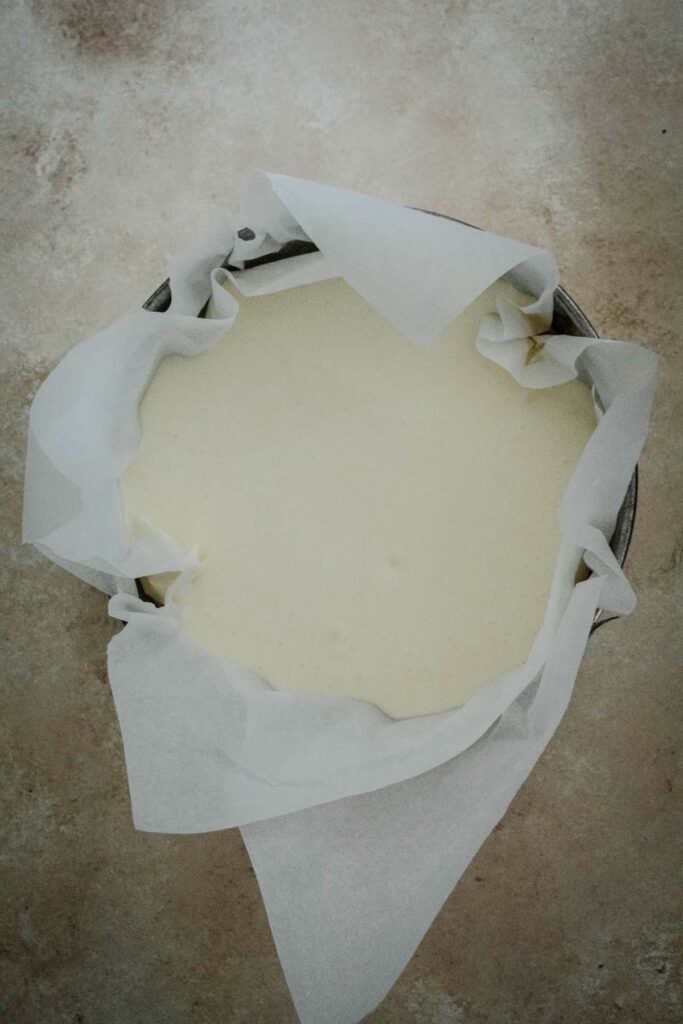
- Spray your springform pan with a cooking spray (I use Pam), and take 2 pieces of parchment paper. You want the entirety of the bottom and sides to be covered. If it is crunchy in places, that is okay! It will give more character to your cake.
- Pour your batter into the pan and place in the oven for 1 hour.
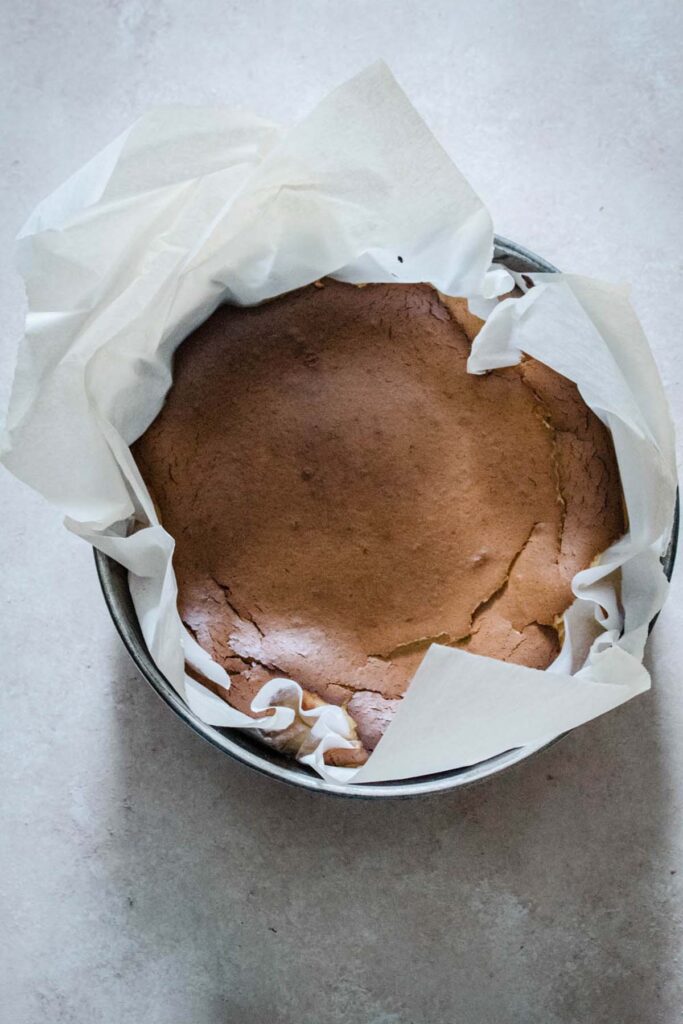
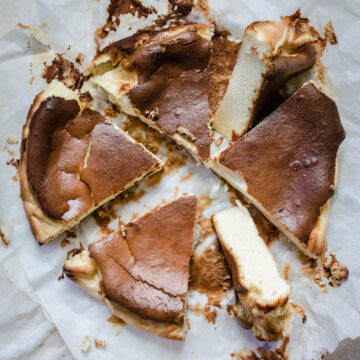
- Remove at the 1 hour mark; your cake should be jiggly in the middle and have a nice browned color on top. If it has cracks, all the better!
- Allow the cake to cool in the pan on the counter for 1 hour.
- After your one hour, transfer the cake to the fridge for a second hour to chill.
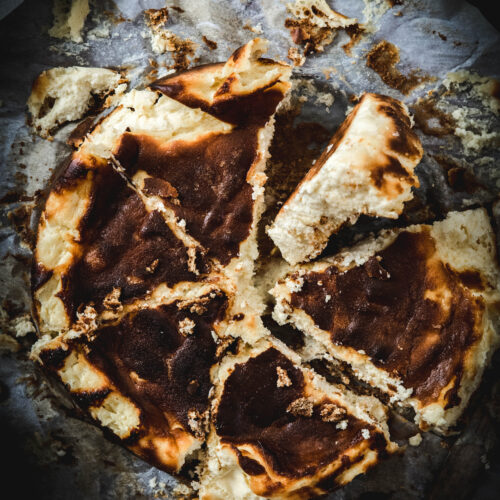
- After sitting in the fridge for an hour, you are free to slice up your cake, serve, and dive in!


Mini Basque Cheesecakes
For those who love individual portions and a charming presentation, Mini Basque Cheesecakes are an excellent option. By following the same recipe, you can adapt the dessert into smaller sizes, creating adorable treats that offer the same creamy indulgence. Mini Basque Cheesecakes are perfect for dinner parties, gatherings, or simply when you want to savor a bite-sized delight.
Notes for Classic Basque Cheesecake + Thoughts
So why not try your hand at making this burnt Basque Cheesecake? It’s incredibly easy to prepare, and you don’t need to worry about a crust or the risk of cracking. The result is a delectable dessert with a unique flavor profile and a stunning appearance. Give it a try and experience the magic of Basque cuisine in your own kitchen.
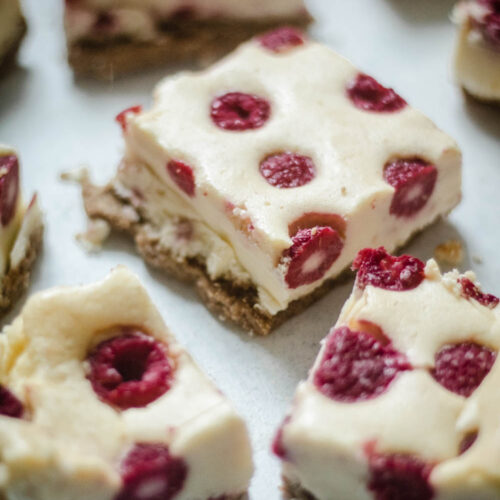
Looking for more cheesecake recipes? Check out our Cheesecake Bars recipe or indulge in the deliciousness of Heath Bar No Bake Cheesecake. There’s no shortage of sweet treats to explore and satisfy your dessert cravings.
Browse More Cheesecake Recipes
LEAVE A RATING AND REVIEW!
Classic Basque Cheesecake
Ingredients
- 24 oz cream cheese room temperature - this equals usually 3 normal size packets of cream cheese
- 11/4 cup heavy whipping cream
- 1 cup sugar
- 1 ½ teaspoon vanilla
- 4 eggs
- ¼ cup of gluten free flour this is a 1:1 recipe, regular flour works fine too!
Instructions
- Set your oven to 400°F
- Take your room temperature cream cheese and place in the bowl of your mixmaster or a bowl that you can use with a hand-mixer.
- Beat the cream cheese on medium for a few minutes, it will become very light and fluffy.
- Once you have done this, add your sugar. Continue to beat for 4-5 minutes on a medium high.
- Scrape down the side of your bowl to make sure everything has been incorporated on the sides of the bowl.
- Add your eggs now (one at a time) until each is fully mixed in.
- Once the eggs are all in, add your vanilla.
- Now is the time to add your cream. Mix for one minute.
- You are going to mix in the flour by hand. Add the flour to the bowl and use a spatula to blend it all together.
- Spray your springform pan with a cooking spray (I use Pam), and take 2 pieces of parchment paper. You want the entirety of the bottom and sides to be covered. If it is crunchy in places, that is okay! It will give more character to your cake.
- Pour your batter into the pan and place in the oven for 1 hour.
- Remove at the 1 hour mark; your cake should be jiggly in the middle and have a nice browned color on top. If it has cracks, all the better!
- Allow the cake to cool in the pan on the counter for 1 hour.
- After your one hour, transfer the cake to the fridge for a second hour to chill.
- After sitting in the fridge for an hour, you are free to slice up your cake, serve, and dive in!
Dianna Wilson says
looks delicious!
siftrva says
It is delicious! Hope you make it.
Amanda @ Midwest Nice says
I want it! Oh my gosh!
siftrva says
Let me know what you think if you make it 🙂
Anita says
This is such a stunning cheesecake and the process shots are so thorough and helpful! So beautiful Laura. xo – Anita
Sift | Gluten Free says
Thank you, Anita!
James says
You beat in the sugar over medium high heat?
Sift | Gluten Free says
Hi James!
Thanks for pointing this out. Was definitely an autocorrect error!
Just on medium high, no heat involved 🙂